Repairing the Under-thicknessed Tenons
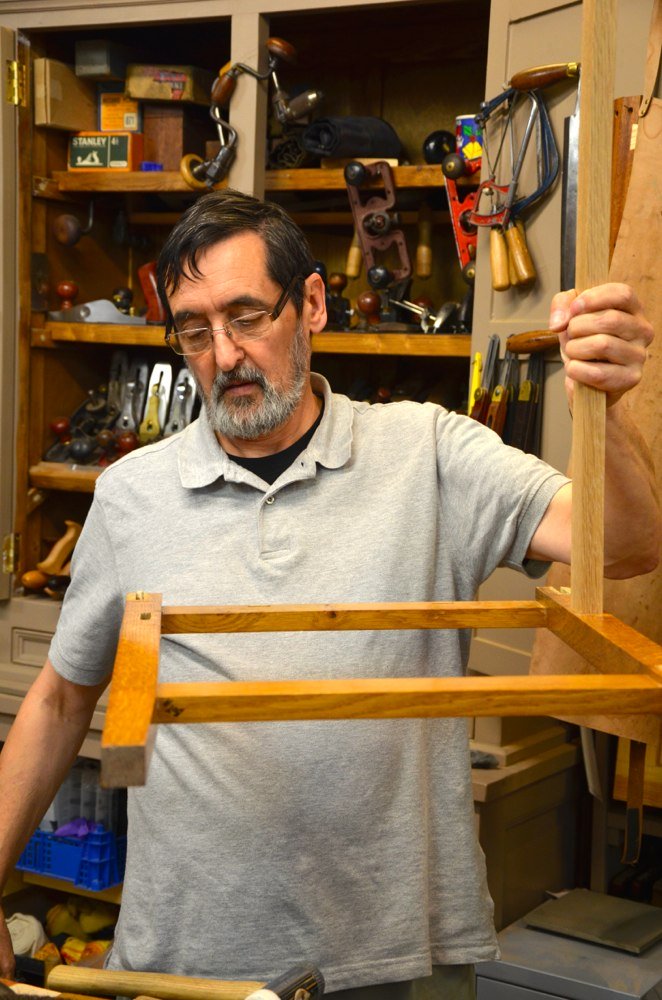
Today I fitted all of the tenons back to their original sockets and made them snug as they should have been. I also added a pair of rails 3” below the long top rails. My joints were as tight as always and you can see that they hold the frame very well. This serves to add the strength I would have got had the top rail been wider. I will add a shelf here for book storage and such; perhaps a good place to stow my drawing board and tee square. It strengthened the overall carcass tremendously by the time it was all done and now I can sating and finish the unfinished parts to the golden oak colour. Beyond that I just need to turn some new knobs for the drawer and the support pulls and my work will be done.
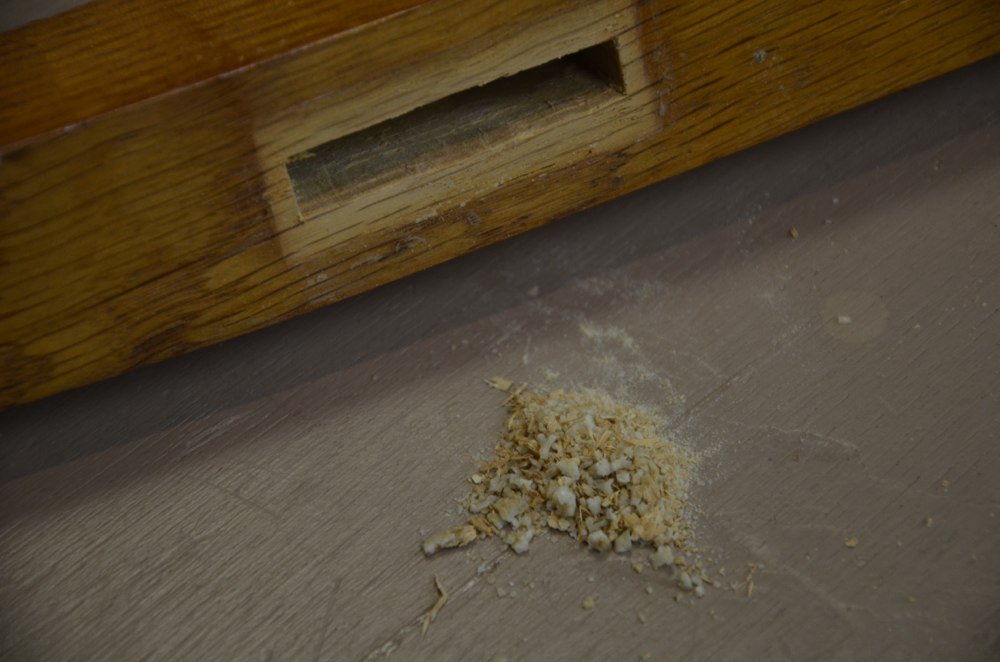
This is the crystallised glue scraped from the mortise hole.
Here is a comments question someone asked and I thought my answer might add more light for consideration.
Question:
Paul,
Out of interest, I’ve used Cascamite on a couple of projects in the past, none of which are 70 years old, obviously. The adhesive is known for setting glass hard, and glass brittle, hence in the boat building trade it’s only used where it can be backed up with a secondary mechanical fix, such as a screw. Otherwise it’s epoxy resin and not much else.
In your experience is this failure more to do with poor joinery or would the glue have failed in this manner over time regardless?
Thanks,
Jon
Answer:
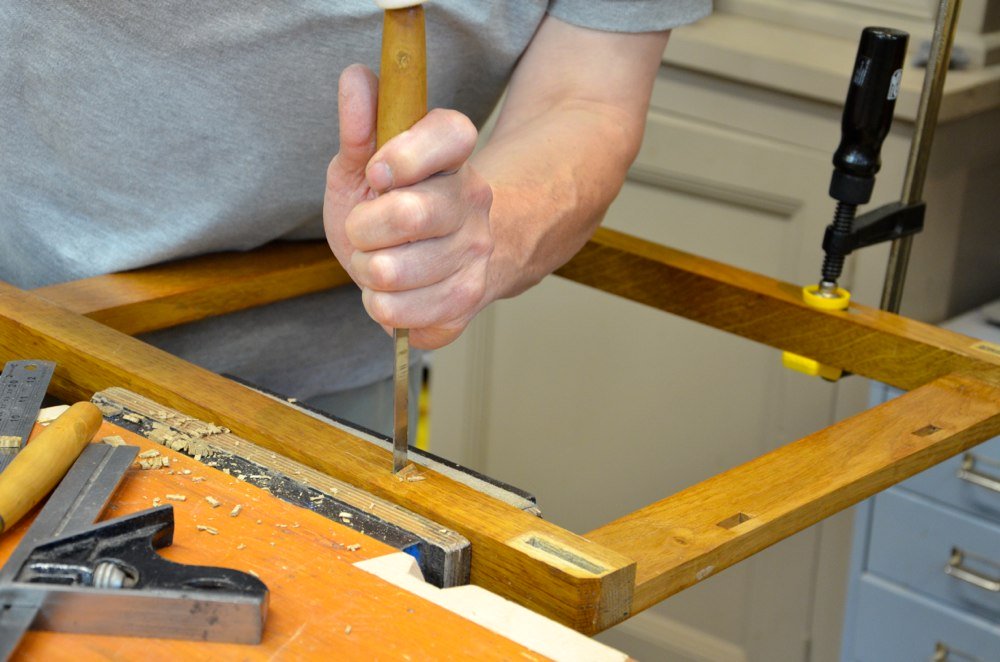
Good question, Jon. I noticed that all of the joints had failed in some measure. That’s 14 mortise and tenons. The reasons may vary but one thing I did feel was that shrinkage in a tenon can split along the glue line if the mortise wood is not moving or shrinkage taking place at a parallel rate and time. In other words both sections of wood should be dry to the same level at the point of union. If tenon wood is drier than mortise wood that would be fine, but we furniture makers generally use wood from the same batch and uniform in moisture levels. These joints were surprisingly poor even though the actual forming of them was very good. I repaired and glued up the whole framework this evening and was very happy with the eventual outcome as I left for home.
All in all it was the joinery I felt contributed most to the failure, and though there is of course something of value in using glues that allow splitting on the glue line for repair work to take place, for new and non-conservation furniture work I will continue with PVA and/or animal glues and perhaps use the Cascamite for outdoor work. Then again, I think that the newer PVA waterproofs seem to be holding their own these days.
Paul
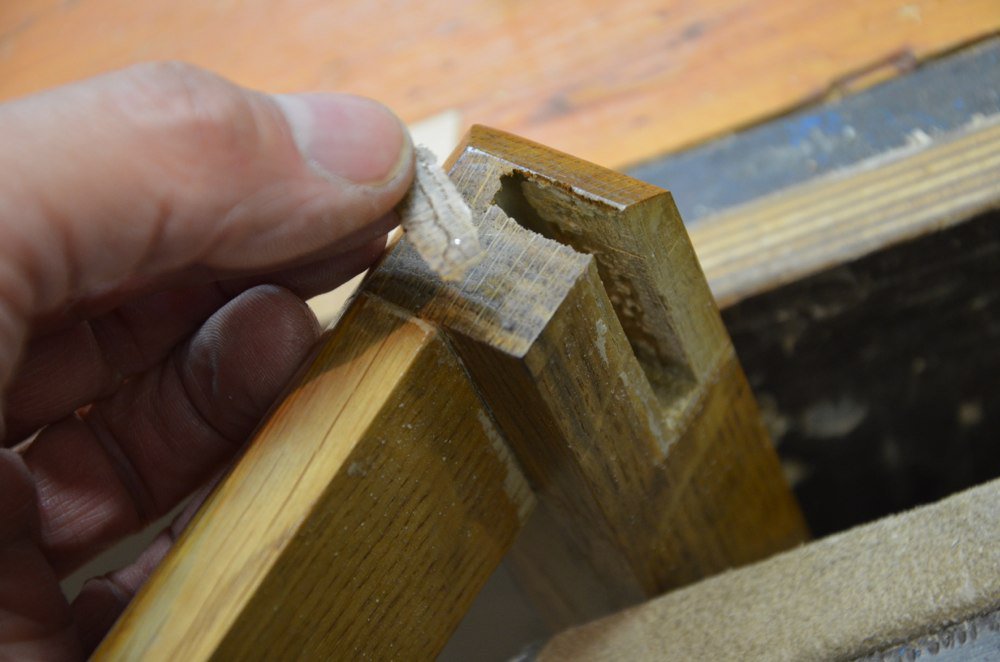
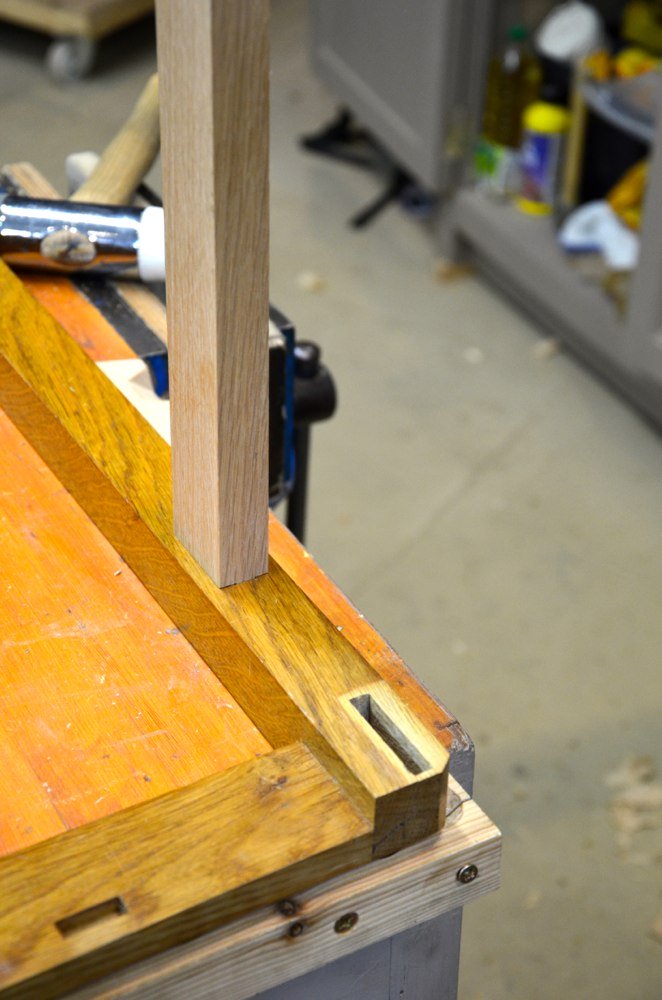
Here you can see a design flaw or a wrong decision on the part of the maker. I conclude what happened was that he made the mortises keeping extra length on until after glue up and then cut the length down flush with the tops of the aprons. He allowed only 1/8” between tenon top and leg top. Not really enough. He bevelled the top corners after cutting the legs to final length. I like the concept and visual appearance where the top cabinet fits to the base frame but they would it would have been better increasing the apron width and also leaving more meat at the top of the mortise pocket between the top of the tenon and the top of the leg. I am sure all would have been OK had the glue or joinery not failed, but all joinery details and sizing should be decided on with repair and restoration being considered as possible after long-term usage. I always consider my joints might one day be X-rayed for authenticity or establishing details inside. It’s just vanity really.
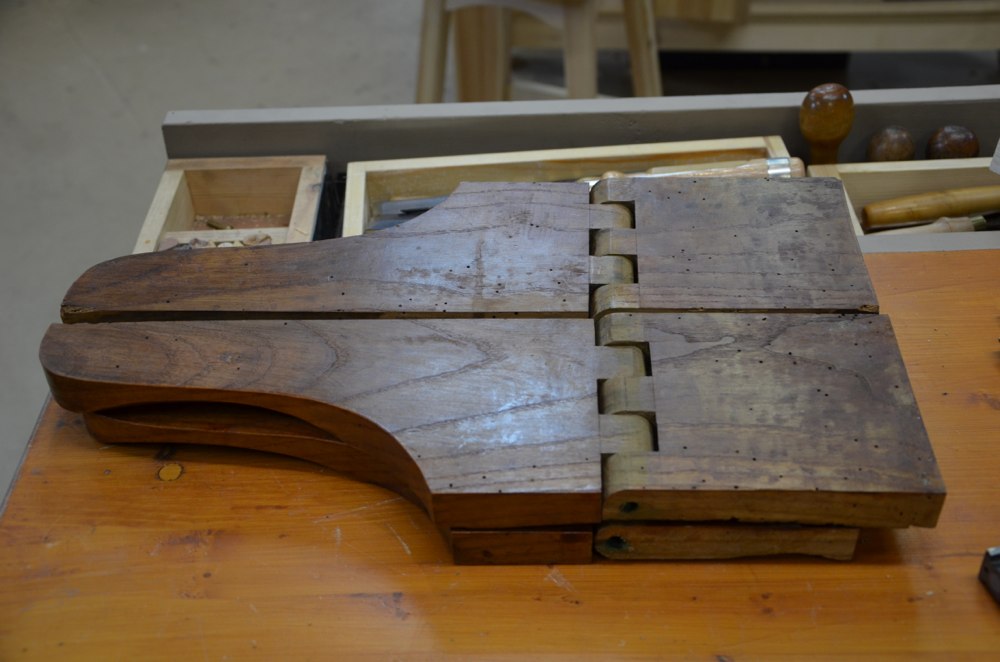
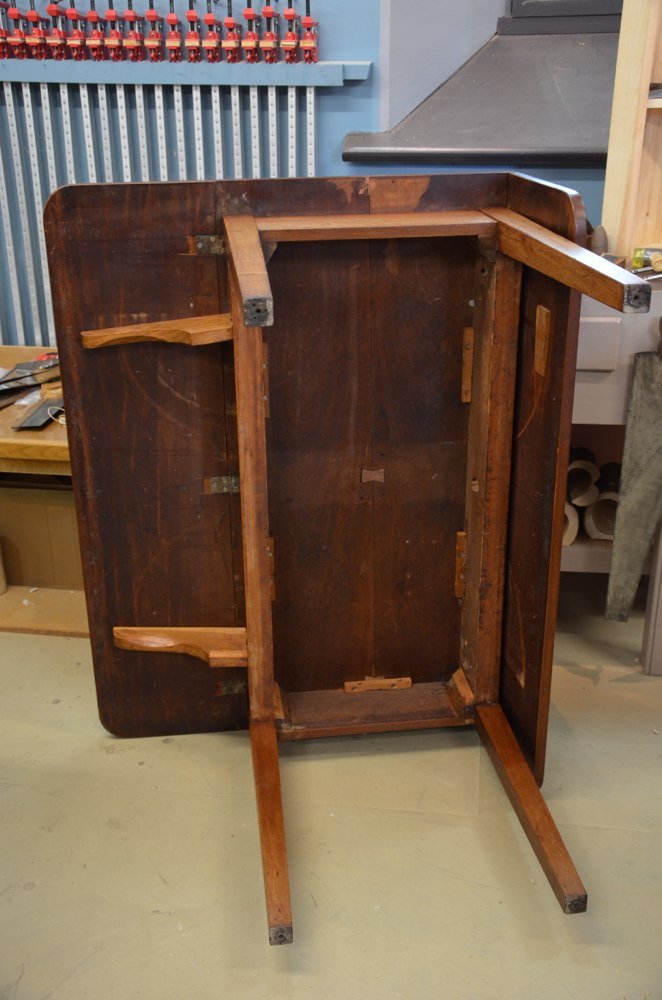
My next part in this will be returning to the mahogany table and examining the use of the knuckle joints. Someone asked me for a picture so here it is.
Comments ()