Making My Toolbox - Truing and Sizing My Wood
I’ll be making a couple of these toolboxes, one for this blog and the other for the filming. The methods will be about the same although there may be some variance if I see the need for some practical or necessary reason of improvement.
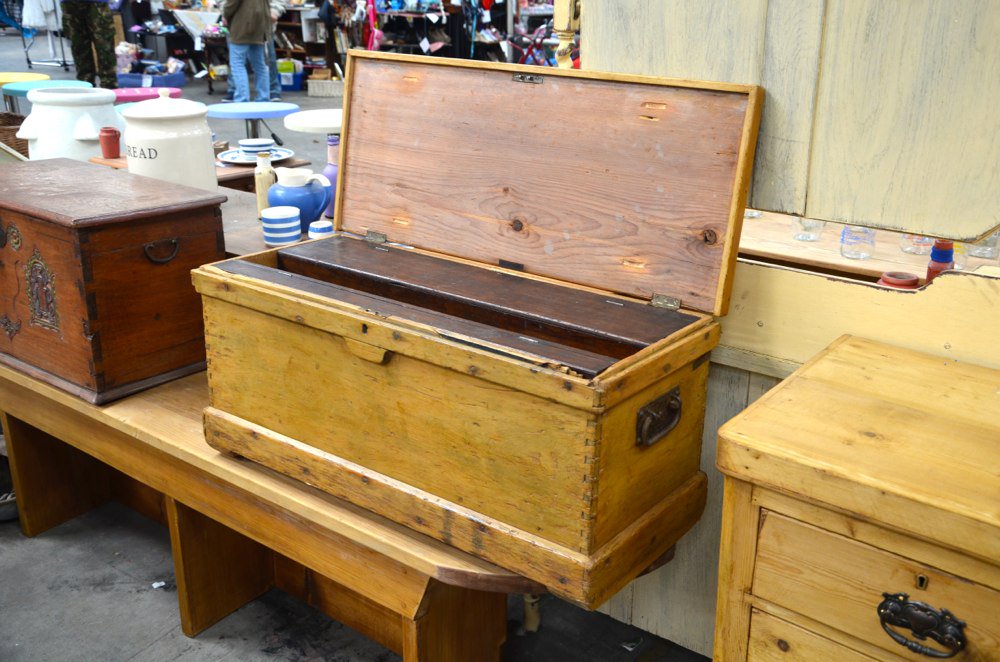
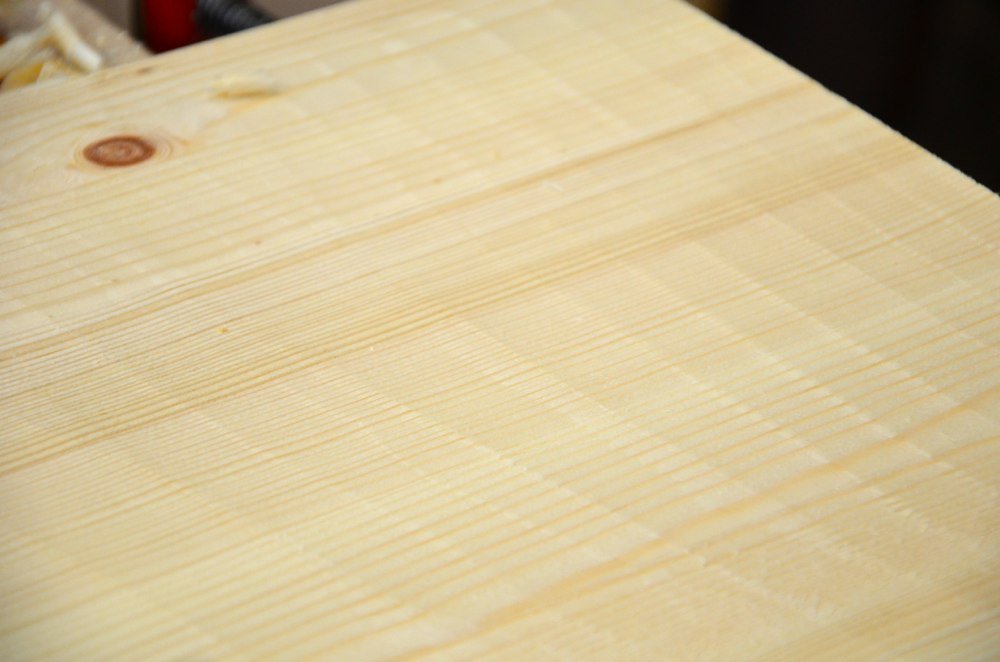
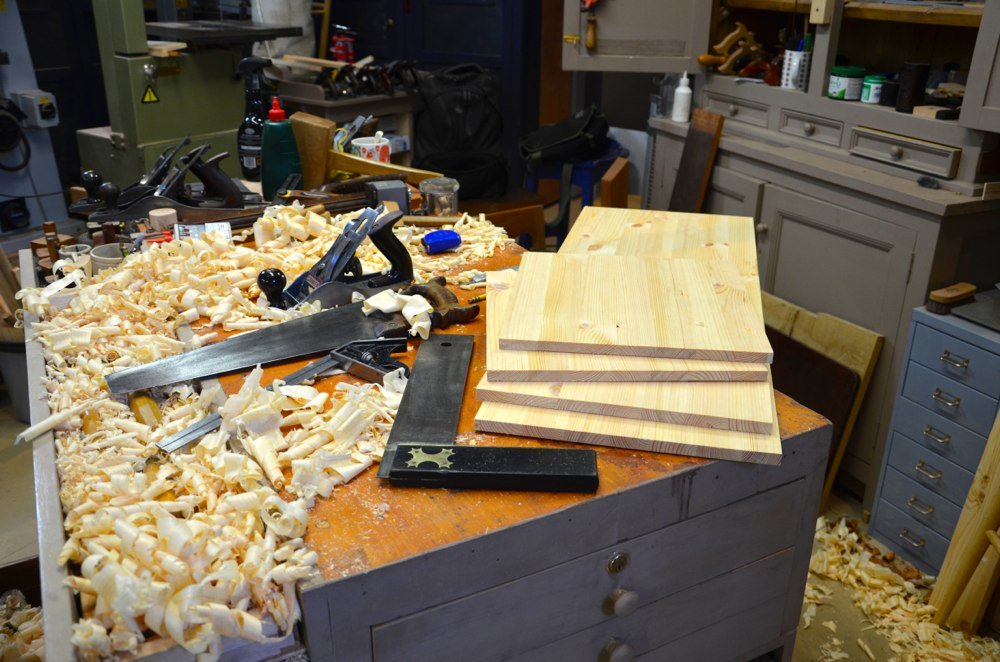
To start with, in this blog I am using up a board of laminated stock I bought from a carboot sale a few months back. £10 for two 2' x 8' boards was to good to pass up, knots or no. You may be buying such stock for yours too or gluing up your own boards to create wider stock. This is indeed pretty knotty but it still will work easily and is also fine for a toolbox and especially one I am likely going to paint with milk paint or something like. This box was painted too and stripped at some point before waxing it.
My box is to replicate the existing above and I must thin the boards down from their 13/16” thickness to just over a 9/16”. I’m going to leave it slightly fat so that when I plane up the outside when the box is fully jointed it finishes out at 9/16” dead. One thing for sure about this craftsman, he was conscious of weight and new that when a box, even a smaller one like this, is fully laden with tools the weight becomes critical.
The cut sizes for the box:
Front and back 9/16" x 12 3/4" x 32 3/4" long
Ends 9/16" x 12 3/4" x 13 11/16" long

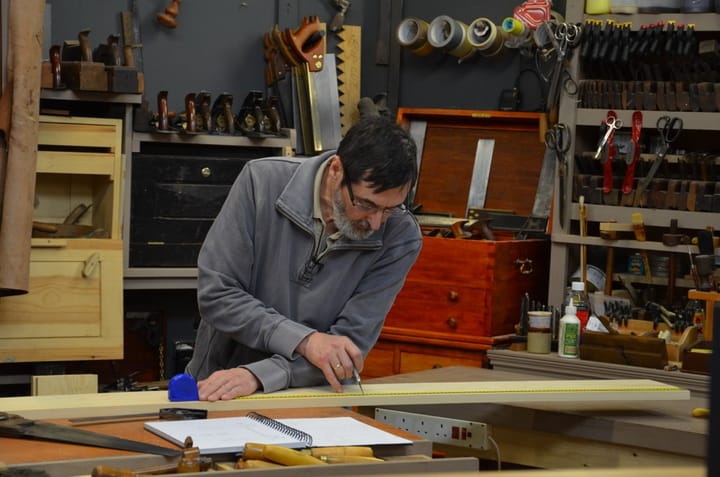
First I trued up one face and took out the distortions of twist and cup until flat. A #4 smoother works best for this. I marked the face with the facemark.

For planing the edge true I used a jack plane, but the smoothing plane would have worked for this just fine.

I checked for squareness as I went.
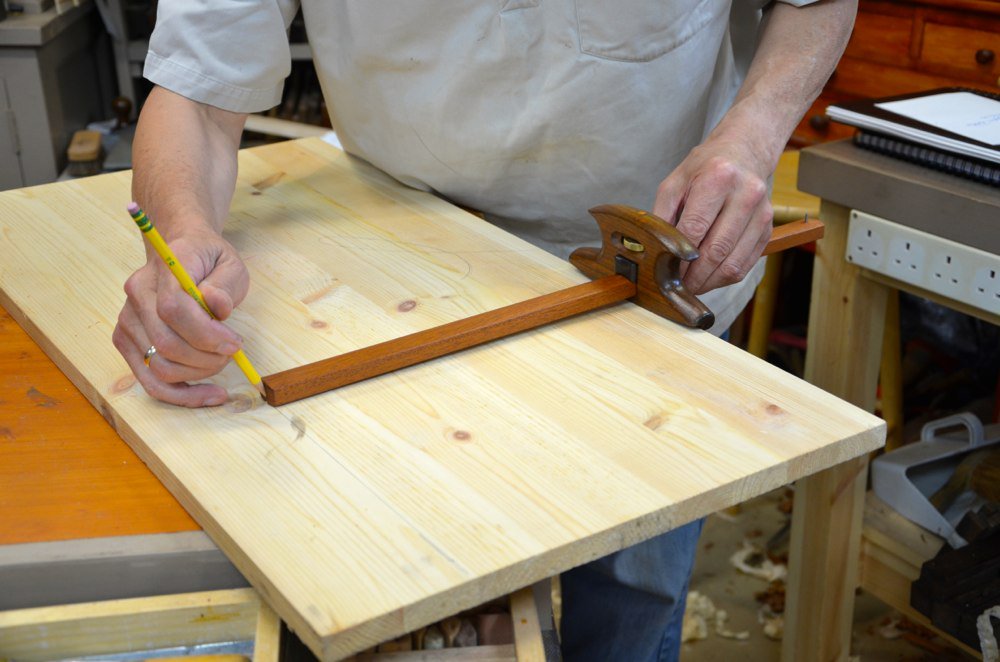
Once the face and edge were trued and squared I used the panel gauge to mark the width and then ripped down the line leaving it full enough to plane to dead width.
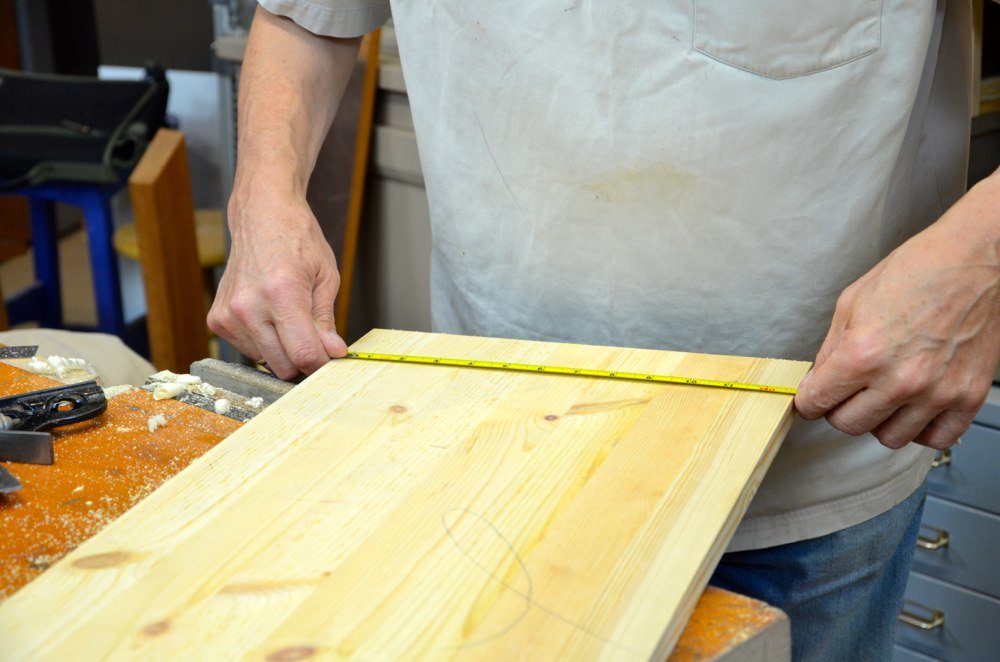
I planed the overall width and checked for exactness.
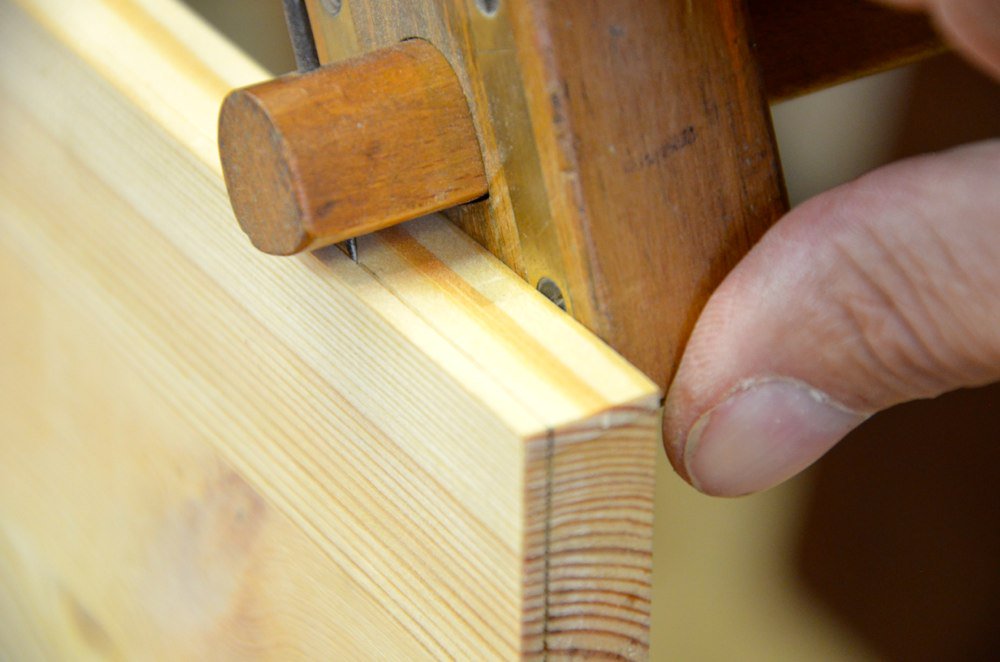
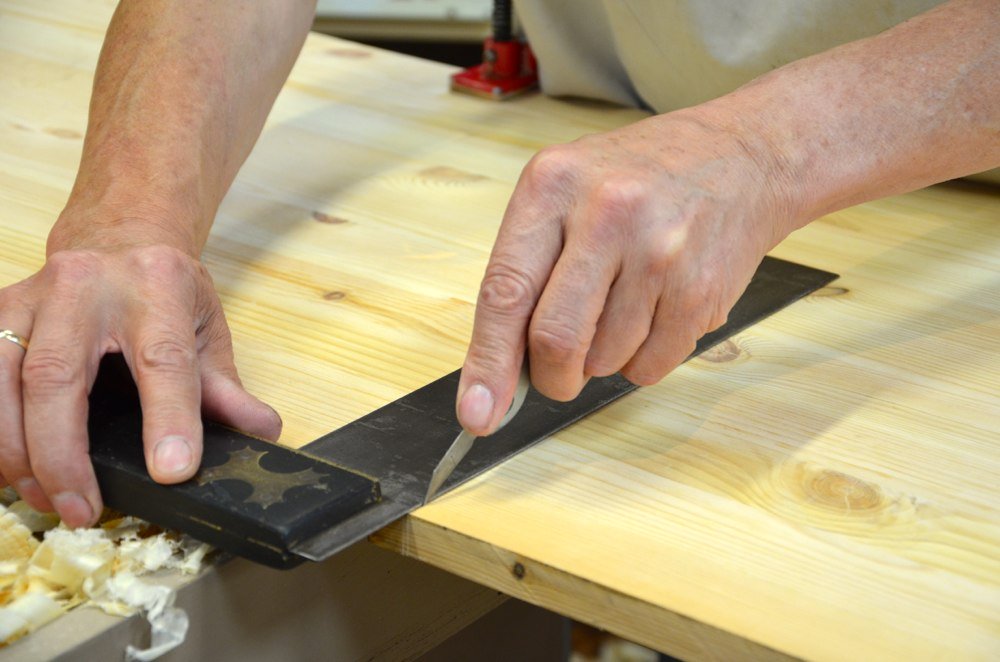
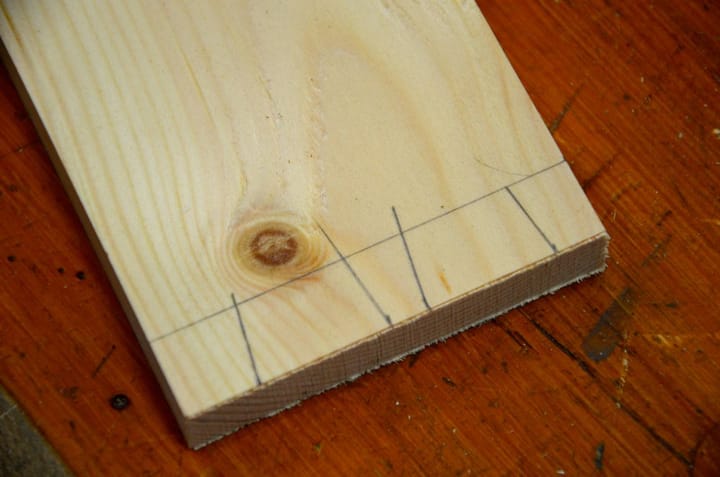
Using the marking gauge set to 9/16” I scored my lines onto the ends and edges.

I used my scrub #4 to remove the bulk of the thickness planing directly across and tangentially to the run of the grain. The final strokes I finished with a #4 smoother.
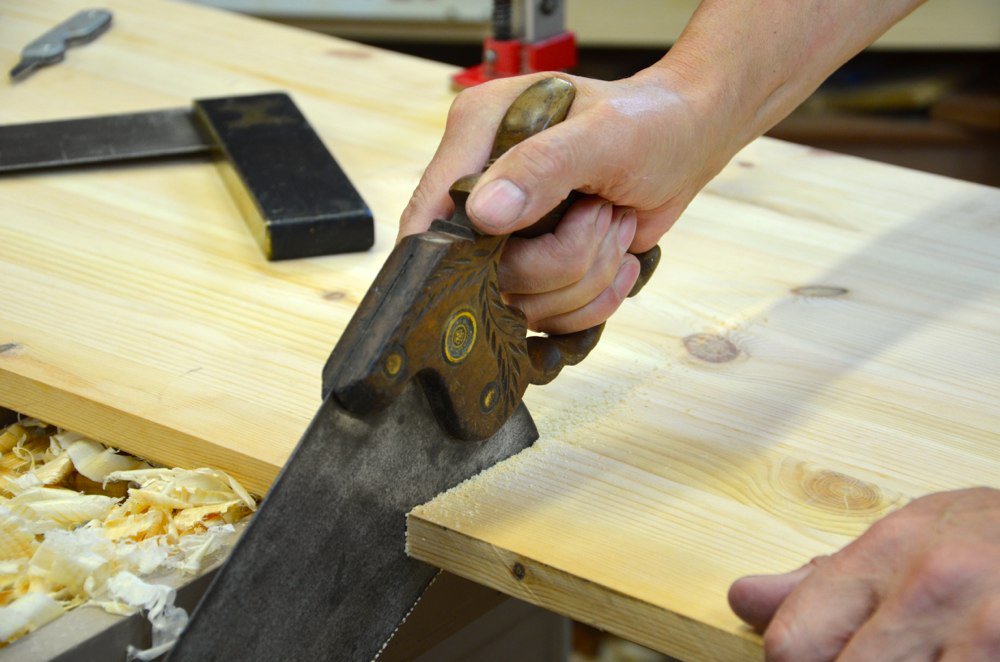
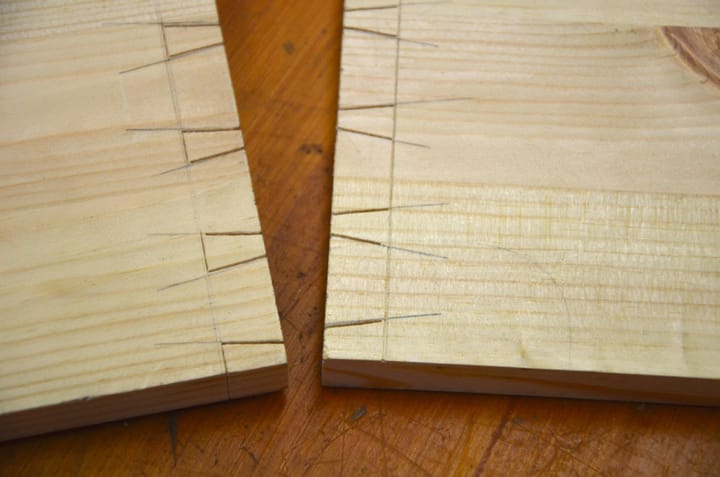
I cross cut the board to length using the knifewall to get close to exactness and then trued up the surface with a #4 smoother.
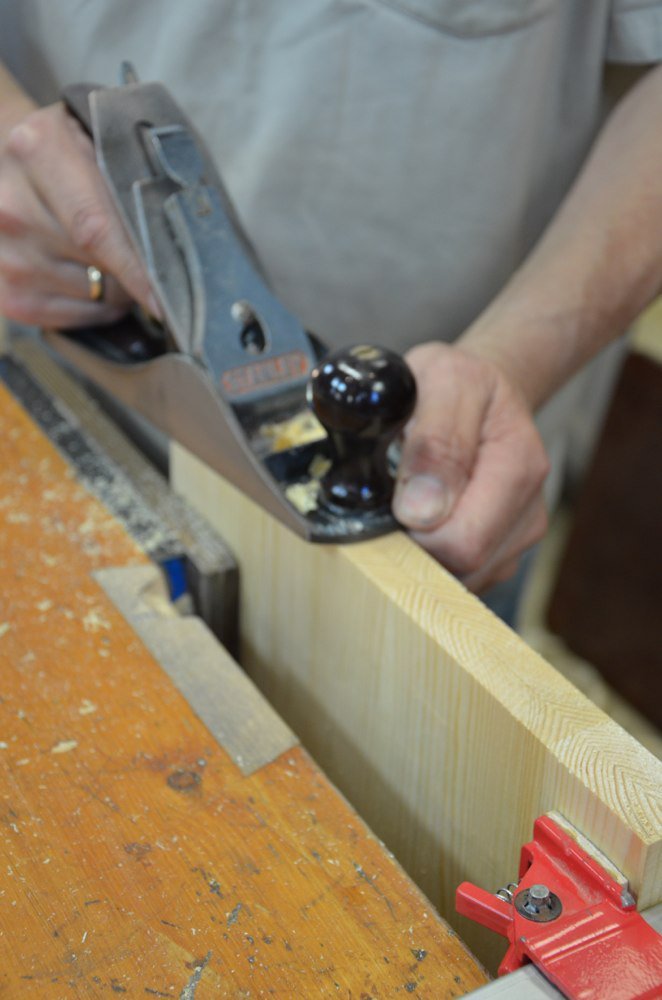
I usually put the paired boards together for this, especially on thinner stock as this increases the registration surface to reference the plane to.
Now that the boards are planed to thickness, trued parallel and squared I am ready for laying out the dovetails.
Comments ()