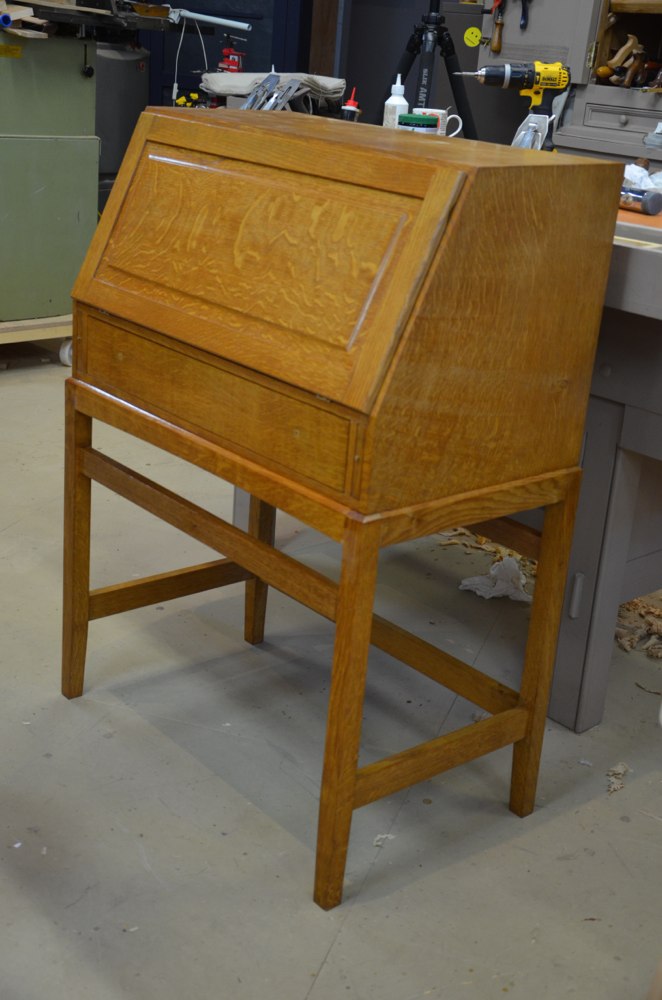
Finally - Restoring the Fall-front Desk
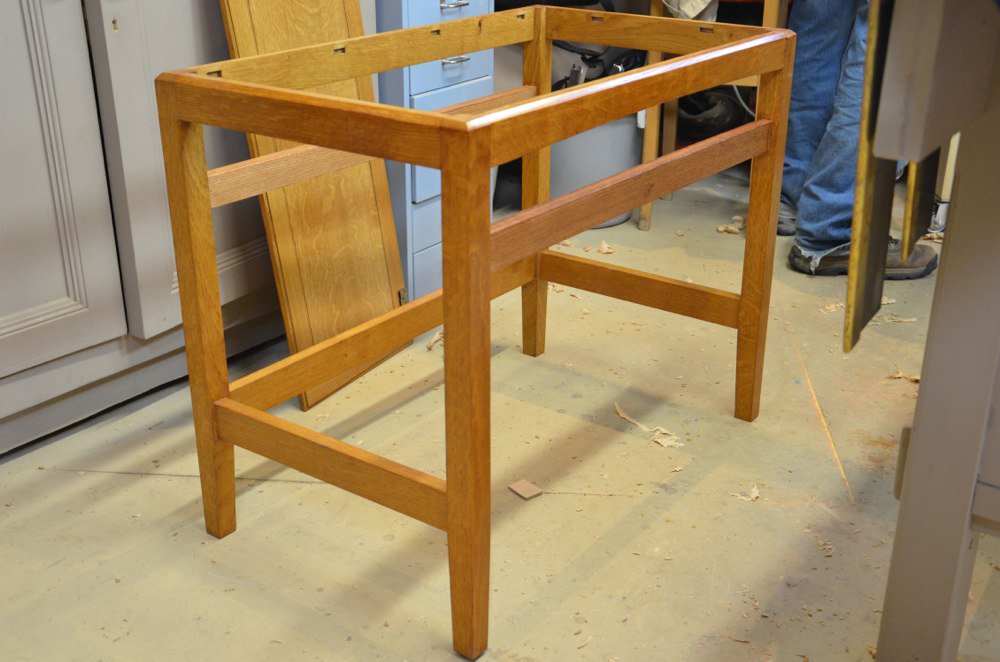
I returned the base frame parts back together over the last couple of days and even the parts that might have seemed disconcerting vanished when I levelled and smoothed everything back to good finish and applied the shellac. My how solid the frame feels now and I can’t really see where the repair work took place. I replaced the top desk part to the leg frame with the 12 original turn buttons, stained the new rails I inserted and applied shellac to match the existing.
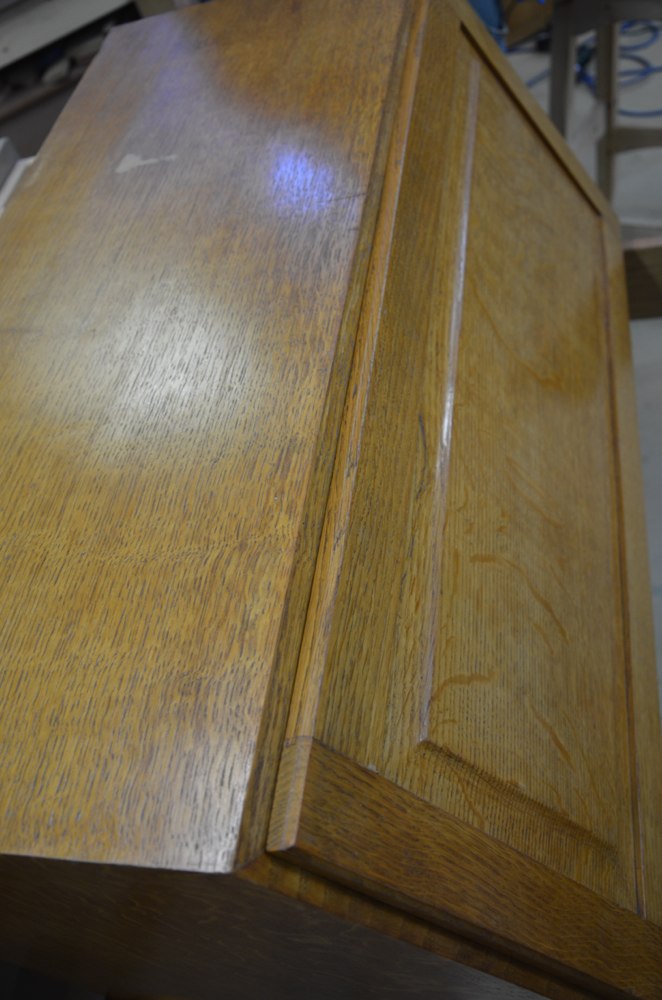
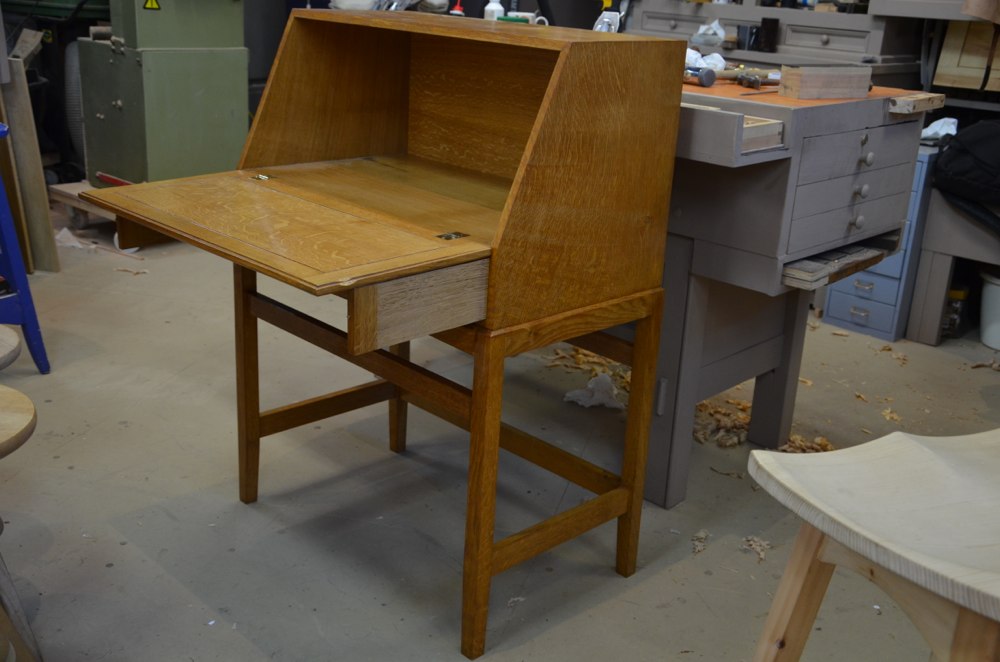
Interesting aspects inside the desk area revealed aspects to the design that will help you to consider essential elements that can trip up good design.
The back panel was a good quality 1/4” plywood faced one side with a quarter sawn oak veneer on the face side and a mahogany-type veneer the other. The way the plywood panel was fitted into the rebates was unusual in the the edge of the plywood was chamfered at 45-degrees and so too the wall of the reveal the plywood fitted into.Everything was nicely fitted and flush. He used 5/8” #4 brass countersunk screws to secure the plywood to the oak body.
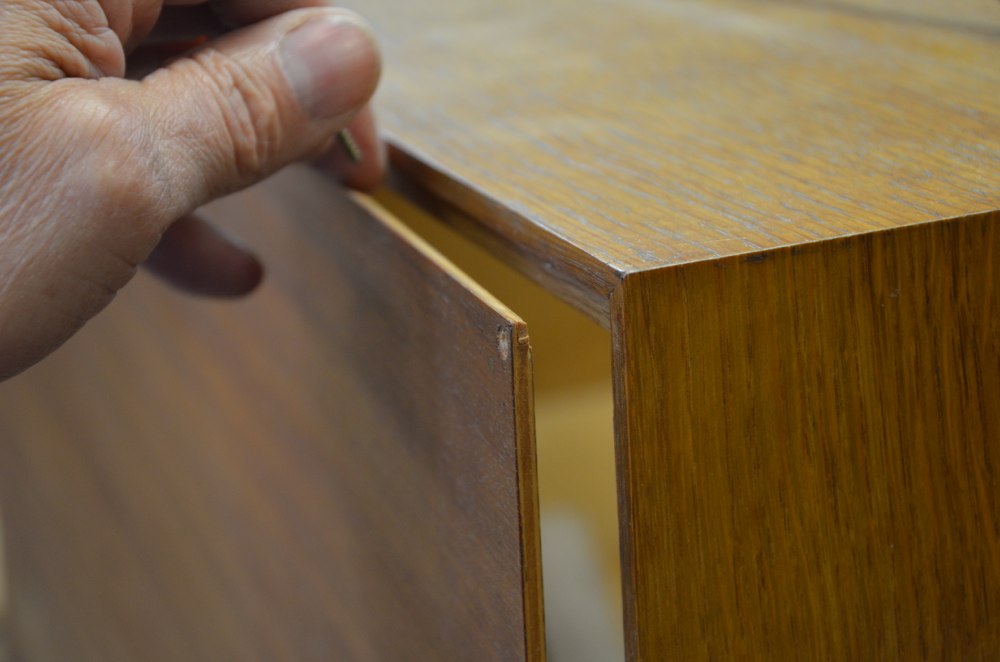
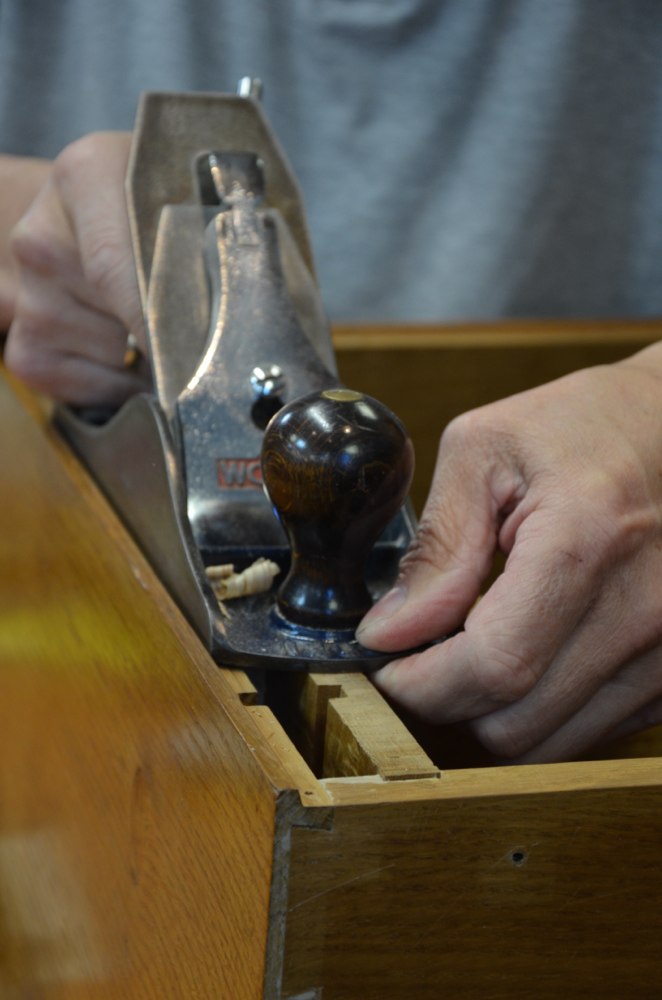
I had noticed that the slide-in oak supports protruded past the front face of the desk by 1/16” and asked John and Phil why they thought that he had not fitted them flush. Neither could give me an answer. I said I thought that it was a flawed design and asked them what the flaw was. Again neither could give me a correct answer. I pointed out further that the drawer also protruded past the front face by the same 1/16”, which might take some correcting because the drawer was dovetailed on the back corners instead of using a housing dado.
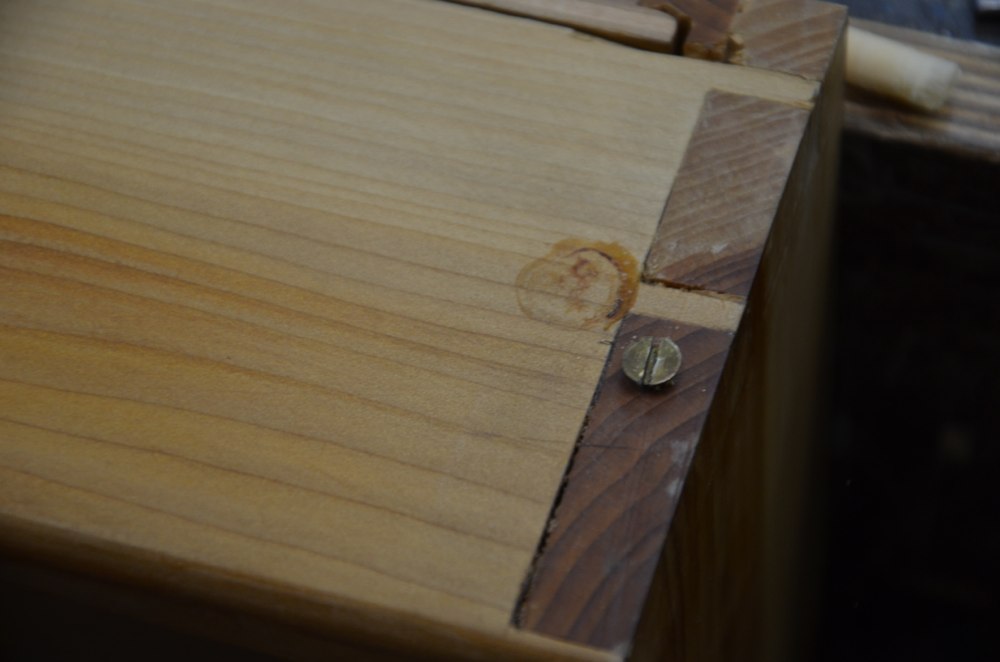
Slide in desk support showing protruding support at front.
The answer of course was that the overall case had shrunk by 1/16” and the supports had the grain oriented length ways and almost zero shrinkage or expansion takes place in the length of wood, much more variance occurs in width according to absorption and release of moisture in the atmosphere surrounding the piece in the everyday of life.
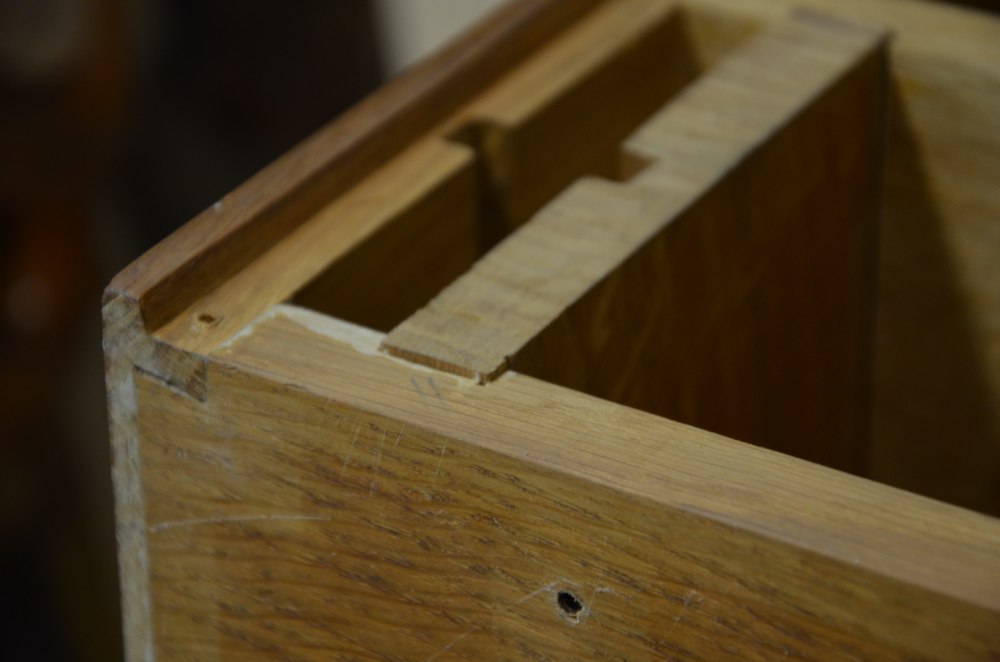
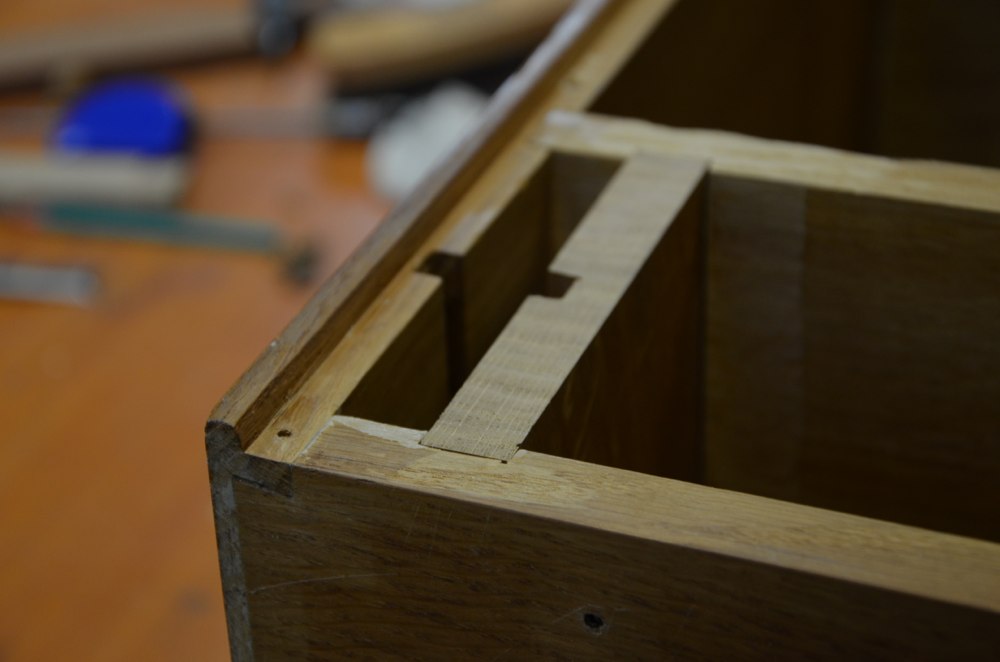
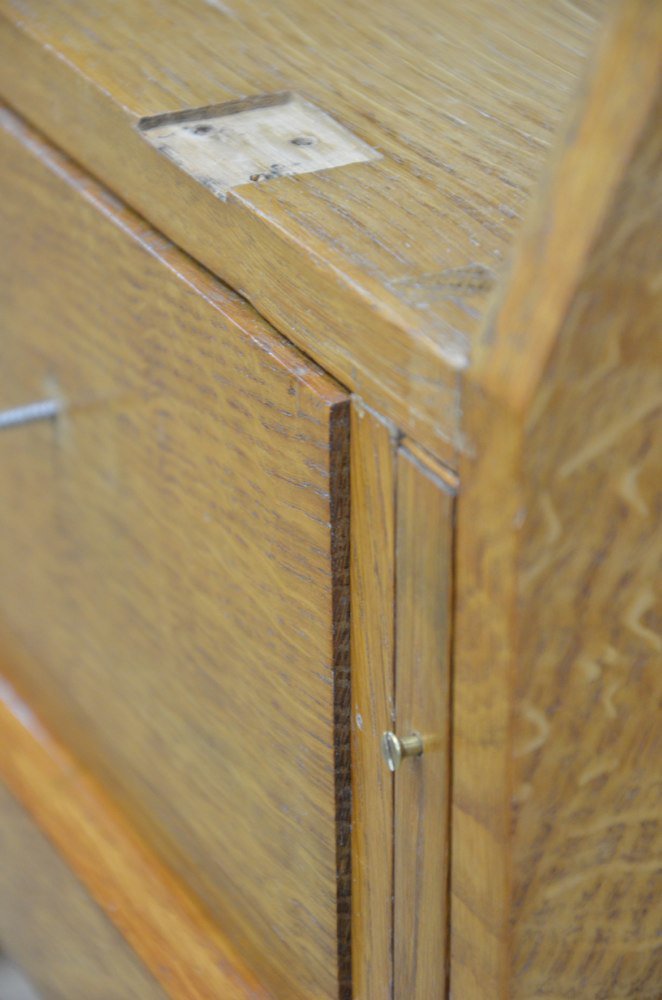
Rear inside of the case, showing the support enclosure behind the plywood back.
Removing the back ply panel showed that the inside enclosure wall to the support pieces was also oriented the same alternate way and the added length showed at the back of the cabinet and protruded the same 1/16” back there. The reason shrinkage showed at the back was because the front edge of the divider was tenoned into the main desk carcass, fixing the point from which shrinkage would take place.
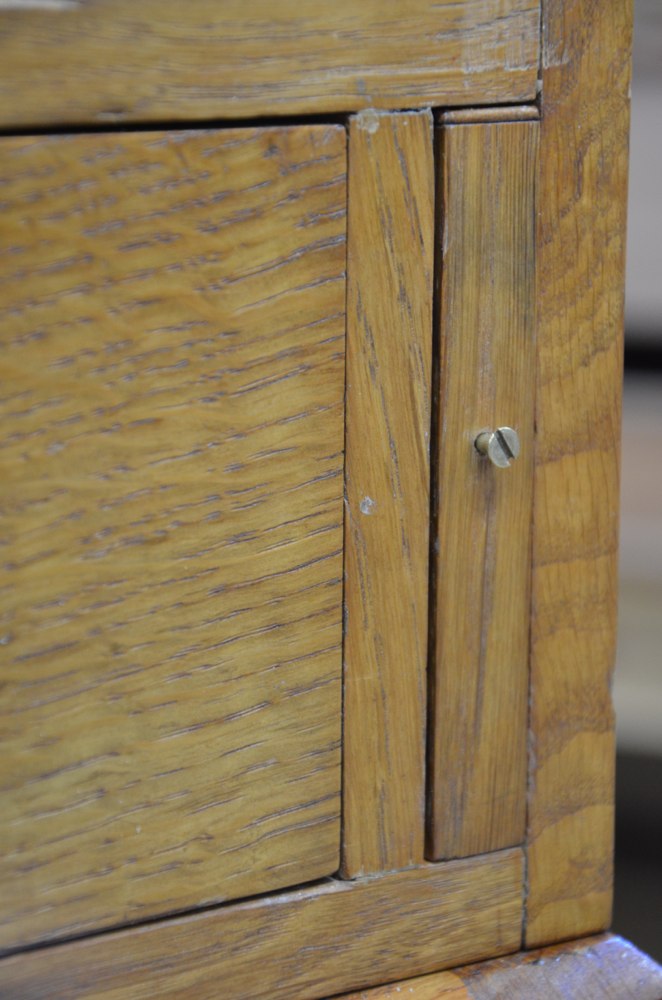
I was able to clamp the box in the vise and plane the back edge flush again. I also trimmed off 1/16” from the back end of the lid supports so that they would line up flush with the front edge of the desk again as in the original intent.
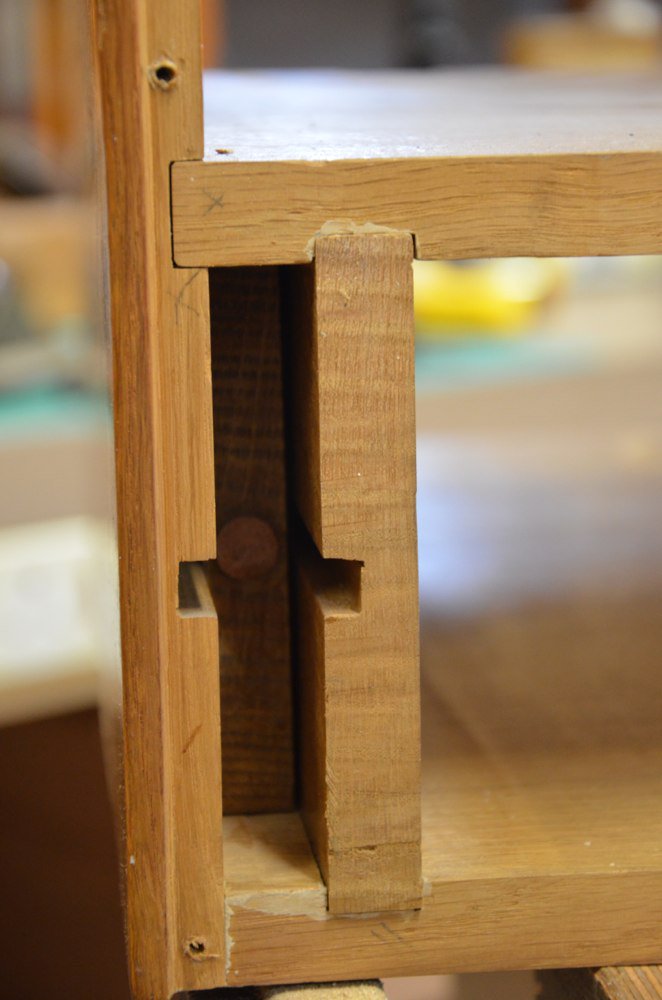
The flushed divider.
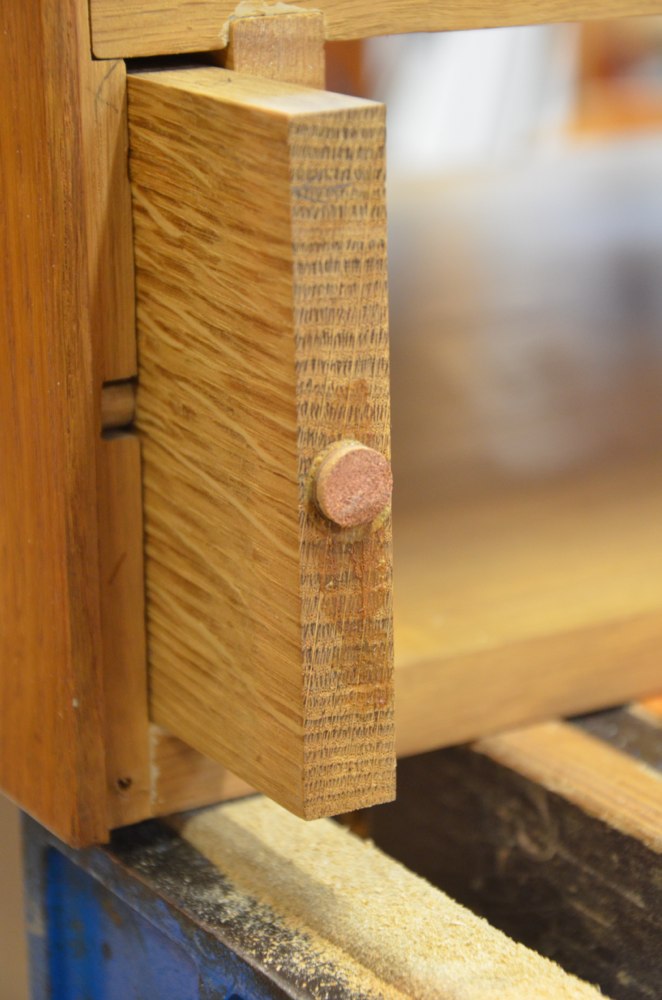
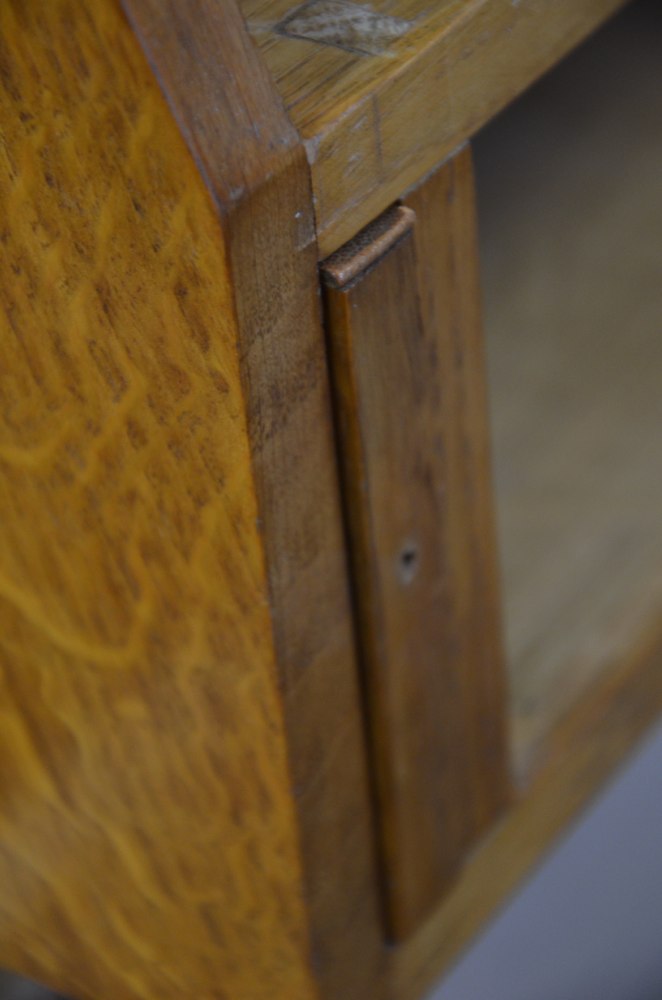
Removing the plywood back allowed me access to the supports and I could pull them out from the back. A cut and recessed 3/8” dowel was fitted through the rounder loosely and fitted into 3/8” grooves aligned to allow the dowel free passage to a stop position inside the grooves. Notice the saw kerf from a tenon saw on the inside corners of the grooves. Too small for a tablesaw and no power router used at all. The two grooves allow the supports to move forward but stopped them to support the fall front desk part. The supports each had a bumper at the rear of the support that bumped up against the plywood back when stowed. A bumper was missing from the drawer back and so I replaced it with a screw that would allow for adjustment to line up the drawer with the front of the body carcass.
I noticed that the supports and the drawer front didn’t align with the perpendicular parts of the front as if the drawer and supports were out of square. To correct this I planed the undersides of the drawer sides and the undersides of the supports from zero at the front to about 1/16” at the rear of the drawer sides and the supports and then they all aligned perfectly.
I enclosed everything back as original and enjoyed the work.

Screwing the turn buttons in sequence took only minutes because they were all numbered and ready to align with threaded holes again. I melted into the background of my workshop to look after standing it back on its legs and feeling how solid it now is. I stare for a while immersed in the sensing of who made this piece. I think he would have been proud of his work and the final appearance. I am sure he was disappointed with himself over his tenons but then forgot it. One hour would have fixed his mistake but he chose not to. A character flaw there really. All in all, in the overall scheme of things, I think the piece is well executed and very practical.

There was no scallop to the edges of the fall front and I found it awkward to open it. I scalloped a small point to make it easier.
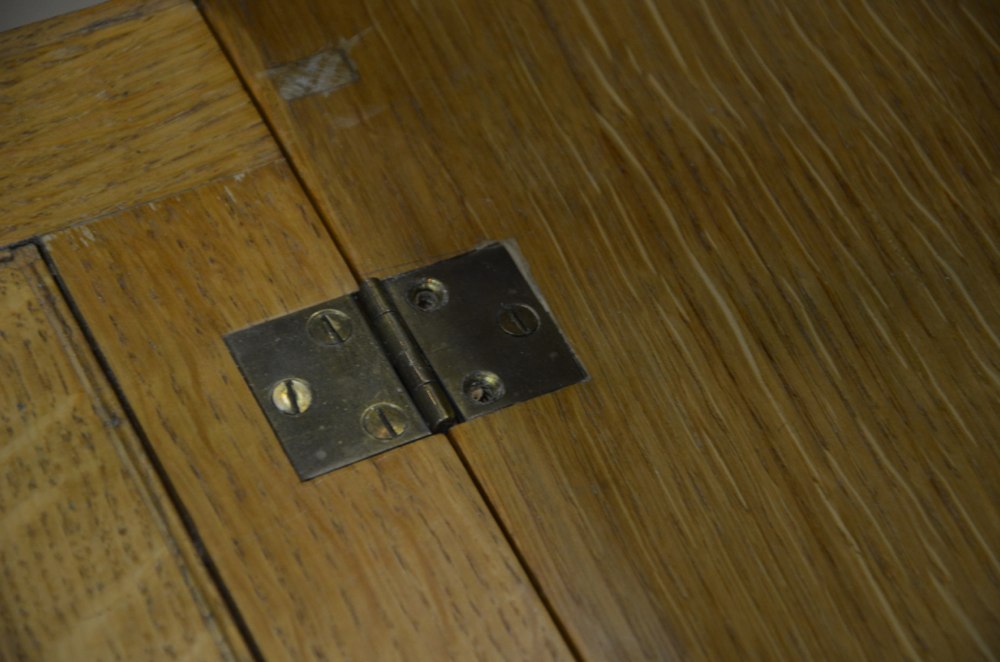
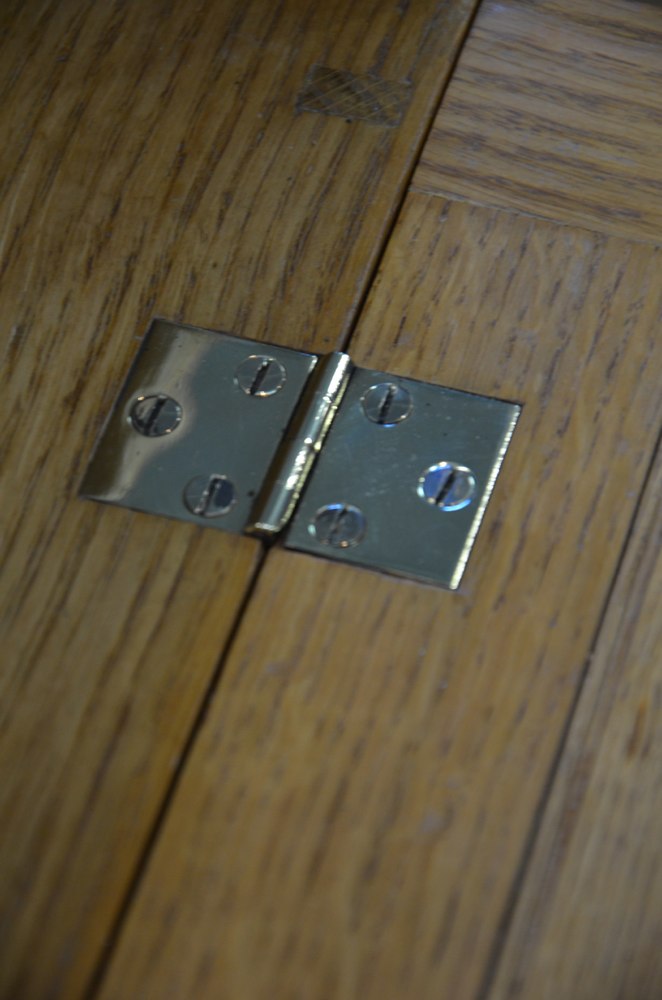
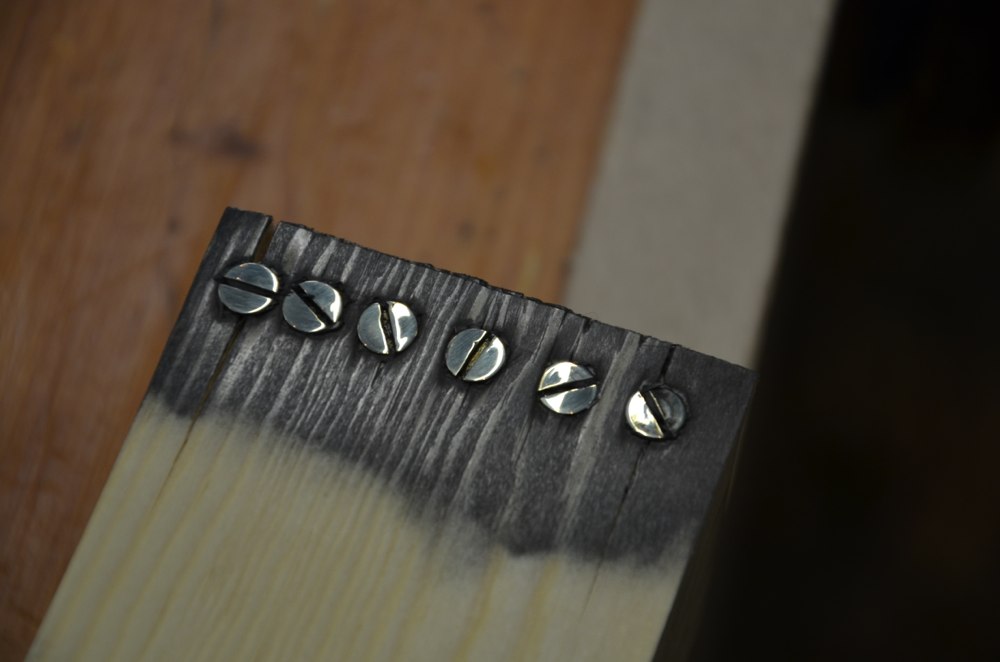
The two hinges were brass and well made. I decided to remove them and polish them with the screws. To prevent the screws from rounding over I screwed them flush with the surface of a piece of scrap wood and buffed them on a polishing mop.
Two added coats of shellac restored the overall surface work and tomorrow, with a wad of steel wool and soft wax, most of the remedial work will be done.
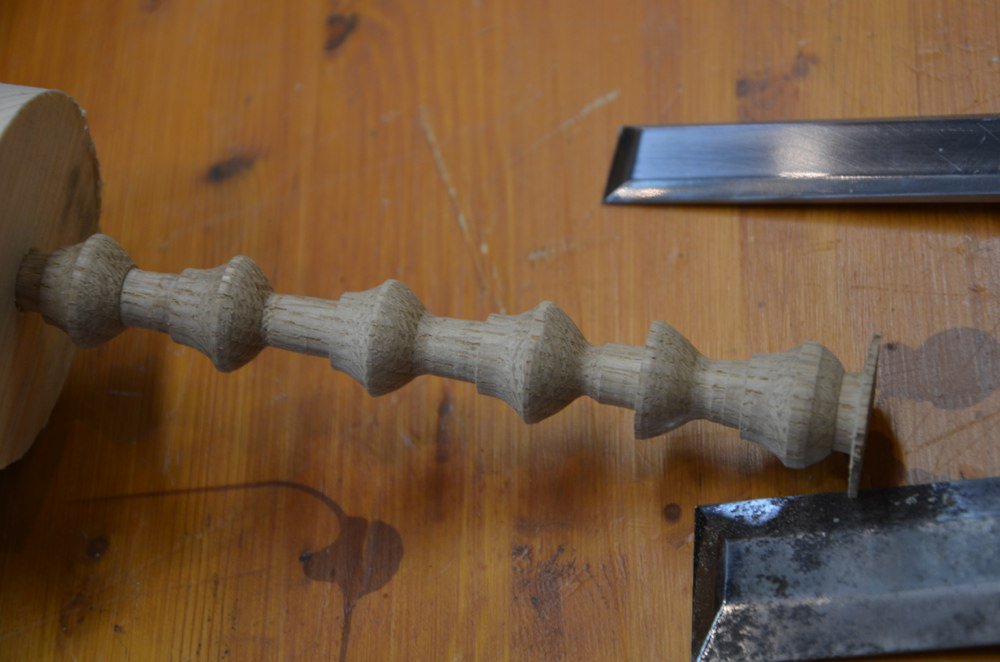
Before I left this evening I chucked up some oak for four new knobs and rough turned them ready for detail work tomorrow. Nearly done now.
Comments ()