Flattening One of My Benches
NOTE:Just so you know, Paul has a newer Workbench series. If you are interested in the updated version of Paul’s workbench please click the button down below. This page links to a cutting list, tools list, FAQS and much more.
Click here to go to the workbench page
Using any wood for a workbench will almost certainly be affected by exchanges of moisture in the atmosphere being sucked into and released from the wood even though the laminations should hold just fine. This then changes the flatness of the top because, depending on the way the wood orients in relation to the annual rings, different sections expand differently. Sometimes the difference is greater on one piece than another and its this that then causes undulation in the surface. When that happens it can be annoying and especially so if the work in hand depends on flatness. Making my picture frames is a point in case, both for the frames as I assemble the components for fitting and testing the mitres but also for the shooting board because it shouldn’t rock.
In my experience bench tops move and especially so if the benchtop is thick and wide. An unavoidable dilemma for bench makers and users. By wide I mean generally about 16” and wider. By thick I mean from an inch and a half and on up. In actuality all tops move regardless of thickness and width but it becomes accentuated in larger sections of wood. Thin tops such as those we use for a regular tabletop rarely show much movement at all, but this of course is not suitable for benchtop work. Although the work area requiring thick and heavy mass is actually more localised to the area nearest the vise area of the bench, the remainder of the bench top being the same thickness adds stability, equality of weight and thickness and this in turn adds the uniqueness we workers of wood depend on. Without it we feel totally ill-equipped for work. Oh, it is worth noting that movement takes place in the first year or so. The urge to flatten sooner should be avoided otherwise you will end up doing it two or three times. I would wait for a couple of years and then do it. After that time wood becomes less elastic and movement slows down. It stabilises you see. This is a form of conditioning we used to call seasoning. It works to wait and allow nature to do its thing.
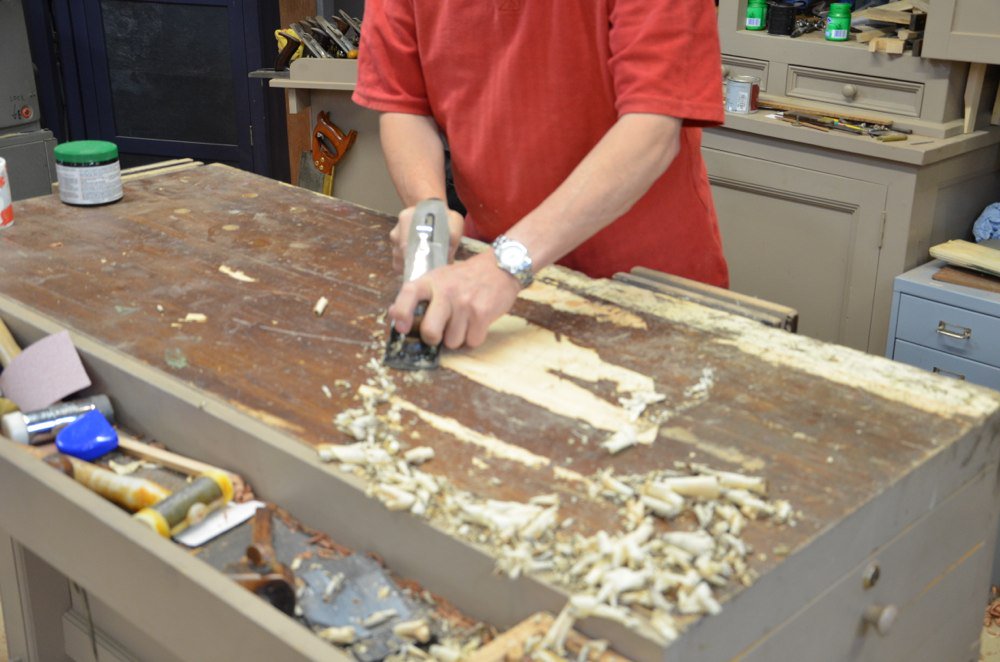
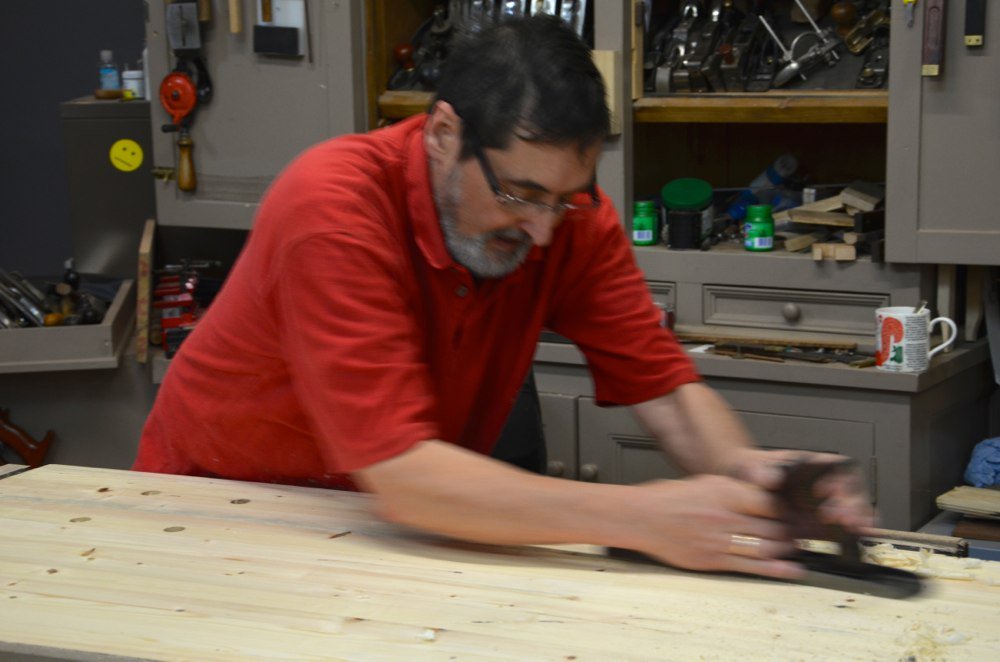
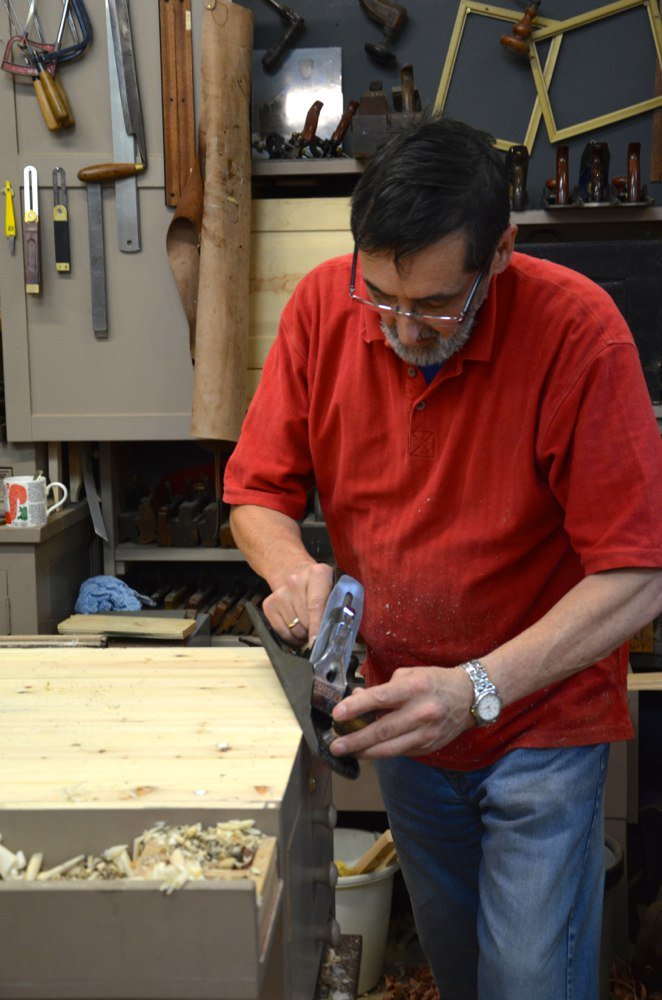
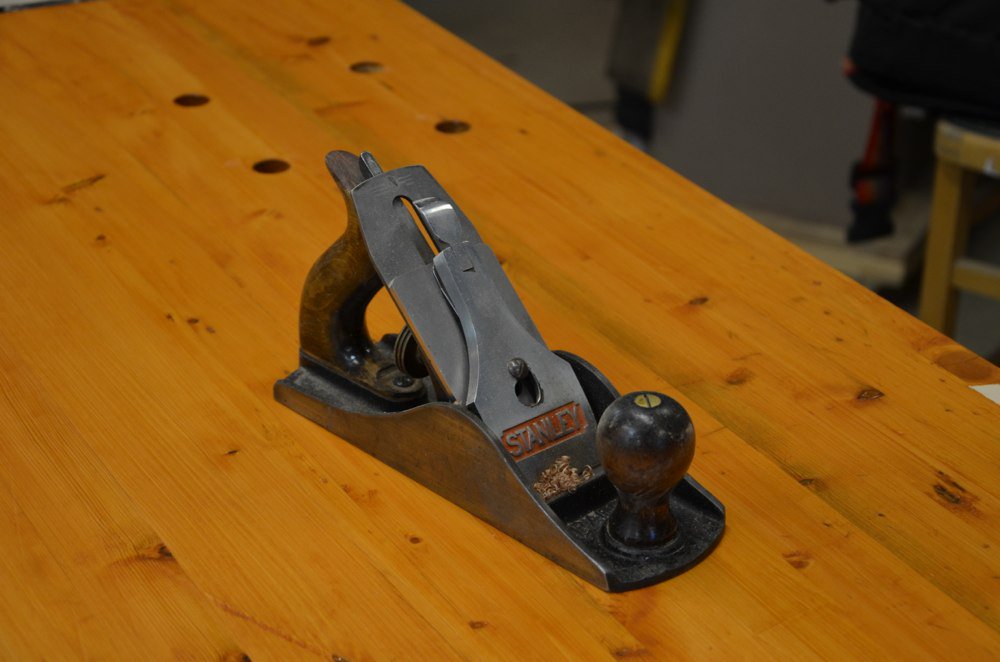
Flattening the benchtop on wider benches is simple enough. In this case I used a #5 jack plane for the whole process and in a few minutes the highs hit the bottom of the lows and I was left straightening to perfection. This benchtop was made from Northern European redwood pine. The bench is dead rigid and does not flex to unevenness in the floor. That means the benchtop should be untwisted as I t won’t change like lesser benches. It also means that any twist should be corrected through planing. I checked mine with two pieces of plywood stood on edge. Straightening the ends with the jack cross grain gave me a starting point. I stood the ply pieces on edge and eyed the two tops to see if I was in wind.

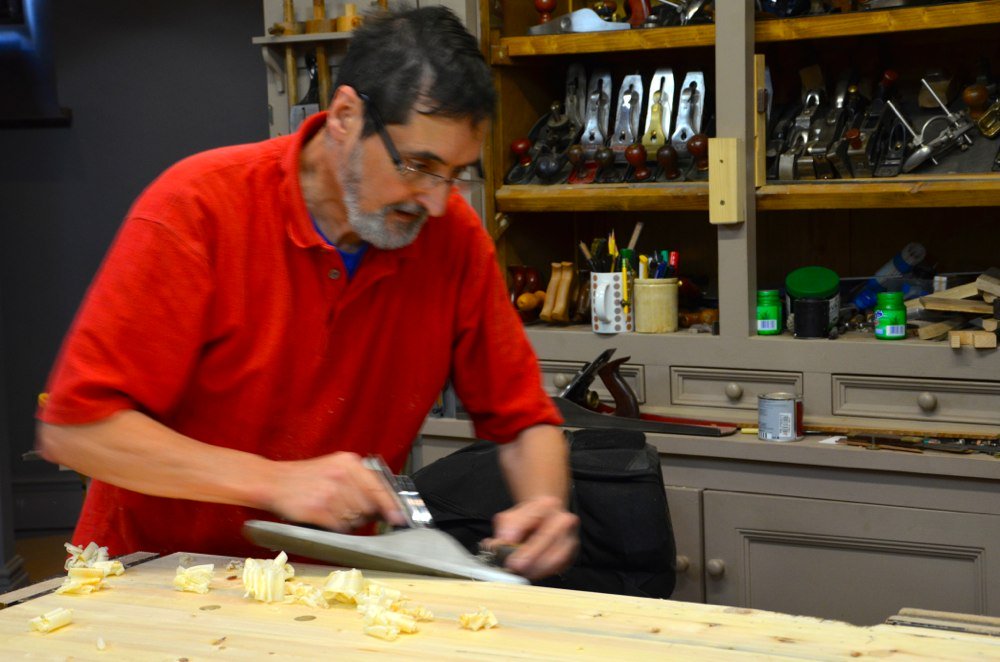
There was a small amount of twist so I levelled the two extremes until no twist was evident. I did the same in the mode section and then straightened all points in between and finished with long with-the-grain strokes for final smoothness with the #4 smoother.
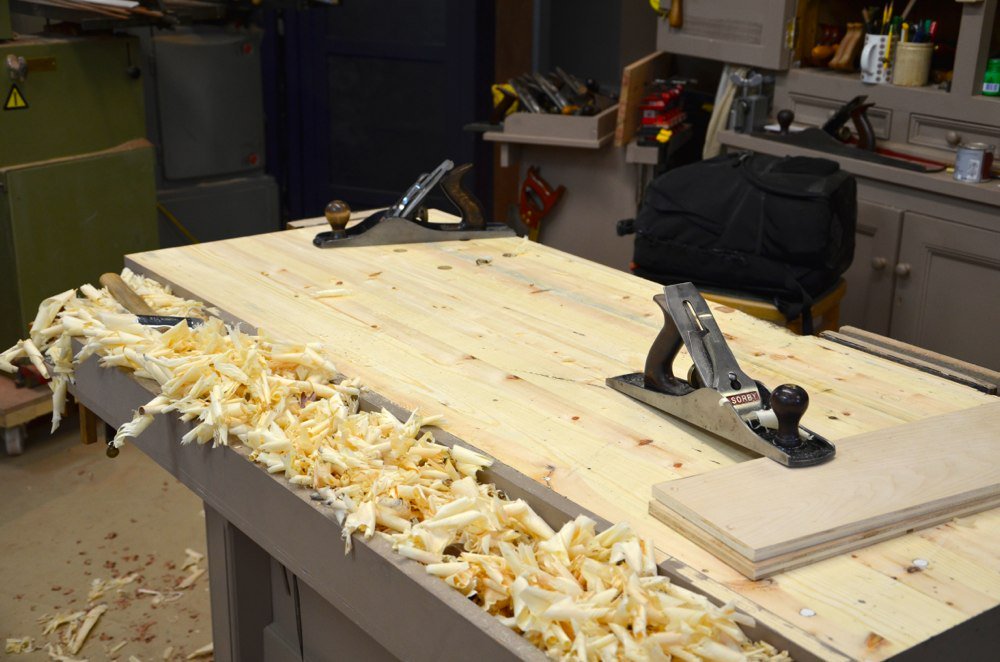
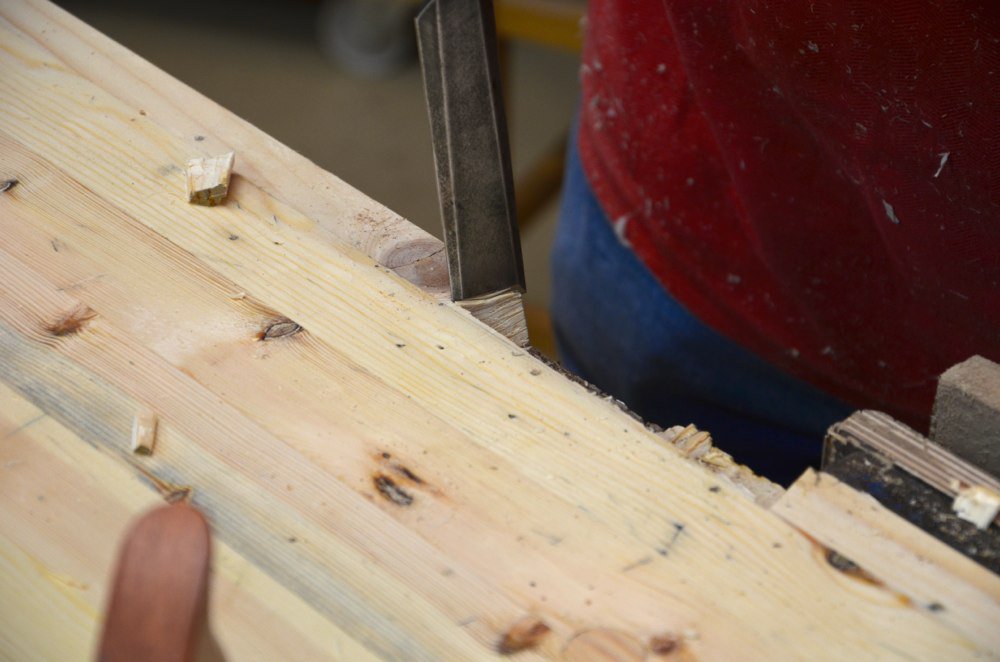
I remove the corners just a tad to make sure there are no weak edges otherwise they break off anyway.
Easy enough to plane all round and once true I got rid of the whiteness for my photography and filming needs by using an outdoor water-based stain finish from Sandolin using three thin coats. I roll on the finish with a 4” sponge roller for speed but these leaves suction bumps like minute polka dots in the surface as a texture.
To remove this I then draw the sponge in fixed position (so it doesn’t roll) by jamming the roller with my finger and pulling from end to end of the bench. This evens out the surface so I can still see the grain clearly.
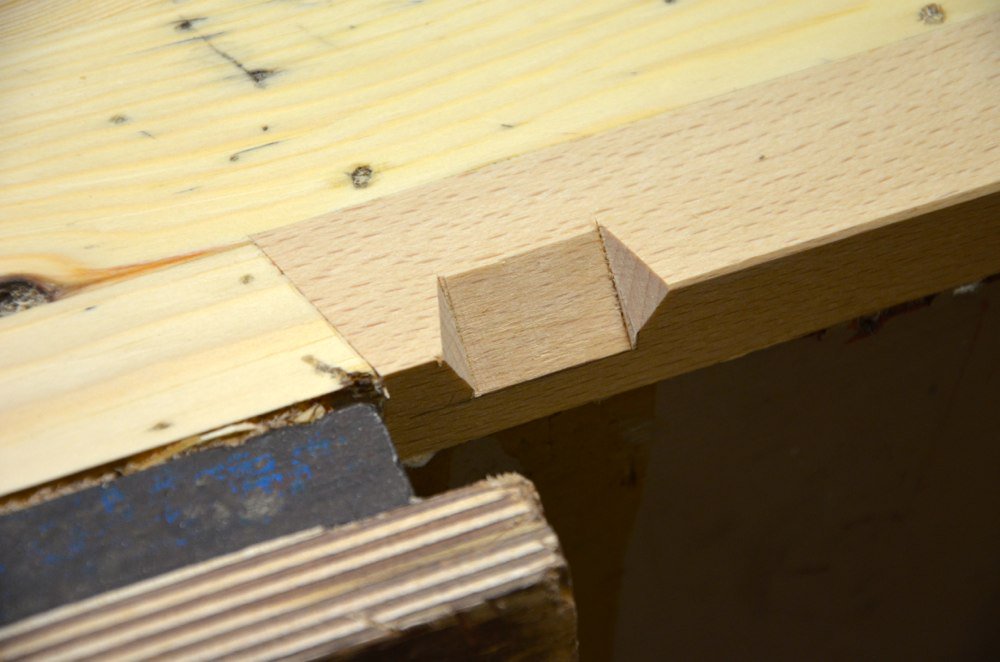
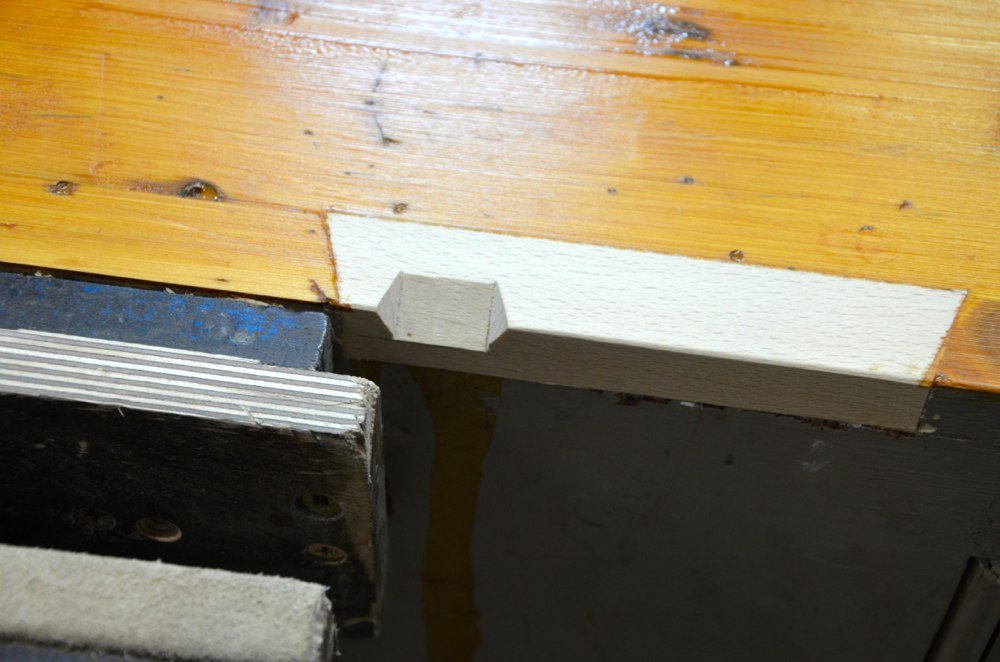
Another thing I added in the finished refinished top is two inserts with a “V’ channel notching to accomodate saw cuts each side of the vise. The saw kerf causes this anyway so I may as well add the recess. Dovetailing it in and gluing it in place means it will hold fast but I can readily replace in a few years time of needed.
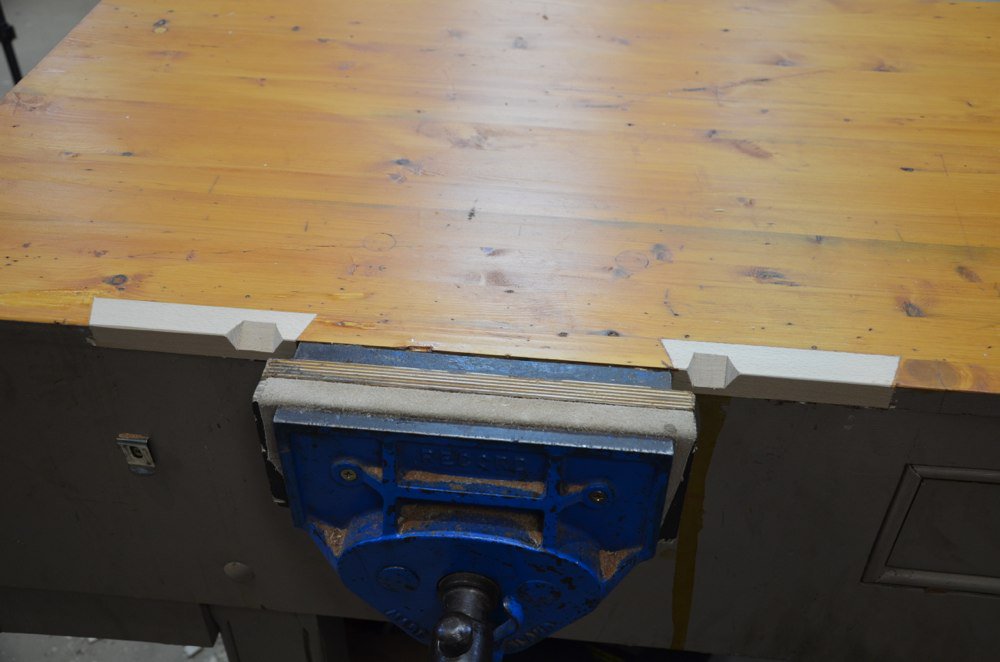
It smooths out the appearance and means the saw catches less on the corners that rip and look ugly.
Comments ()