From Picture Frames and Making Wood Work
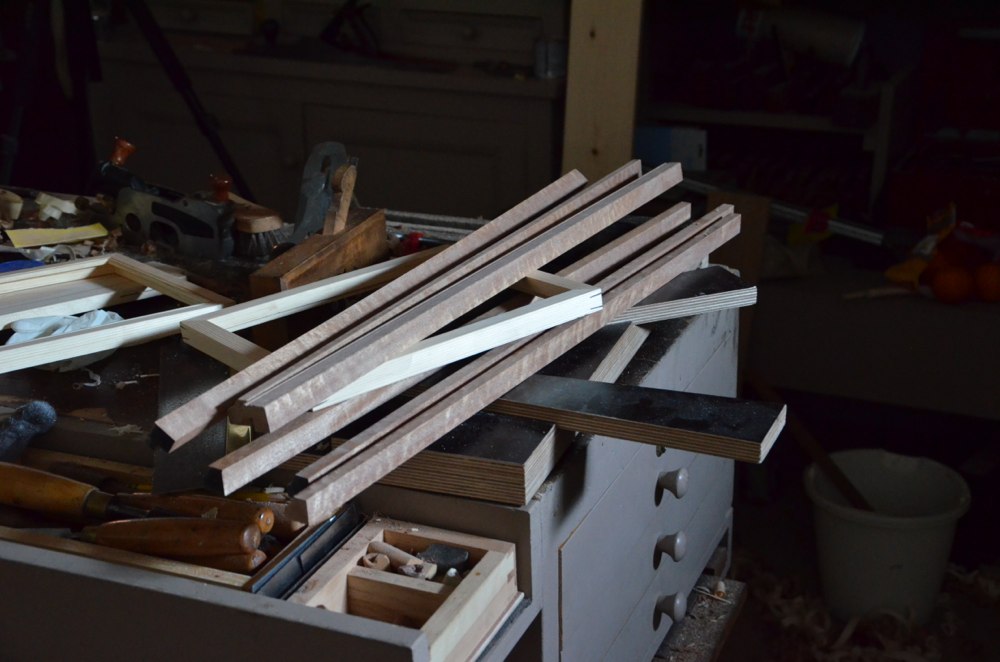
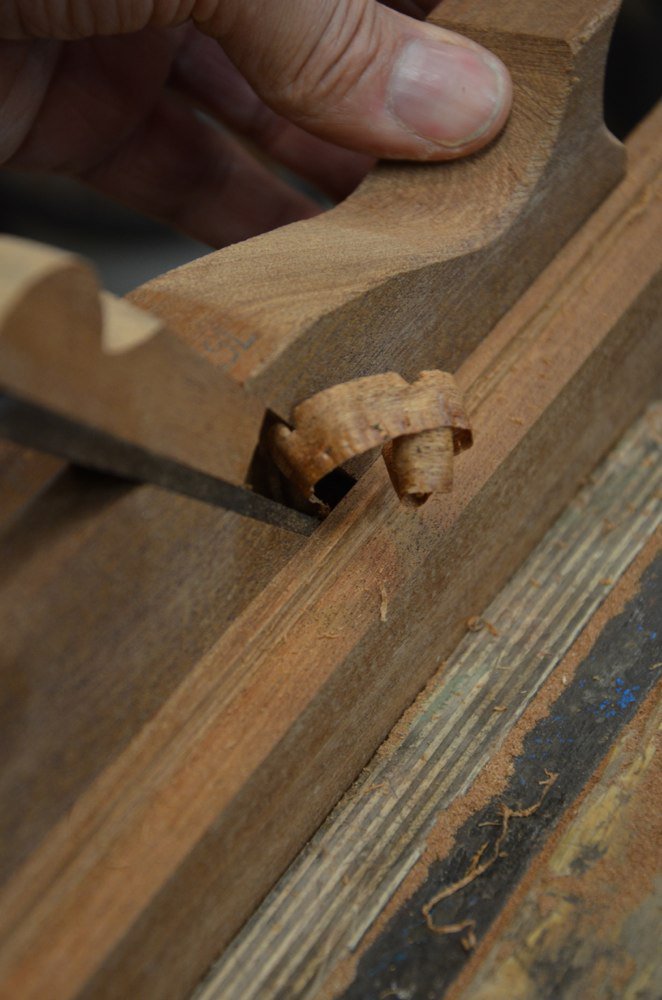

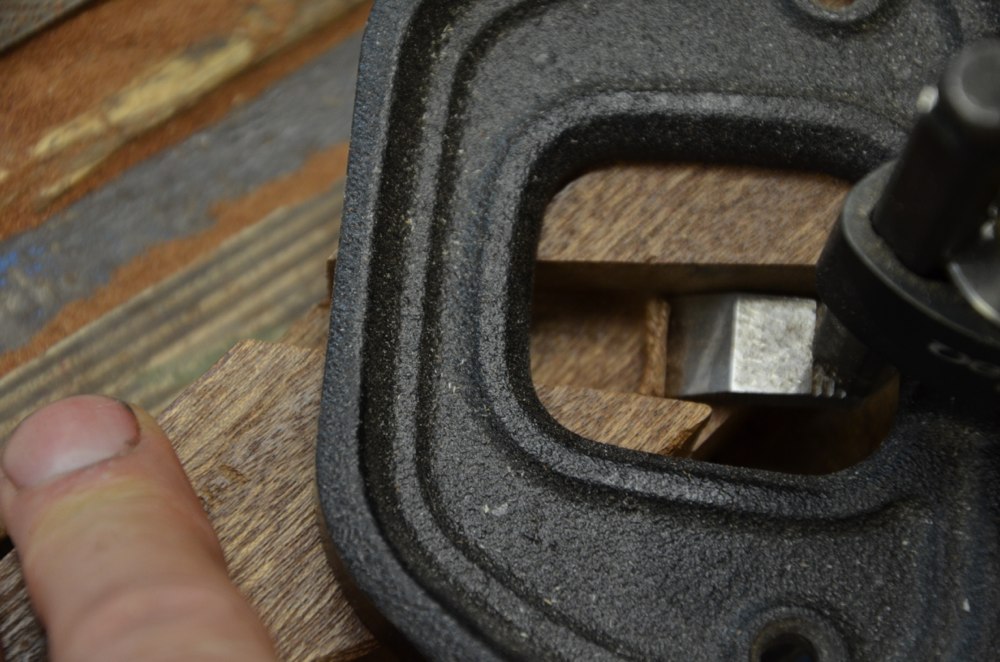
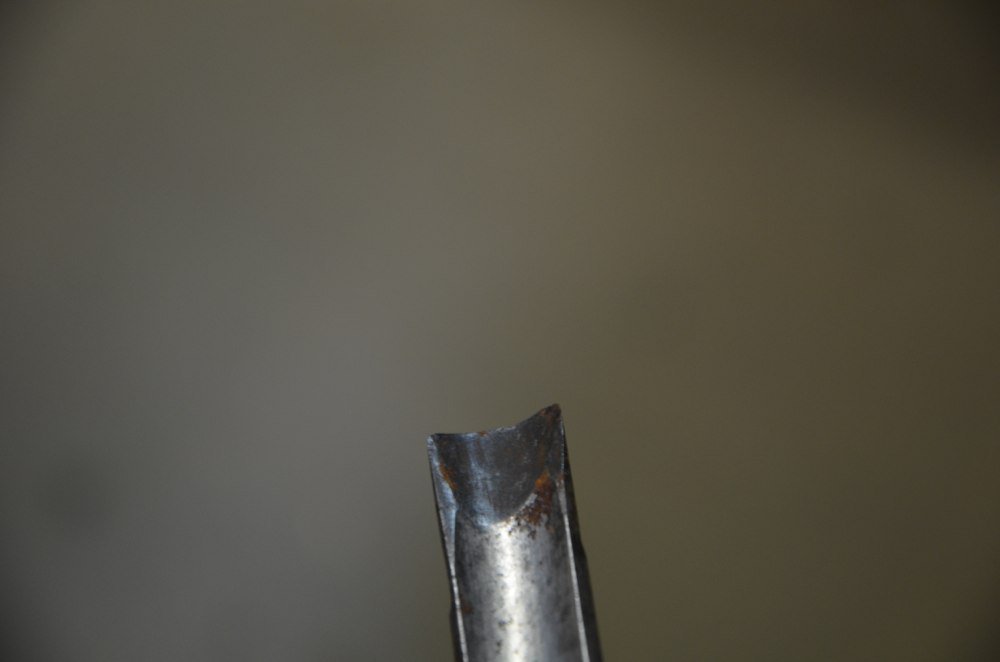
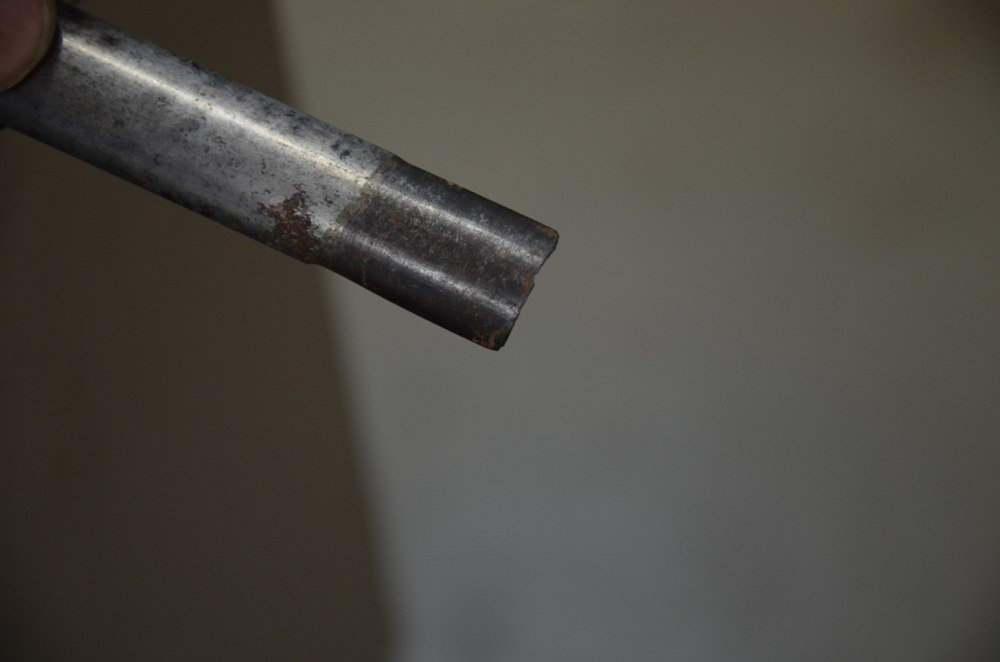
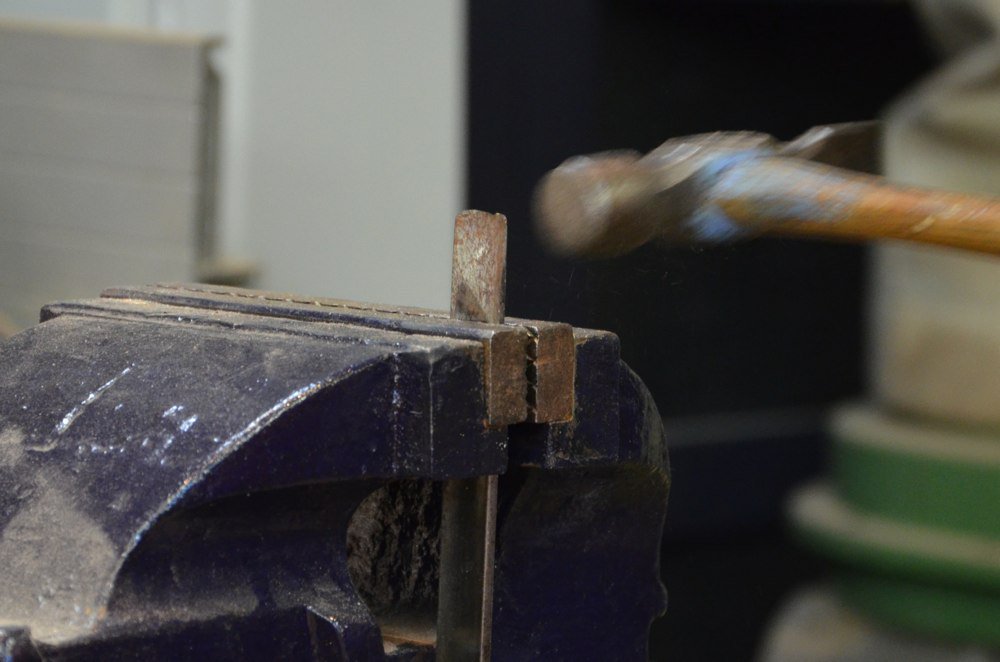
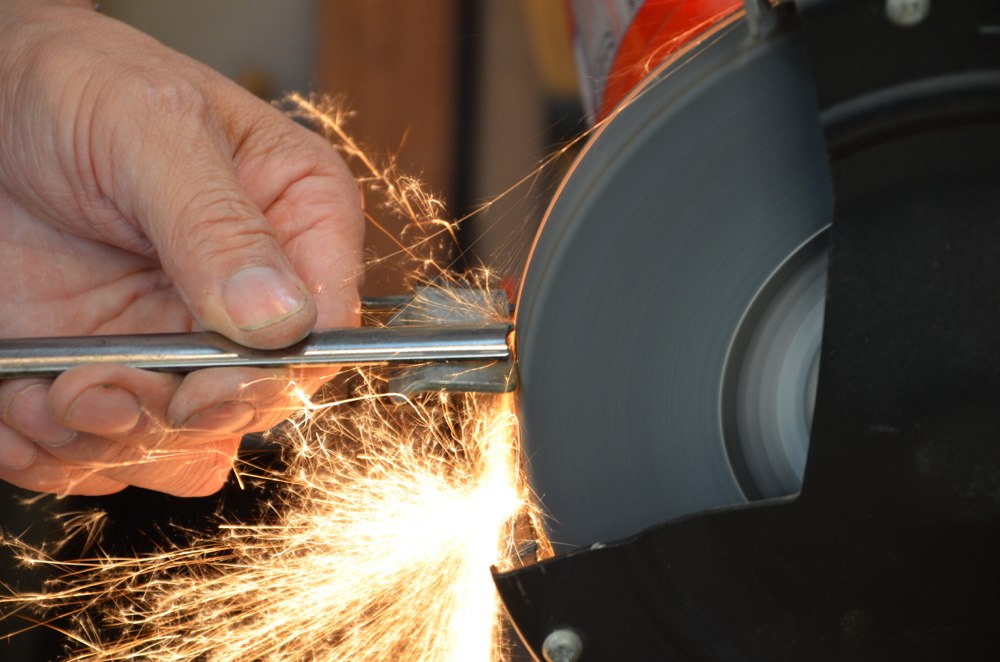
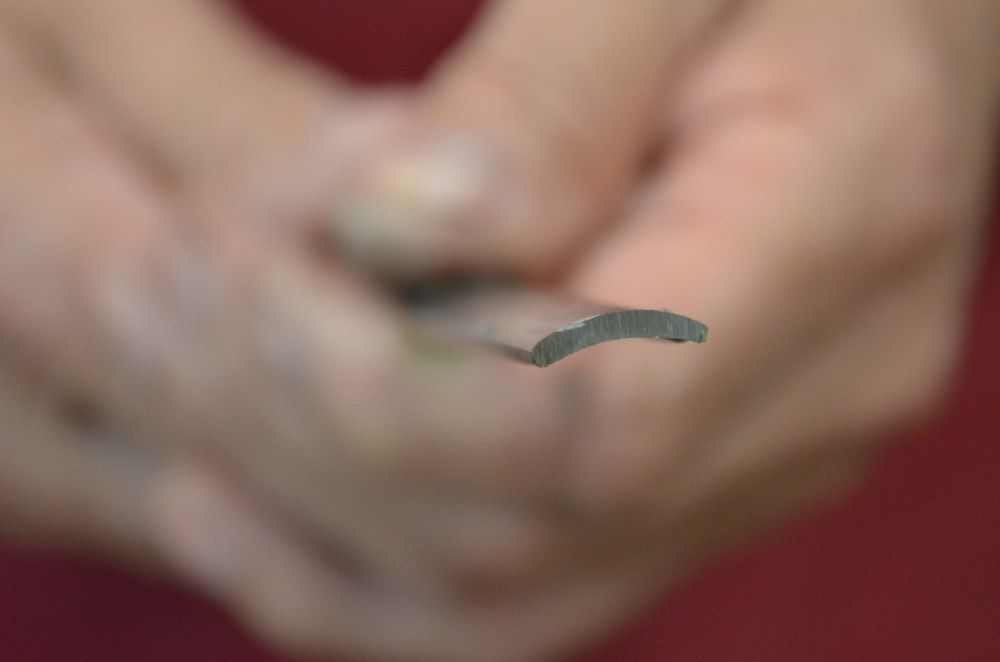

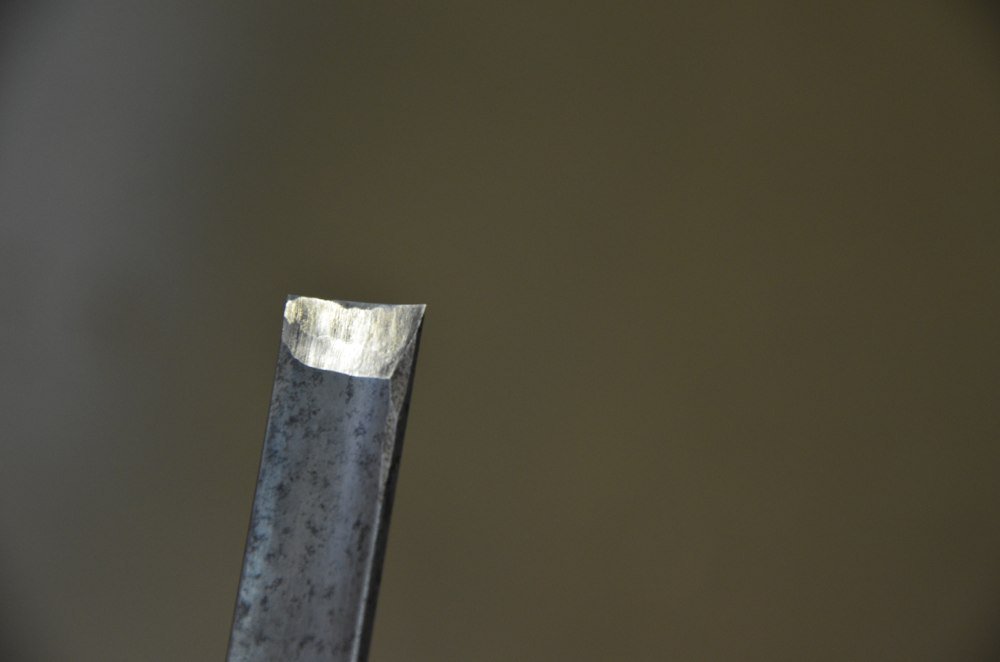
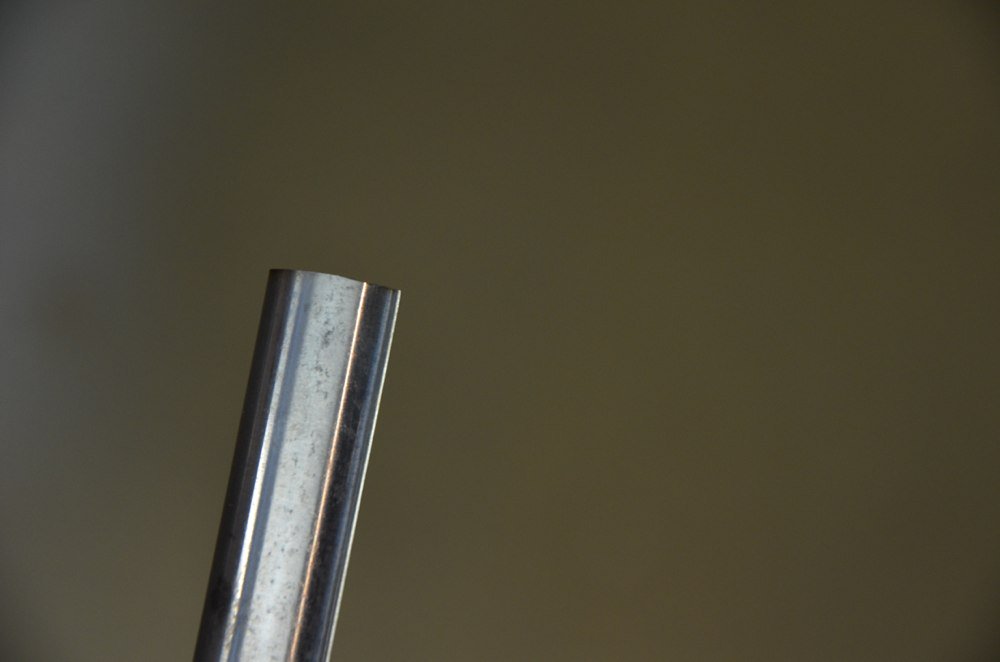
Today I made picture frames with different moulded shapes using moulding planes, smoothing planes, rebate planes, scratch stocks, screws and tenon saws of different types and sizes. The work was different using so many tools for so small a project. The demands were high, tight tolerances essential and I felt the tension build until alI the parts came together in exactness. The tools were cast iron and steel as well as wood and steel. I used dedicated tools and improvised by making tools as I went. So many times we think making a tool for a task takes longer than setting up a router and sometimes that’s true but often not. A tool made is seldom a one time use tool so economy figures in in different ways. I can make a temporary rebate plane in about 10 minutes from a chisel and a piece of scrap wood. It’s not complicated to do this and most of us have an old chisel or a spare one. Anyway, I was rewarded with a new tool to use and all the components for the next filmed series making picture frames that are very different than anything you might have seen before or ever bought or made or ever considered. I will be interested on your take on it when it’s online in a couple of months There are a series of rebates formed and some of the methods I use to form them will be quite unique to see I think. I am so glad we don’t need to use a chopsaw or jump through the hoops of making a tablesaw sled for the mitres and that we make a perfect mitre guide with two knife cuts and two saw cuts in under a minute. Much of what I do is about speed and efficiency yet without compromising my lifestyle of lifestyle woodworking that’s so effective and tangibly real I would find it hard indeed to live without it. I know, some of you out there might be saying ‘get a life, Paul,’ but this is the life I love living.The neat thing for me is that I don’t need to prove anything and at the same time I prove everything I believe in. There is no competition between the machine and the hand in my world. I have used both and find both useful. I find undeveloped skill is often diverted to machine dexterity and thereby skills, I mean the skills that could be passed on, apprehended and lived with, lie dormant and unused in most people’s lives. I find that simple and honest. Trying to prove one over the other seems to me to be like comparing an apple to an orange or even say a sledgehammer to a nut. Another thing I did this week was restore a couple of tools I picked up from the Woodfest Show a couple of weeks ago. Here is a very ugly paring gouge used mostly in pattern making. The gouge itself fell victim to someone who knew nothing about the tool and thereby a careless hand at sharpening. The important part of this type of gouge is only partly the bevel on the inside of the hollow. The very important part is the rounded outside. In this case and the case of a second one I retrieved from a mass of rusted tools in a box the bevel was badly ground and hacked at and the outside round was badly distorted by inappropriate abrading. I felt the best tack was to break off the end and rework the cutting edge. I clamped the main body of the gouge in the metalworking vise to reduce the risk of an uneven fracture into the cannel. There is no guarantee. Two swift and firm strikes with a cross peen hammer effectively separated the waste from the wanted. From snapping off the former bevel I squared off the end of the gouge to give a new start point to grind the in-cannel bevel. I used the corner of the grinding wheel to create the new in-cannel bevel of 25-degrees. It works well to do it this way and frequent dipping in cold water keeps the temperature of the steel tolerably low enough to prevent excess heat build up resulting in burning the steel. It’s best to take your time with this. Especially strive not to burn the steel and keep the tool moving from side to side around the cannel and so avoid stopping at any fixed point on the corner of the wheel as this will definitely burn steel away fast. I got very close to the edge and left only about 0.5mm of a square edge left. From here its abrasive paper on a suitably sized dowel going from 250 to 400 and then in increments of 200 to 2500 in steps of around 200 or so. Beyond that the same dowel can be wrapped with leather and charged with buffing compound. The bevel is now completed. The outside round surface should be polished already, but a final buffing with a leather strip or strap or the rough side of a leather belt charged with buffing compound completes the sharpening and I have vary nice gouge for the rest of my life.
Comments ()