Making Winding Sticks by Hand - Part II
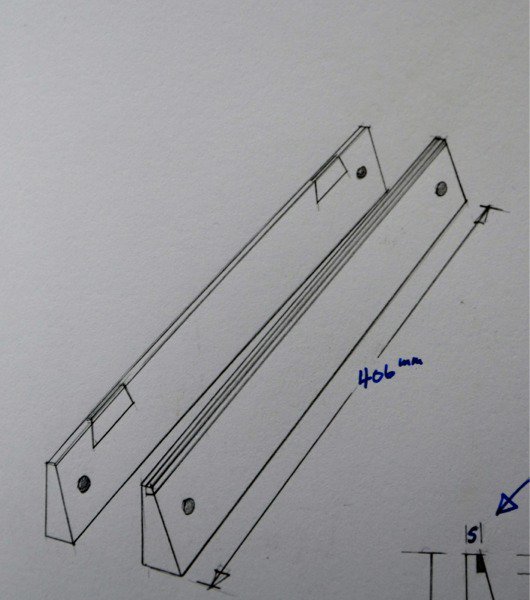
Here are some drawings to help
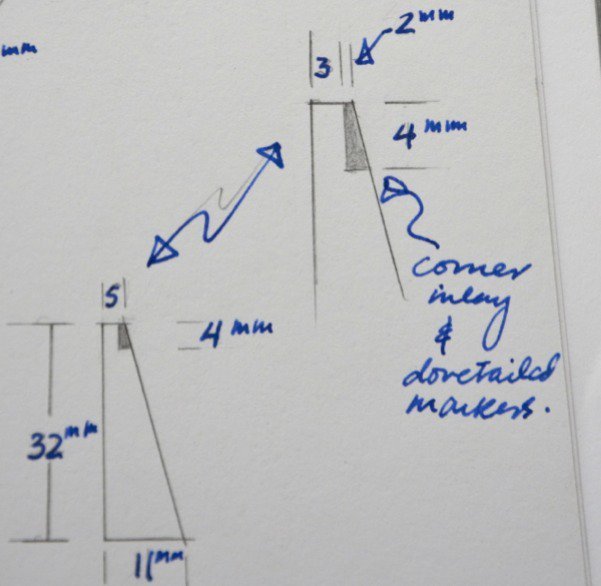
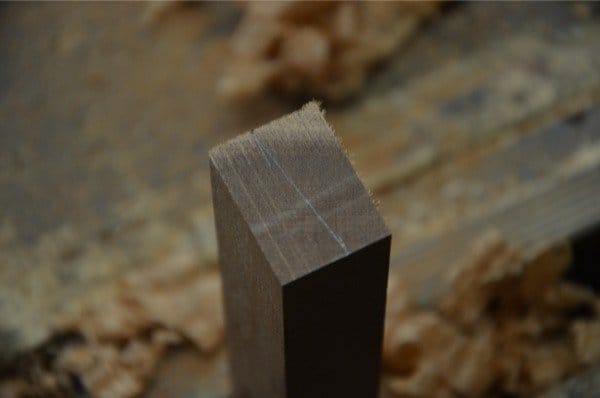
Corner inlay
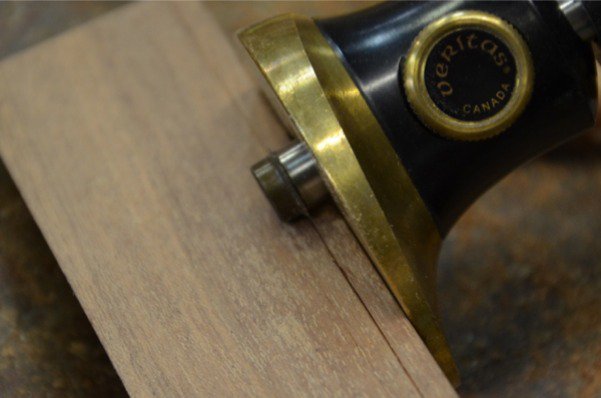
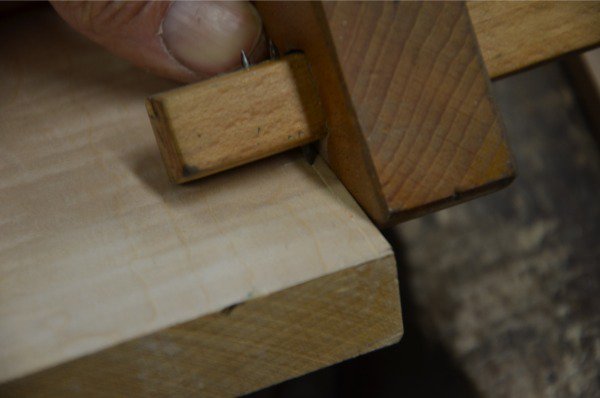
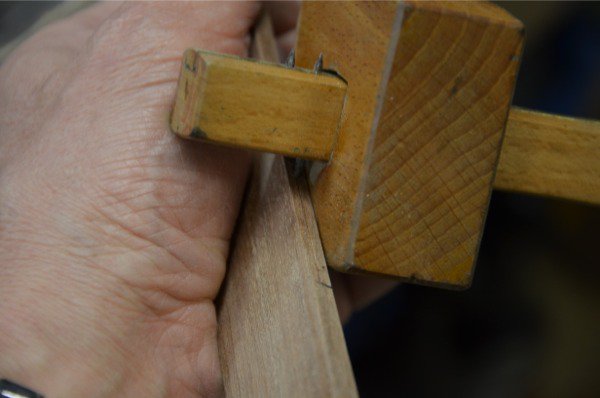
The corner rebate is best done with a marking gauge, knife and tenon saw. The Veritas marking gauge works well for this type of gauge work as it works like a knife, but you can achieve the same results with a light pass with a regular marking gauge followed by a sharp knife.
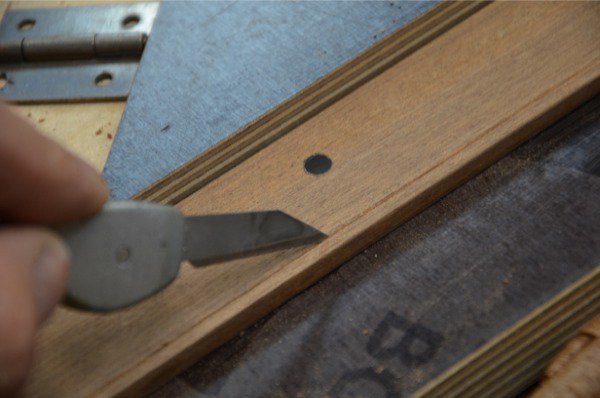
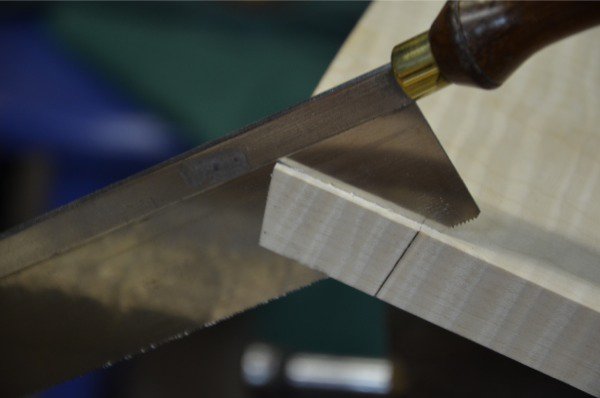
When the first wall is established at 3mm (1/8″), run a tenon saw deeper into the knifewall to around 1.5mm (1/16″) deep.
Do the same on the adjacent face but set the gauge to a shallower setting of 2mm. Remove the waste carefully.
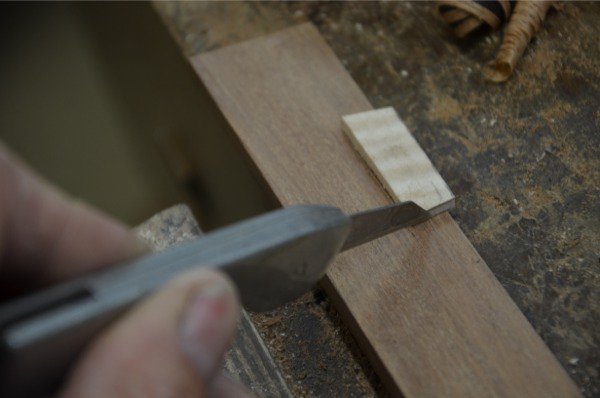
Trim with a bullnose if you have one, if not trim as best you can with a wide chisel and a knife.
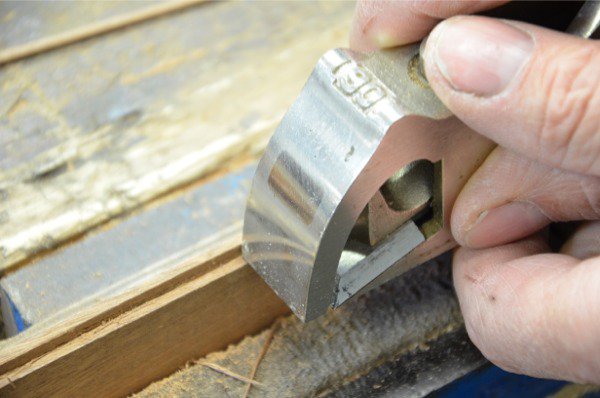
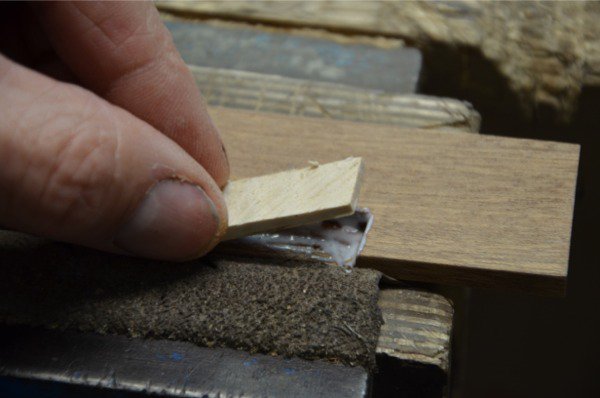
I cut my ebony piece to just 4.5mm square and smoothed up two adjacent faces with the plane.
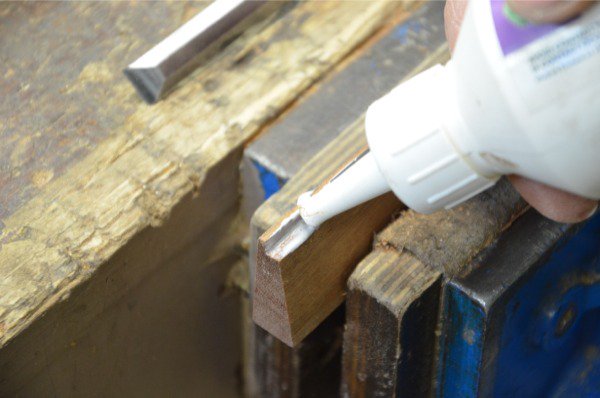
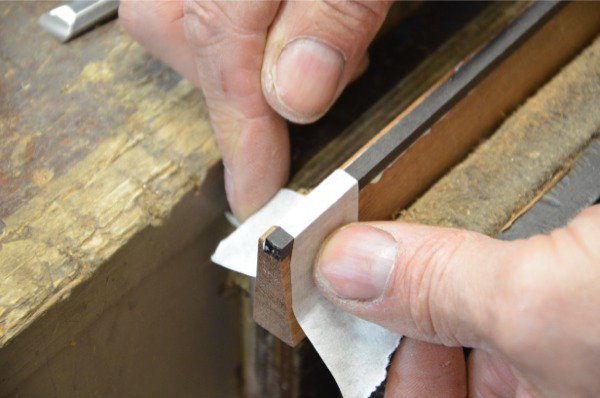
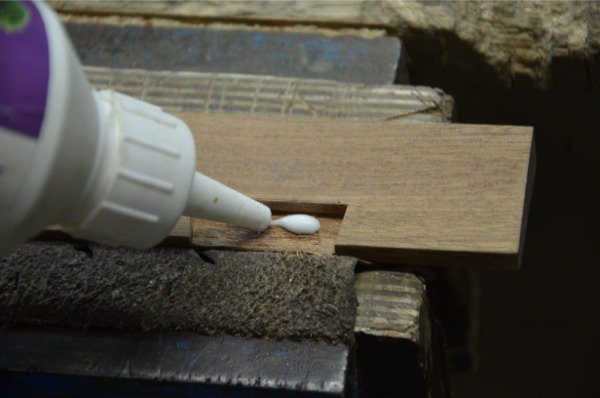
Use PVA glue to glue the ebony in place. Run a bead into the corner. When you place the ebony the glue will automatically distribute onto both faces.
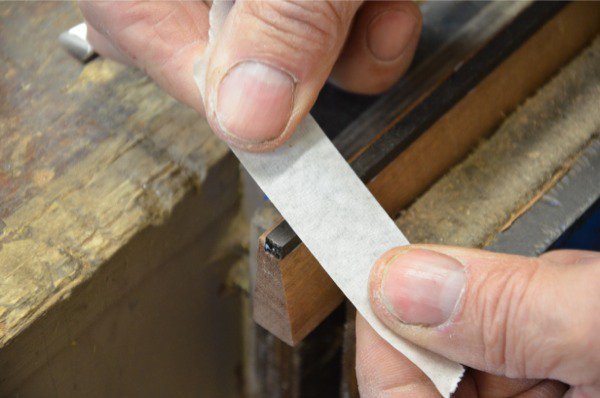
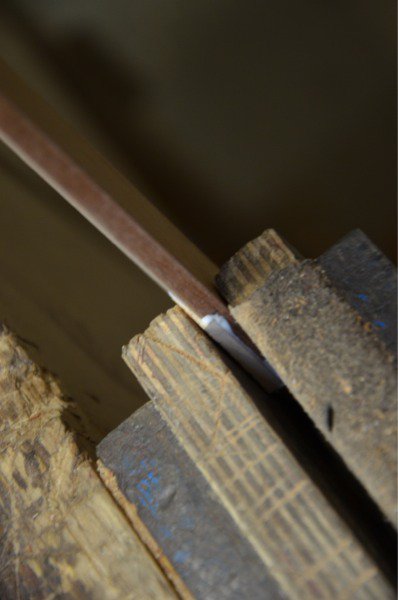
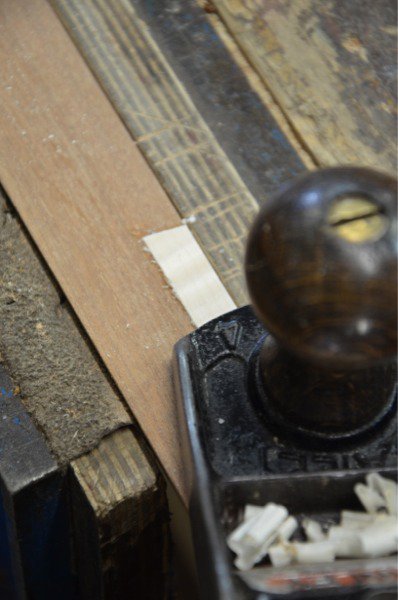
Stretch masking tape as tightly as you can and pull it onto the corner of the ebony and lull the tape equally so that the ebony is pulled tightly into the corner. The tape should be about 25mm apart. Leave aside to dry thoroughly – 4 hours at least.
Plane off any excess with a #4 smoothing plane.
Use a scraper if the grain becomes difficult or reversed.
Sand as necessary.
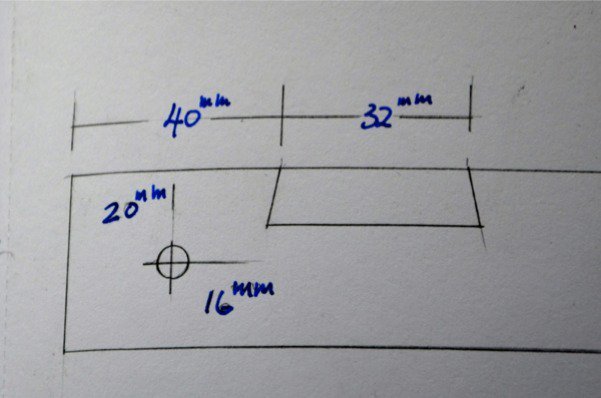
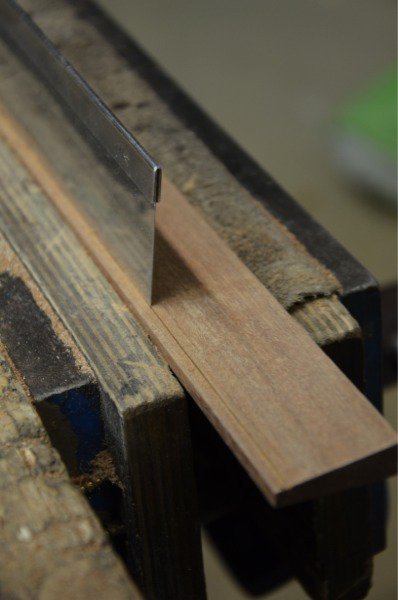
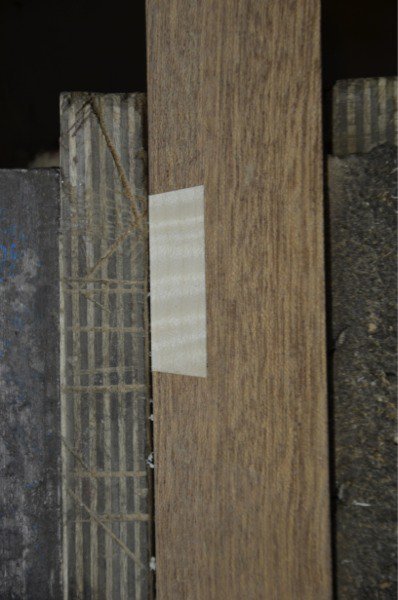
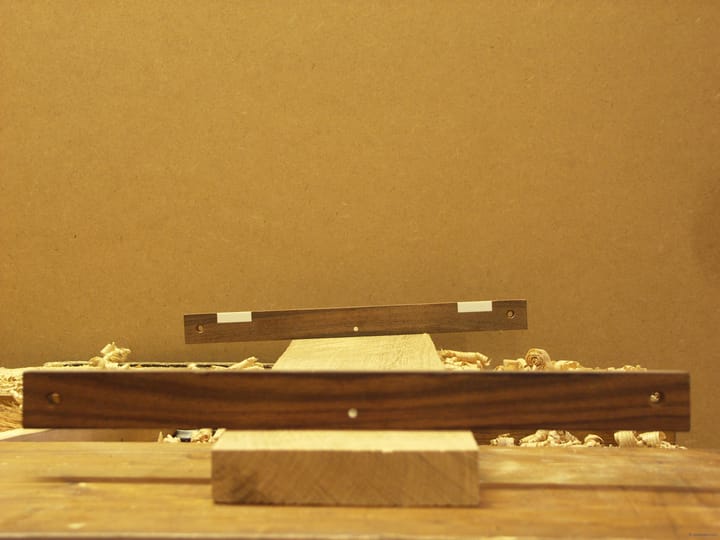
Inlaying the dovetailed insets
I have some curly maple, but almost any light or white wood will do. I used a dovetail guide to make my knifewall of 1-7 pitch.
The short-point measurement is 32mm.
Chisel into the knifewall to deepen the cut.
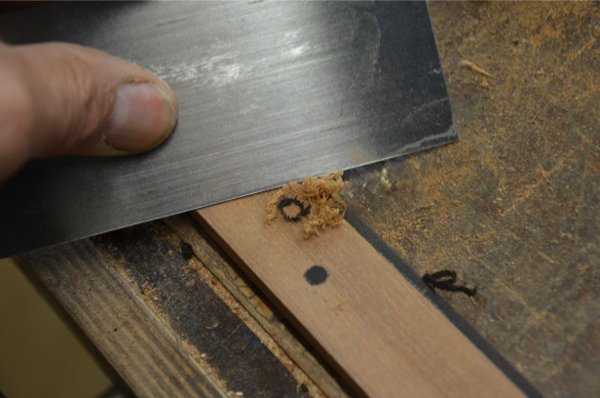
Saw down the knifewalls to about 8mm. This is deep enough to cut two 3.5mm inlay sections. You will use these pieces to trace around with the knife shortly
I set a gauge to 3.5mm and used this to guide my saw as I cut out the first inlay dovetail.
The second one I eyeballed for distance as I couldn’t run a gauge line.
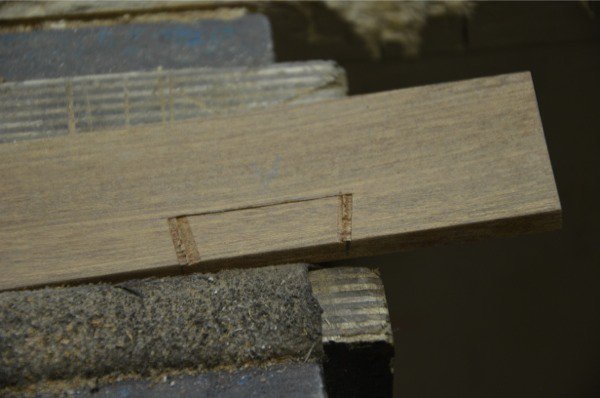
I set the gauge to 2mm for the depth of the recess and ran the gauge along the top edge of the second winding stick. the drawing will guide you for distances.
I then set the gauge to 10mm for the broad aspect of the inlay and run a fine line.
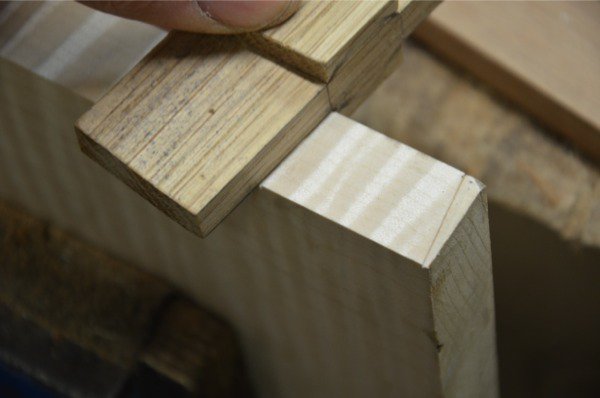
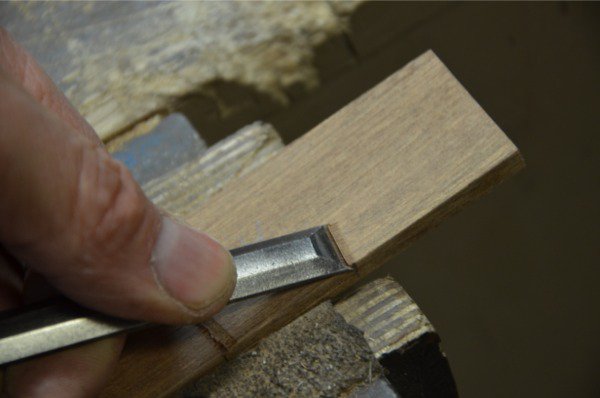
Position the inset piece on the gauge line and trace the knife along the walls as shown.
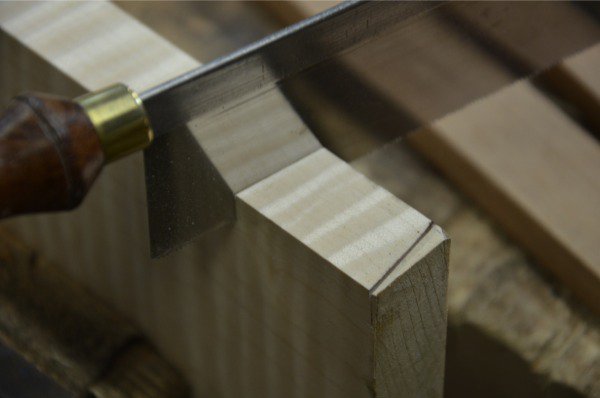
Chisel cut into the knife wall to deepen the wall.
Chop lightly on the knifewall.
Make a series of chops to split-cut the surface in 2mm increments.
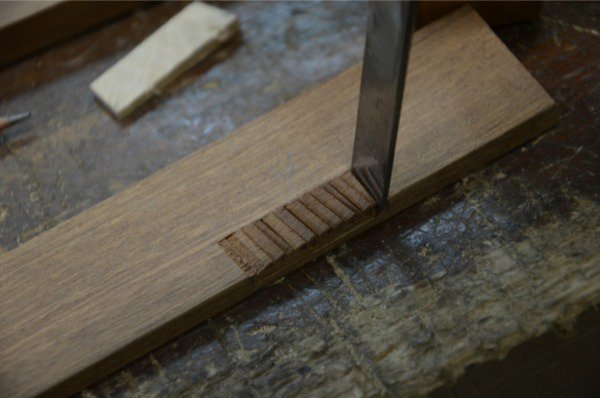
Pare down gradually to the depth gauge line.
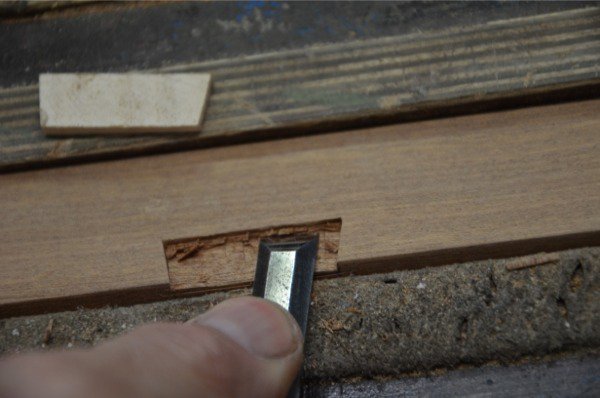
If you have a small router, route down to finalise the depth evenly. Use the knife into the corners.
Glue in the inset and…
…press firmly home to seat in the vise or with a clamp.
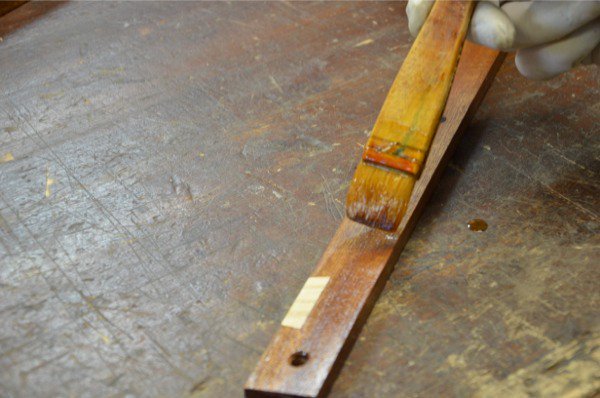
Once dry, plane down the inset pieces flush with the edge and face.
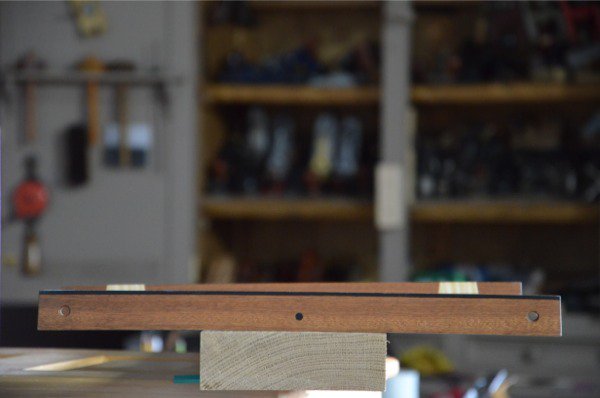
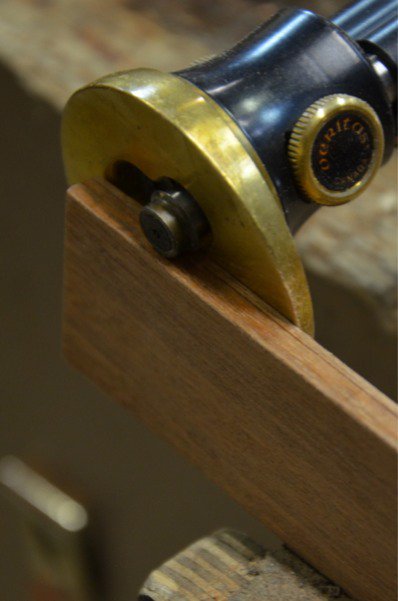
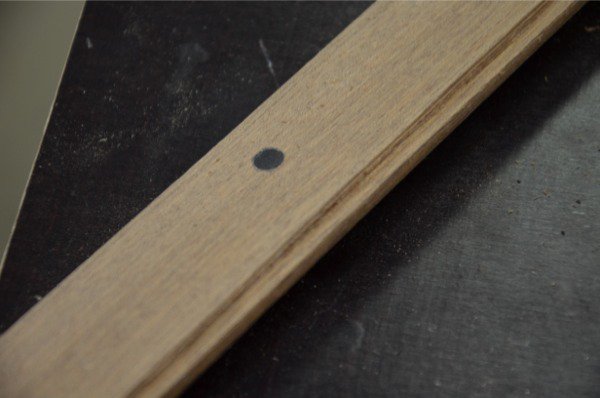
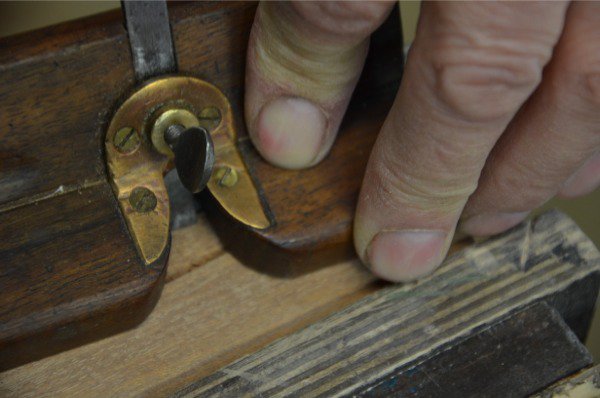
Hanging holes
This is optional, but the holes actually give grip in use. Drill both holes to equal out the weight for balance in use. Perhaps this is not necessary but it’s not worth risking either.
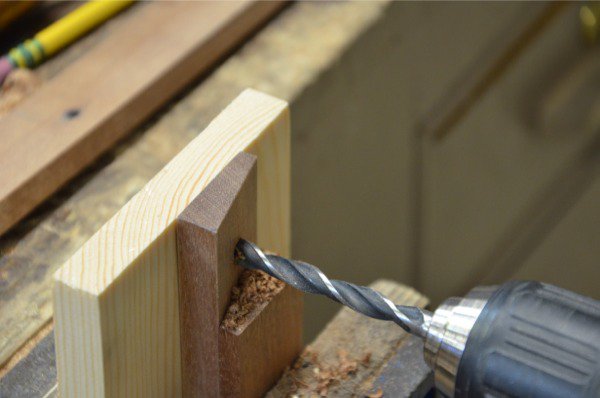
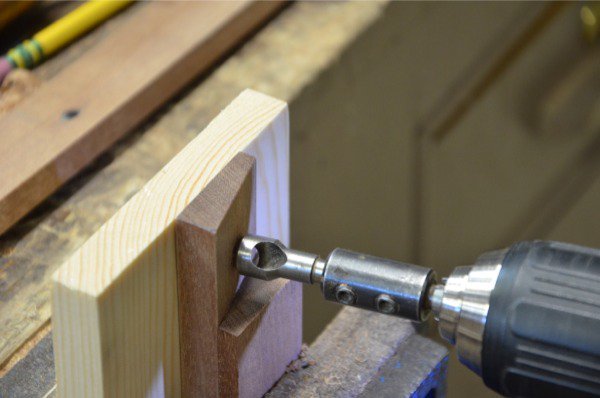
The holes are 6mm but could be bigger or smaller. Countersink both sides of the holes.
Finish
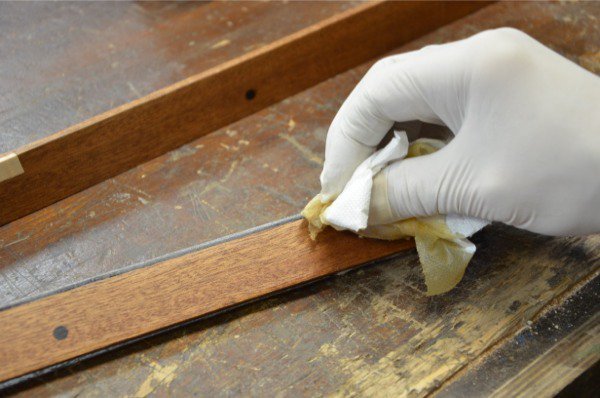
I am using shellac for a finish. Two thin coats is sufficient.
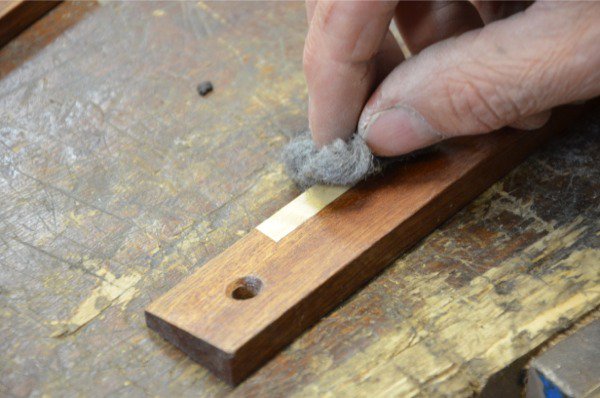
After a couple of hours to cure I buff out with #0000 fine steel wool.
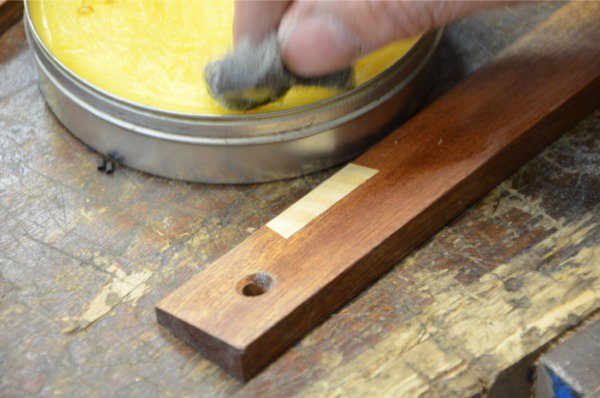
Then a quick and easy coat of soft furniture wax.
And a shoeshine brush does the trick.

ENJOY this one everybody!!!!
Comments ()