Making Winding Sticks by Hand - Part I
I felt troubled that anyone would consider buying what can readily be made from real wood. Especially for real woodworkers. I can understand someone buying their initial workbench in certain circumstances but eventually it’s most likely they will rise to the challenge of building their first workbench themselves. Having something to work from might possibly be necessary. So, here we are, the first stage of any project preparation is to determine what and where the flaws are. Is it cupped, is it bowed, is it twisted? Winding sticks show twist by giving us height above the surface that might otherwise be blurred by surface defects. Additionally, winding sticks that are longer than the wood is wide exaggerates the visibility of that twist. The longer they are, the more the twist is exaggerated. If the winding sticks are three times longer than the width of a board then they will exaggerate the twist three times and so on. The winding sticks help determine the highs and lows of twists and show us where to take off those areas offending the work.
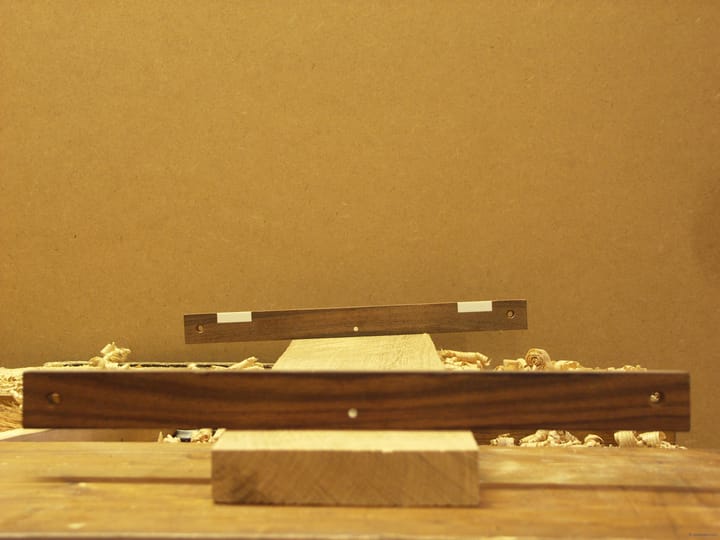
Winding sticks can be as basic as you want them to be. Two 1″ x 2″ sticks of pine alone can be used, and will do exactly what bars of metal will do or a fancier pair made from wood with inlays to create contrast. These winding sticks have a couple of features that provide contrast from one with the other. They have features that help them stand and they are wood not metal. It’s worth spending a little time insetting contrast spots and dots to centre them on the boardsThe list of features are as follows:
Mahogany – darker woods make contrast easier than light woods and minimize reflection
Inlays – ebony and curly maple to maximize contrast and give permanent long term service
Centre dots – to prevent imbalanced placement
Wide base – gives good seating and bottom-weight
Forming the Winding Sticks
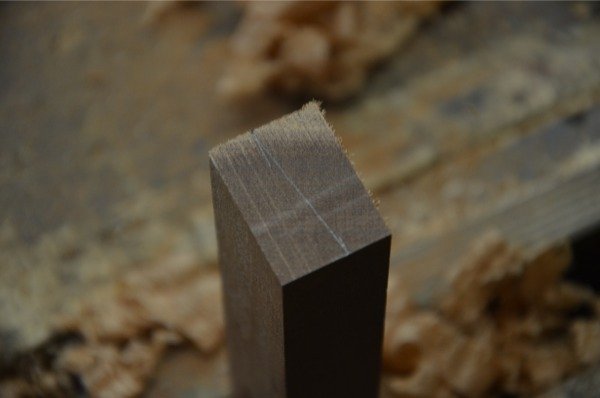
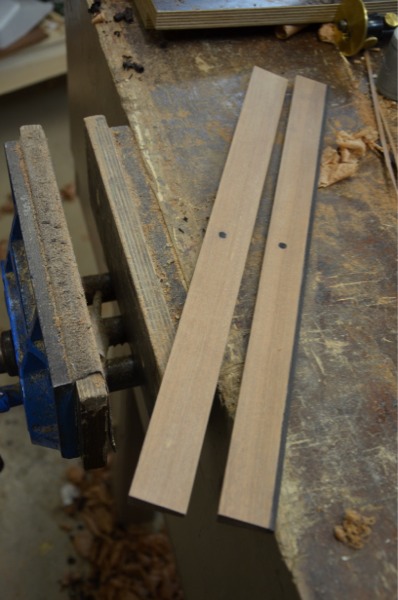
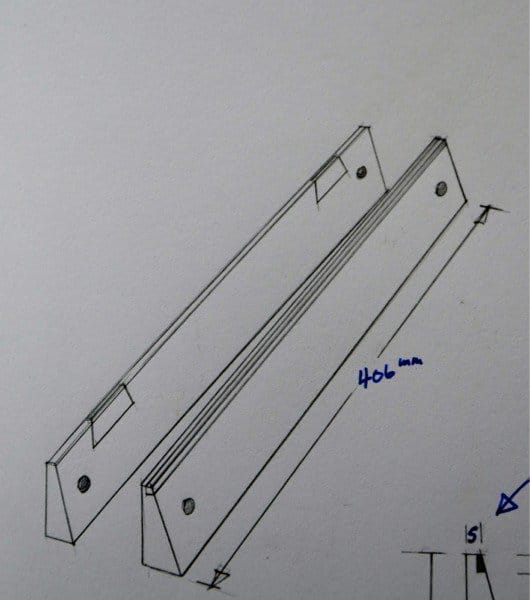
First I trued up my wood square, straight and to dead sizes of 20mm x 32mm x 406mm (3/4″ x 1 1/4″ x 16″).
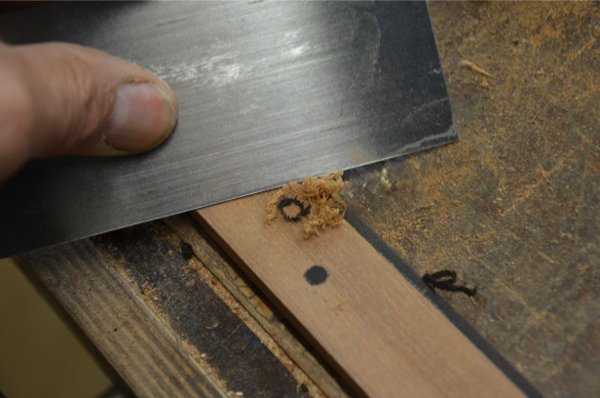
I measured in from each opposite face 12mm and drew a line to an angle across the end as shown.
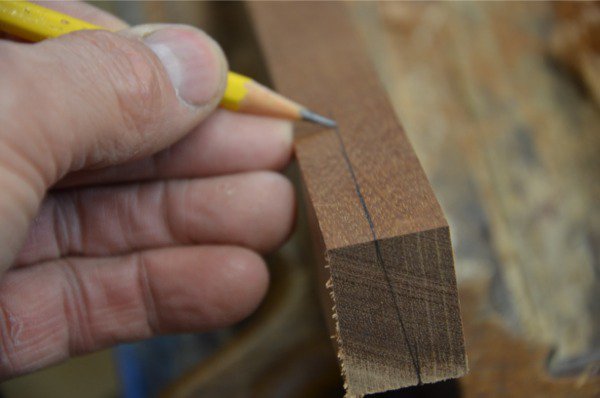
Draw a parallel guideline align the edges to guide you as you saw the angled faces.
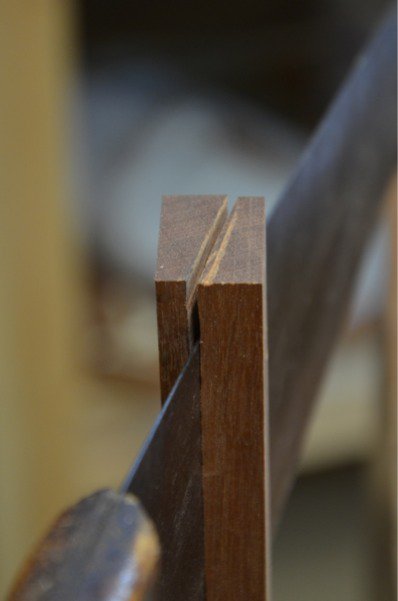
Saw along the angled faces to split the stick in two.
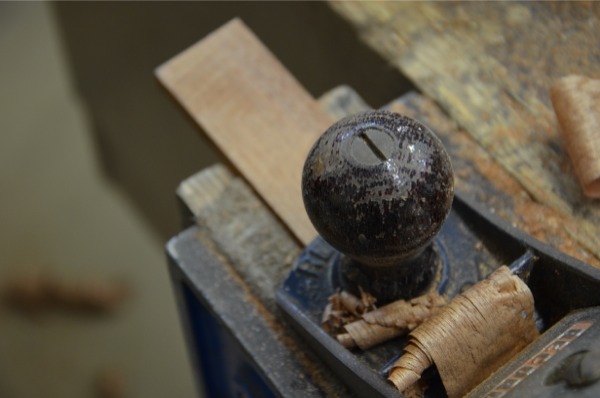
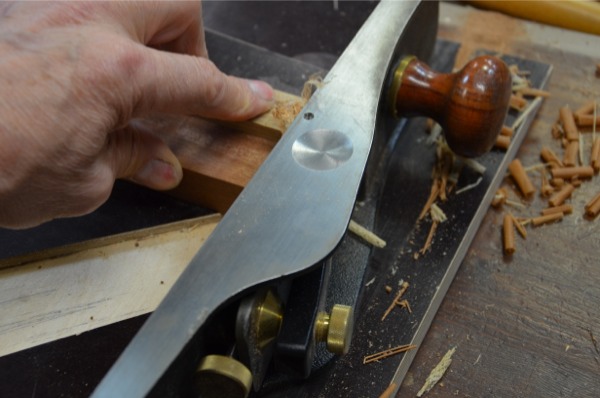
Plane up the sawn surfaces and check both pieces in case they distorted after cutting in two. True up as necessary.
At this point the winding sticks will work. You could use a black sharpie to create a contrast line on one stick but…
…you will likely want to go all the way on to the inlays.
Trim and finalise sizing on the shooting board as needed.
Inlays and such – centre dots first
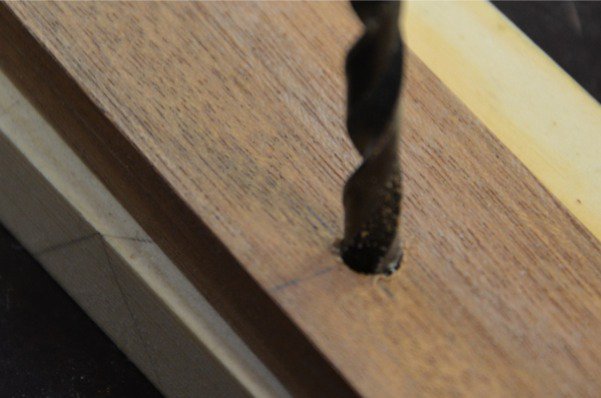
The easiest installation is the two centre dot locators centred in the two winders. I decided on a 6mm (1/4″) dot. To make the dowel I drilled out an odd hinge hole with a 6mm (1/4″) hole. I cut a piece of ebony just a hair over 6mm (1/4″) square.
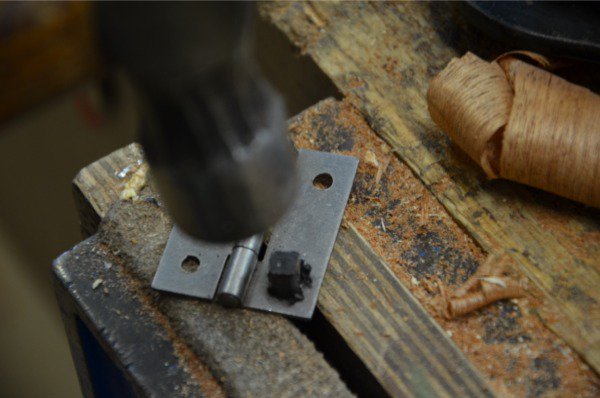
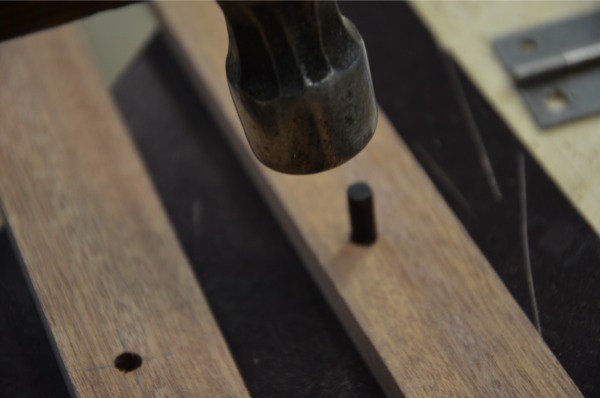
Hammering the square section through the hole creates a perfect dowel that fits the hole perfectly.

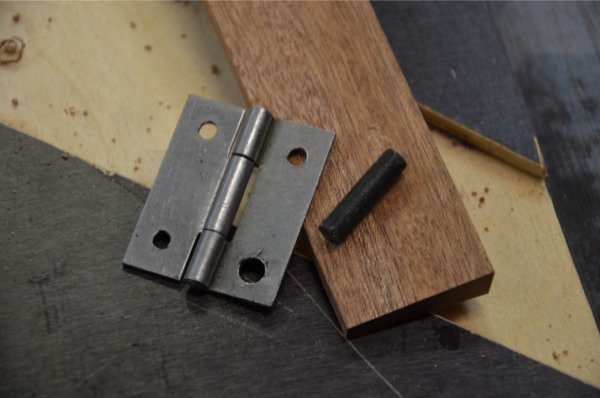
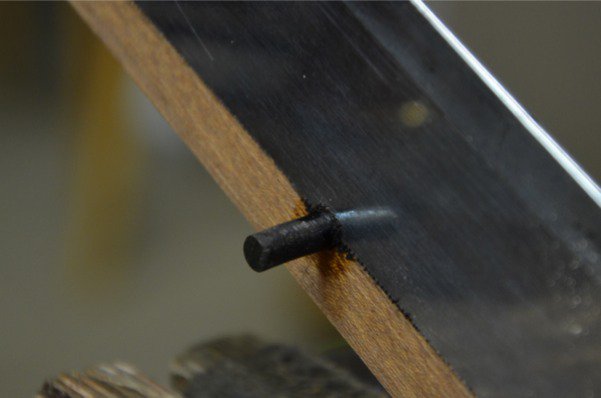
Here is how the dowel looks after forming.
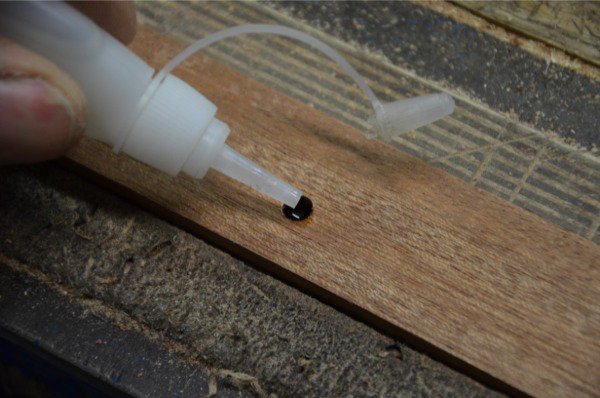
Drill the hole centred in the length and half an inch up from the bottom to the centre of the hole.
Tap the ebony dowel into the hole and use super glue to wick in from both side.
Cut the dowel flush and…
…plane or scrape flush.
More tomorrow
Comments ()