Does Plane Iron Flatness Really Matter? This Blog Could Save You Hours
It takes something to change our minds and yet a paradigm shift can be what it takes to really simplify what others complicate on our behalf. I am impressed with flatness. I know many companies establish some very sophisticated equipment to create flattened surfaces to plane irons and chisels within half a thou. On the other hand there are many ways to develop your own dead flatness on your existing plane irons and chisels and yet where did this dead flatness come from? Do we really need it? And why do we need it if in fact we do?
This question of dead flatness comes up often enough to need more of a definitive answer and my general answer is no I don’t think it does, we don’t really need the wide and absolute levels of flatness people are saying is needed. That said, I have written about developing flatness on the flat faces of planes and chisels over the years but now I realise that many people are saying the whole iron must be dead flat and you should use this abrasive or that stone to achieve this or that result. Obsessing over flatness has become normalized procedure in almost every circle and the primary reason for this is that there is money in it if you can convince enough people to believe that it is critically important. For several decades Japanese water stones were the only way and keeping them flat meant of course more and more equipment. Again, this begs the question what did those early European and American craftsmen do before they discovered friable water stones from Japan? Think about it long enough and it could drive you nuts. When I apprenticed the men i worked with sharpened their irons on coarse and fine India stones which were somewhere around 250 to 400 grit. The stropped on their hands to break the burr, loaded the iron and planed for a few more hours pretty much continuously. Oak and ash, redwood pine, spruce with and without knots became pristine surfaces and and the last job of the day was to sharpen up, oil and stow the tools. they spent no time on the flat faces bar pulling at the burr with a single tug of the flat face of the iron following the angle of the hollowed stone; a movement of about 5mm (1/4”) max. Their work was exemplary.
In my daily work I maintain the convex camber along the full width of bevel. Radiussing starts at 30-degrees and drops off to somewhere around 20-degrees. Basically this creates a quarter of an ellipse with the cutting edge starting at 30-degrees. Everyone recognizes this start as the most beneficial and effective angle for a cutting edge regardless of whether it’s a flat, hollow or convex bevel. I have and do recommend that if a blade or chisel is near flatness to go ahead and abrade it down to dead flatness using the diamond plates or abrasive adhered to a proven flat block of granite or float glass. It’s hard and tedious work to take out a belly of significance and, like a diet, it requires dedication. Hollows on the other hand mostly work to our advantage. If an iron or chisel is hollow it makes sense to say that you only abrade the perimeter of the hollow until you establish a band of flatness a few millimeters wide up from the cutting edge and along the extreme edges along the side areas next to the corners and on into the large area of the large face further up the face; leaving a micro hollow just behind the cutting edge is just fine. A chisel so established will pare as well as any dead flat and a plane iron will work with the very best of dead flats. Try it and prove me wrong. That being a fact, let’s look at the bellied or hollowed plane iron as both opposites with an attitude.
Standard plane irons that come with the normal range of bench planes made by Stanley and Record and a few others often have some slightly developed flaw as described. Rather than elevating the iron on one side of the stone and developing a shallow bevel on the flat face as some advise, why not simply correct the iron with a single blow of a nylon faced hammer.
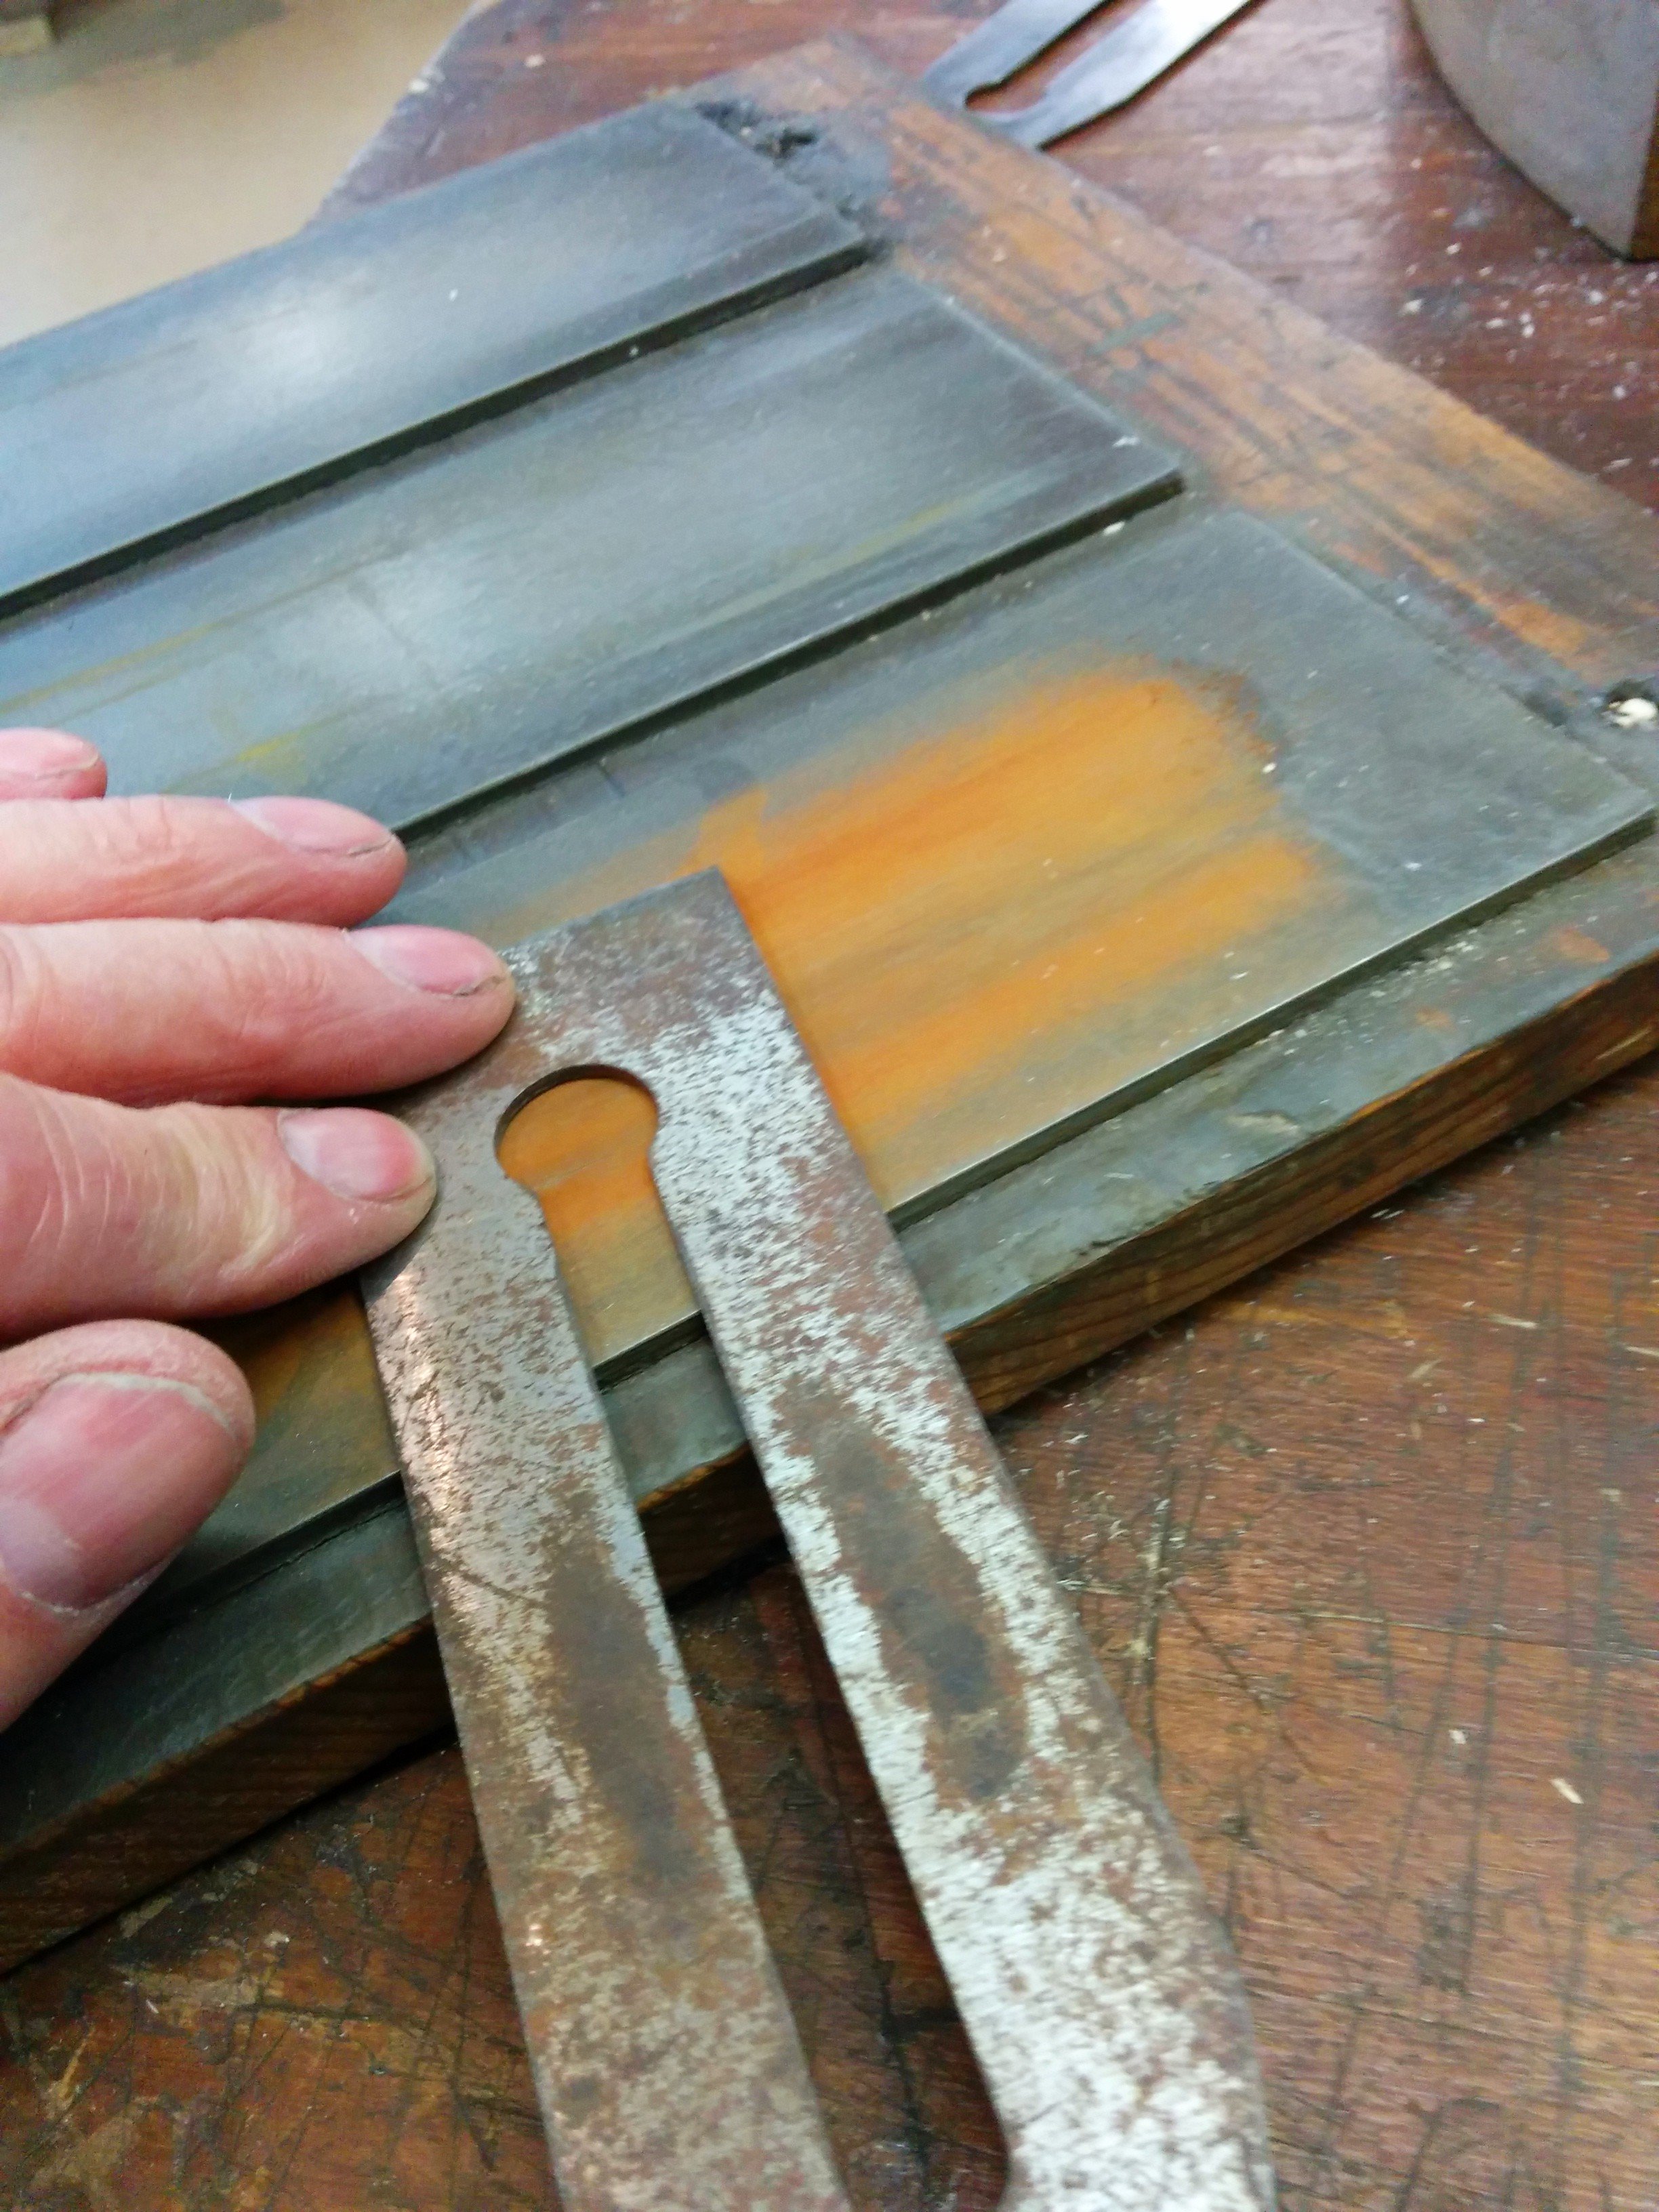
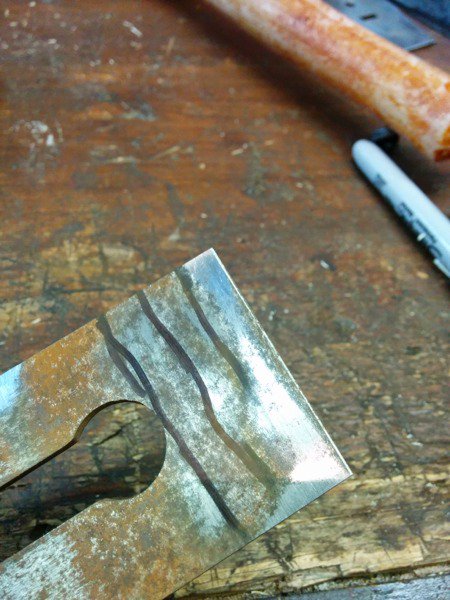
Here I have discovered a slight belly in the flat face of secondhand plane blade. It takes a couple of passes on the plate to find this out (shown top picture).
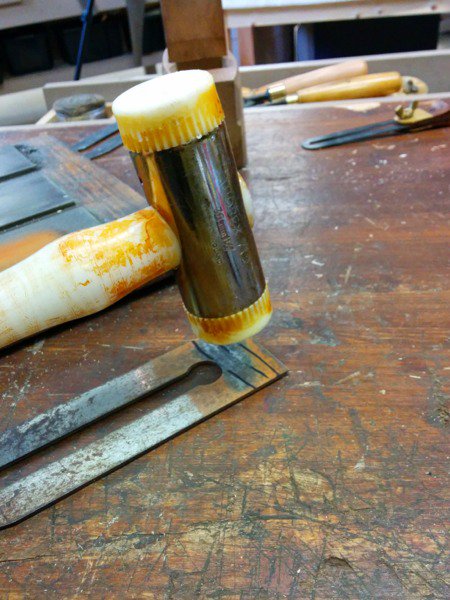
Here I have my Thorex 712 chisel hammer with hard nylon faces ready and poised above a bellied #4 plane iron. Taking out the belly would take about 5 minutes using even coarse diamond abrasive plates whereas a single confident blow removes the belly immediately in a fraction of a second. If you did like the idea of a slight hollow, a second confident blow will create a hollow of a fraction of a thou deep. The hammer blows should not harm your benchtop, but, if you are concerned, use any sacrificial board as long as it feels solid. You can see that my bench is a work bench and not prissy.
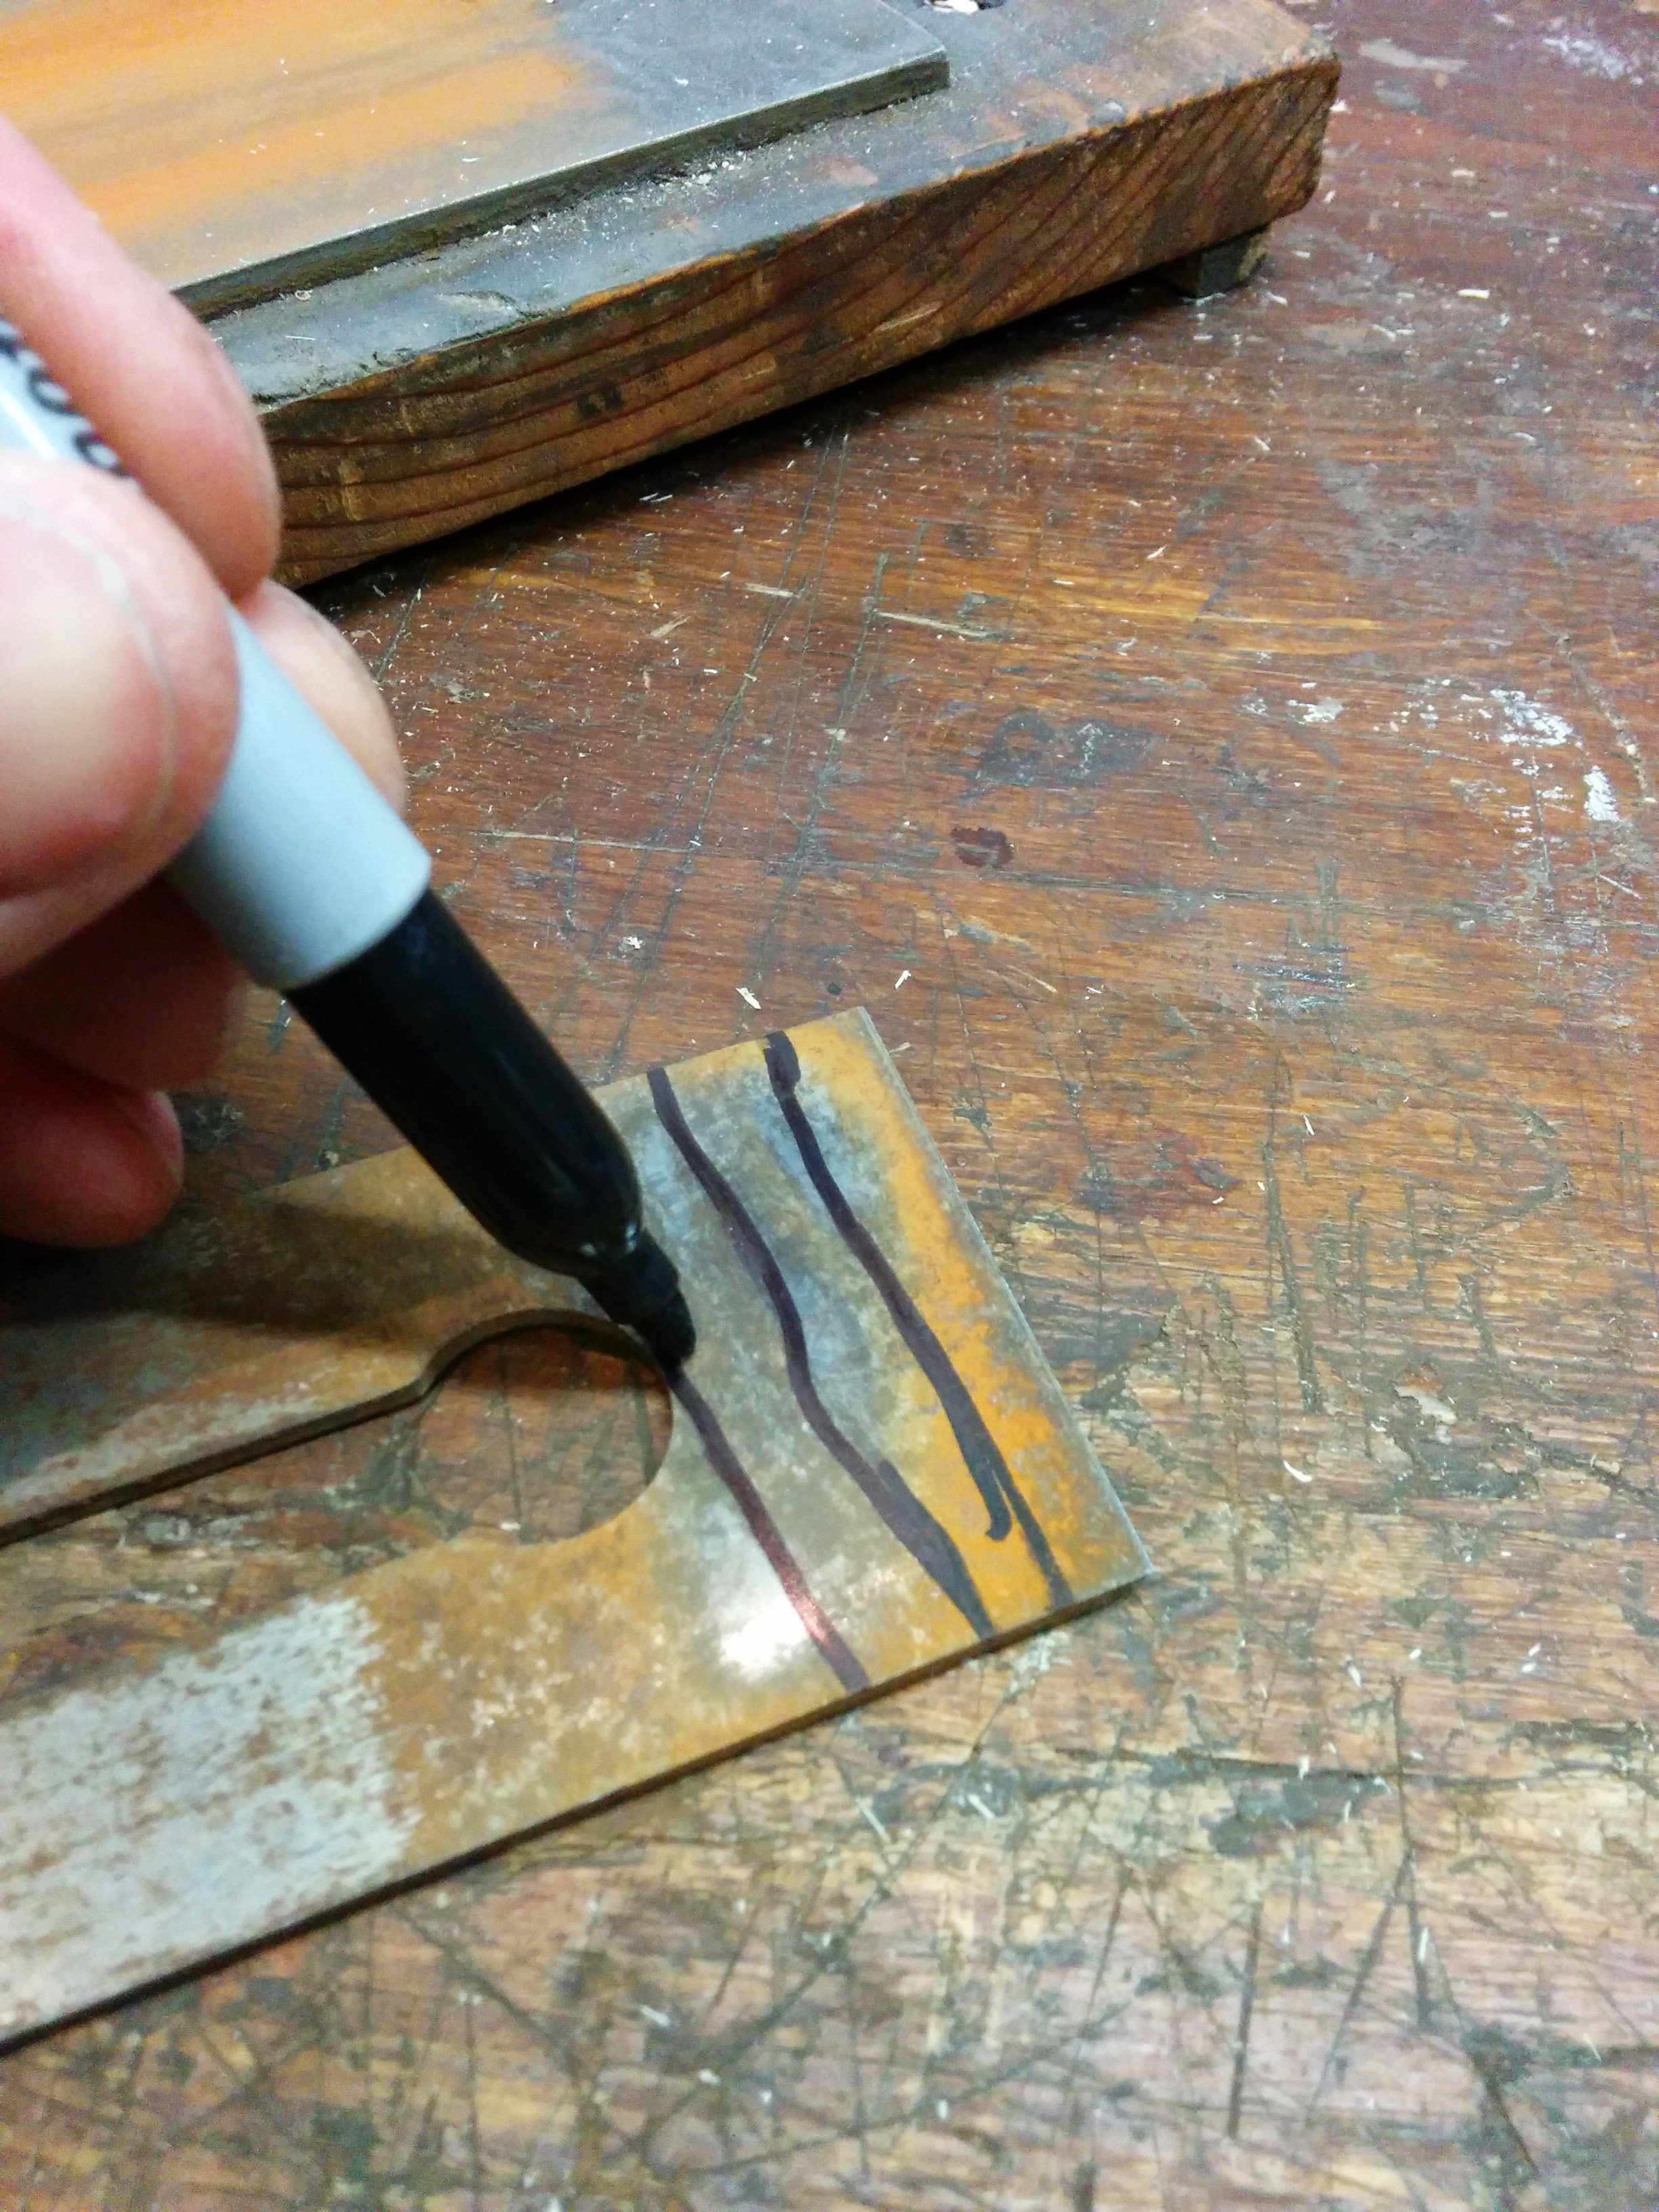
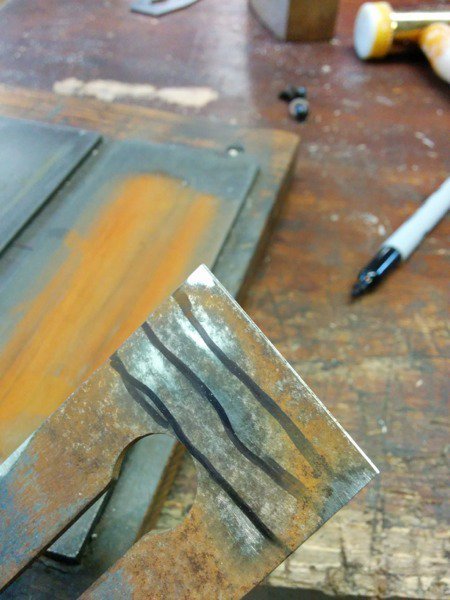
Taking the blade back to the plates shows that I now have a very slight hollow. Notice the corner areas are now bright. Any over compensation can be quickly and easily reversed or remedied. In this case a blow half the confidence of my first gave me a flat iron. This is a standard Stanley plane iron for a #4 plane.
My iron will come to full sharpness in a fraction of the time and I mean only a minute or two tops using this simple and effective corrective work.

Comments ()