Crosscut Dominance - Working Out the Kinks of Information - Part III
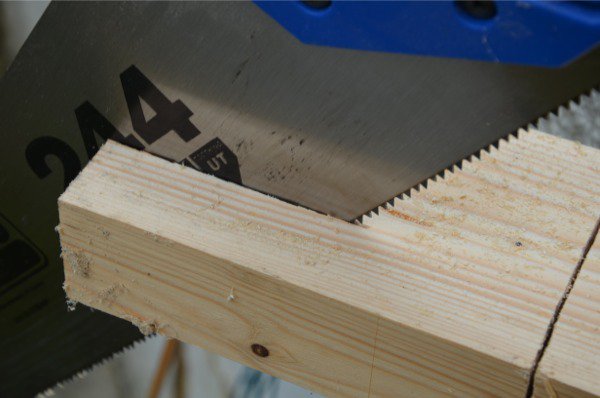
You can pitch a rip cut into a crosscut cut and you can pitch a crosscut at most rip cutting cuts in the wood if you are sensitive and understand the configuration and shape of the teeth of the saw you are working with. Usually there is something of a compromise in performance if you are using saws with dedicated tooth patterns deemed right for rip and crosscut by the makers. Usually, when a saw made for either rip or crosscut is used for the wrong cut they will really balk if you use the wrong one, but when you sharpen your own saws you can create a saw that will cut quite satisfactorily regardless of orientation. I think an advantage in buying dedicated saws is that you know what you have. Buying saws on eBay or from mass-manufacturers that’s often not the case. Often the saws sold to construction site users are not defined beyond fine, medium and coarse cut and then the given tooth size etched into the surface of the plate. In my experience eBay sellers of new and old saws know little about tooth patterns and regularly describe saws as crosscut saws when 95% of them are actually ripcut pattern. It’s important to know the difference between the two tooth patterns even if you have to change the tooth shape to one or the other. You see, generally, ripcut pattern teeth have no angles to the sides of the teeth when you look sideways on the saw plate. Here are the two tooth patterns ripcut and crosscut with an additional pattern showing the blued teeth on a non-sharpenable Bahco medium saw shown at bottom.
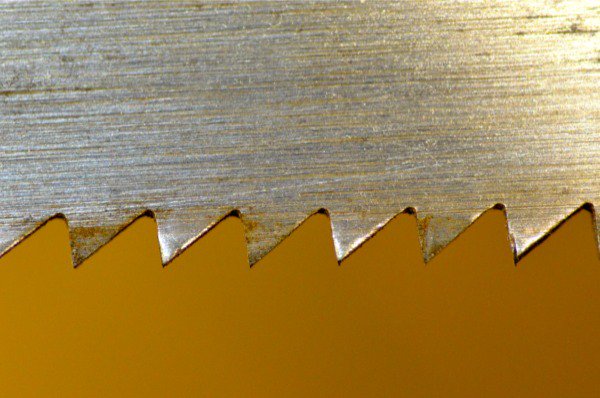
This saw below has pinnacle teeth that come to a three-sided triangular point. The reason you see this only on alternate teeth is because the two bevels forming the triangular point are on the other sides of the flat faces of the teeth in between, which are the same shape in reverse. The cutting edges are on the steeper angles. This saw is in need of sharpening.
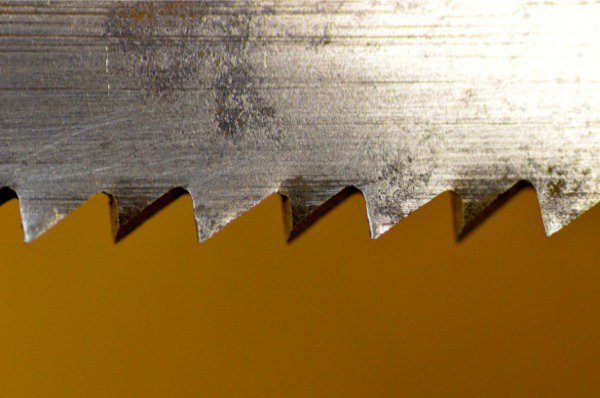
The saw shown above has ripcut teeth that have two sides to the teeth only; front and back. This then creates more a chisel cutting edge to each tooth. This saw is in need of sharpening too.
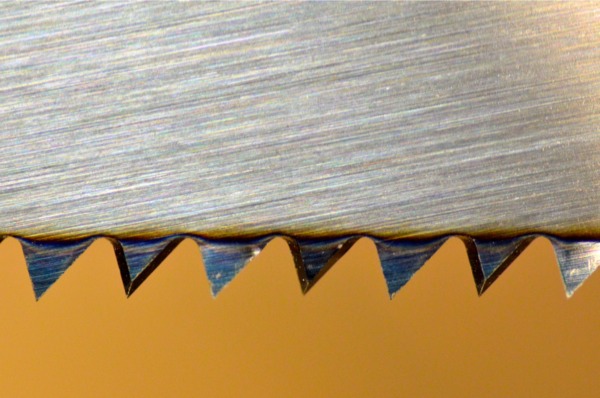
This saw tooth pattern mirrors that of the picture second from top. Both saws are crosscut patterns, but the maker of this saw makes no claim to either ripcut or crosscut saw because it is biased to crosscut for construction trade work even though it can can also be used for the lesser use of ripcutting with the grain.
Notice the sharpenable saw tooth pattern (top) is identical to this non-sharpenable. The difference is only slight if any, but both saws will cut equally well. As I said, to properly identify the tooth patterns is best done from the side first, but then look from a higher perspective and you will see the very distinctive pinnacle tooth shape coming to a pointed peak rather than a chisel tooth with a broad edge. It’s this broad edge that makes the ripcut less efficient in crosscutting unless you refine the teeth slightly to create more of a sheer-cut to the wood fibres in the cut. Well cover that later.
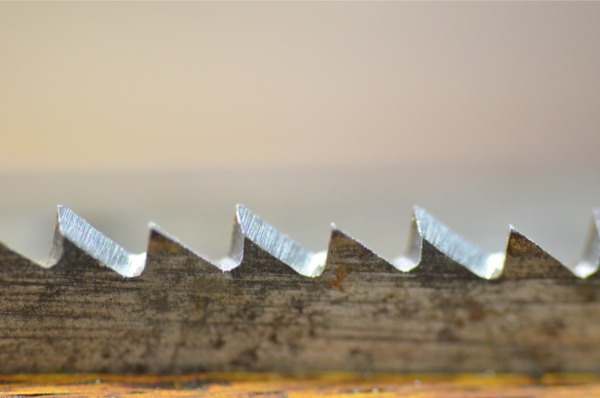
Here are pinnacle three-sided teeth shown slightly from above. here you see the two sides of the tooth filed against the flat pale to create the three-sided pinnacle tooth pattern at a different perspective.
Sharpening a saw to either pattern takes about four minutes per saw once the skill is established. I own a panel saw made by Henry Disston dated 1848. I use it most days and sharpen it about once every three months. 16 minutes a year, 2 hours and 40 minutes for ten years. Equate that to a disposable saw a year at £12 a pop and you have £120 per ten years. Not too much. Still, which saw would I choose of the two types? You guess!


Comments ()