French, Reverse and Split Cleats
More Than a Cleat or Just a Cleat?
Sometime back, in the canyons of my mind, I said we would do a blog or a video on making a French cleat. Why it’s called a French cleat I doubt anyone knows, but I will hold to the term in anticipation that a Frenchman did indeed hang a cabinet from a wall somewhere in a French colony or even France. Here in Wales I made a cleat. Would it be a Welsh cleat? I only knew this as a Reverse or Split cleat. All three would be correct terminology and there may be others too. A cleat is a common enough woodworking term. Things are "cleated together" if a cleat of 1 x 2" wood traverses two boards or more across any joined edges and they are nailed through all components with nails. Nails are also referred to as cleats. You get cleats in sports boots, sports shoes and cobbled boots and clogs of different types; nails driven and bent over are sometimes called cleats and then there is a common stick of wood called a cleat that undergirds a shelf or mantle to strengthen and attach them to the wall as an anchor.
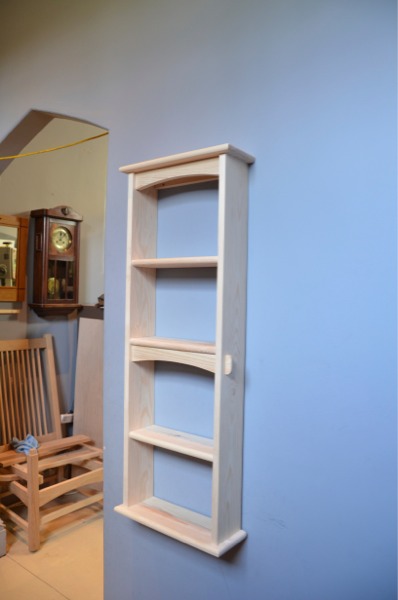
The concept of the French cleat is indeed a simple one and you can buy commercially made metal cleats that allow two parts of metal to interlock and so hang panels as large as 5’ x 10’ from castle walls. That is how the walls of my workshop display panels were hung when we had the Slavery Exhibition here in my workshop at Penrhyn Castle a few years ago. Wooden cleats on clocks and shelves full of books and heavy items resolve concerns of adequacy. A French cleat, or even two or three, will hold things securely to the wall by an interlocked method that makes the cleat almost unnoticed when the project is hung in place if you pick your cleated positioning well.
Sizing is determined mostly by the ability to securely screw the cleat to the wall and leave sufficient wood around the screw head to preserve the integrity. The screws can be left visible or concealed behind a wooden plug of like wood. That choice is yours.
Another aspect of the French cleat is that the cleat can go directly under a jointed or housed shelf, or, if the unit has a back to it, fixed entirely out of sight behind and to the back altogether. The main advantage of the French cleat is that the cleat can be fixed to the wall without holding the weight of the object being hung.
Making the cleat
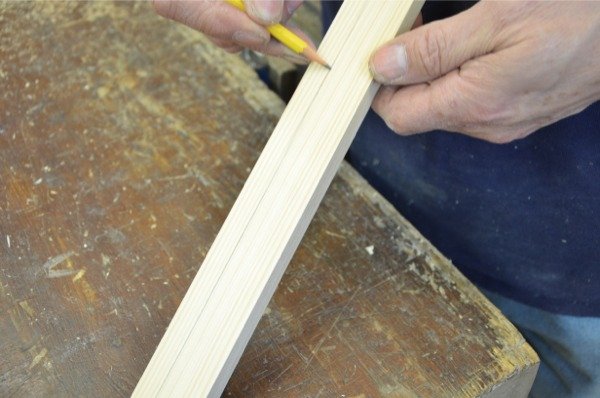
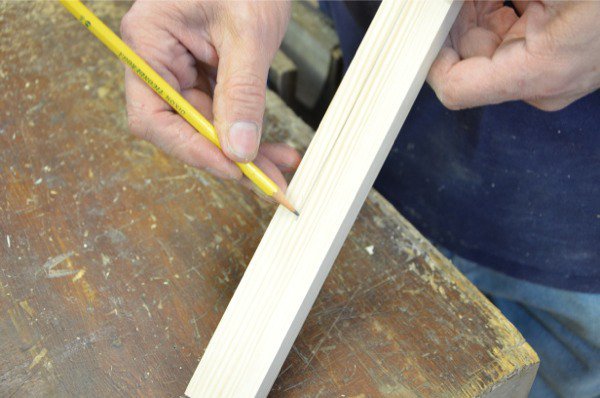
First I cut the cleat wood from flat stock 21mm by 38mm (7/8” x 1 1/2”). I use my fingers as a parallel guide to the edge, eyeball about one third the width,12mm (1/2”), and run the line. I then turn the cleat side to side and run the same line from the opposite edge and the opposite face.
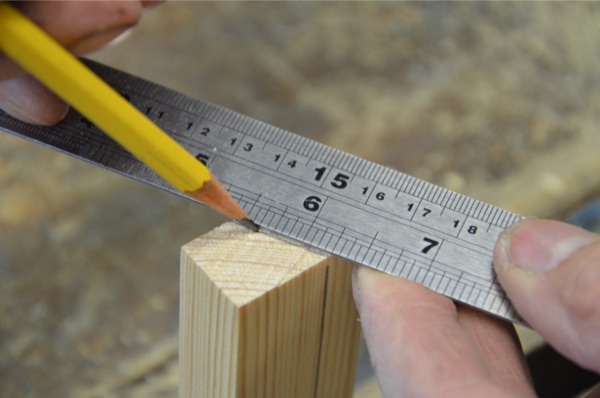
With the cleat in the vise I join the line across the end as a guide for my saw.
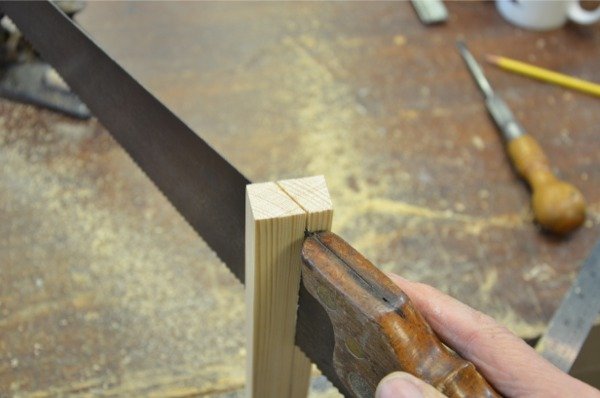
I saw along the length of the cleat following the angle and the line with a ripcut panel saw.
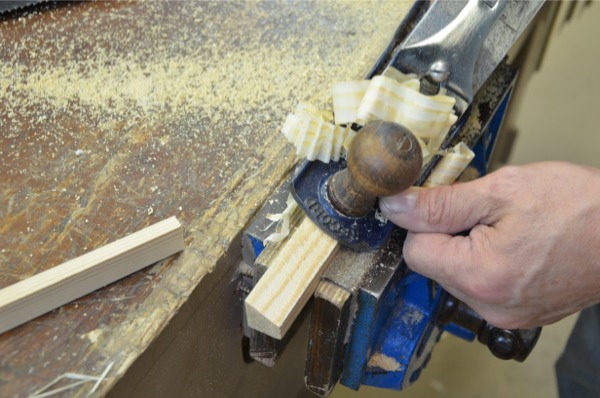
I plane the meeting surfaces even though technically this is not necessary.
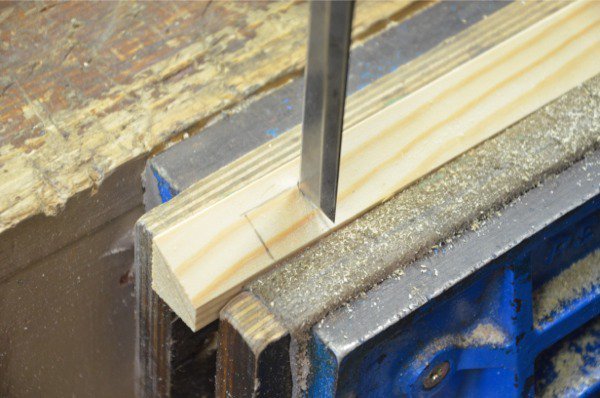
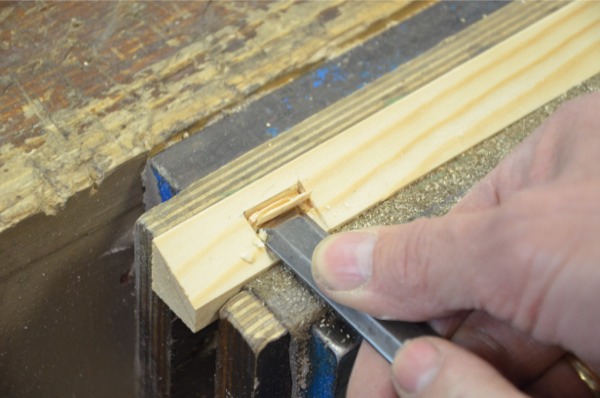
To fix the cleat to the underside of the shelf I cut two recesses near the ends of the cleat. I give a little space around the screw. These recesses and the screws are not seen when the shelf is hung in place.
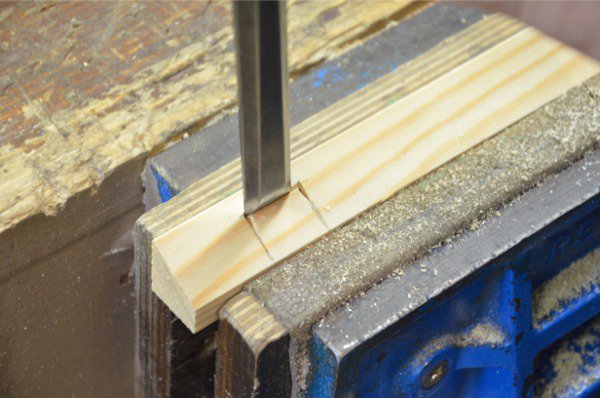
Cut the recesses as shown with a sharp chisel. Take care with along-the-grain-cuts as they are near to the edge and can split if the mallet blows or pressure is too much. Go gently and in small bites. That’s my advice.
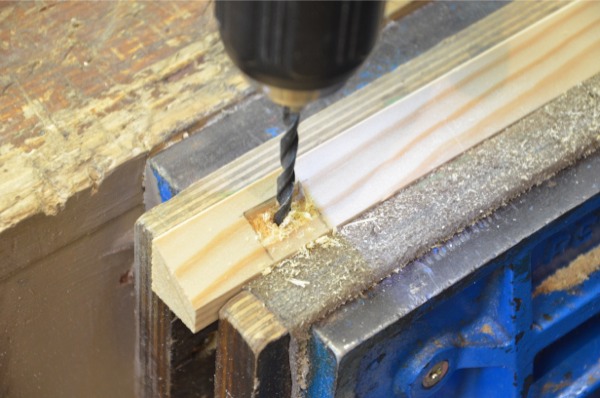
Drill a screw hole into the centre of the recess and countersink slightly.
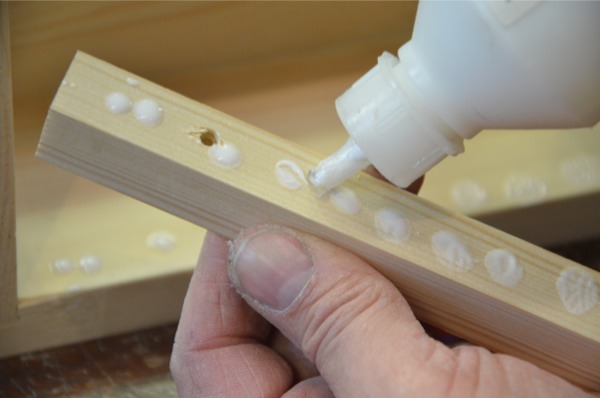
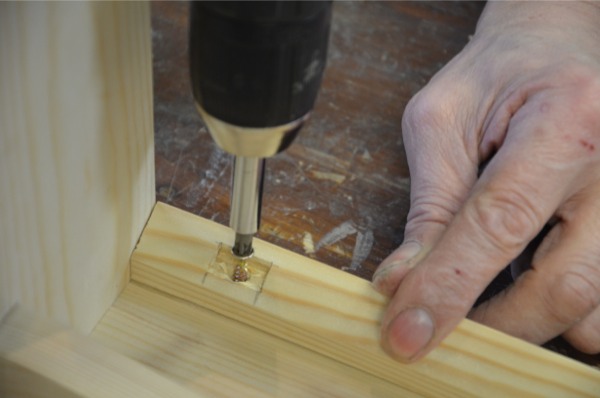
Glue the cleat to the underside of the chosen shelf and screw in place.
Hanging the Shelf
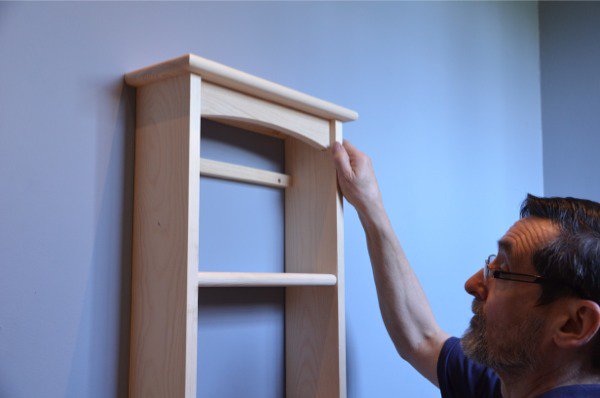
Choose the position you want to hang the shelf and calculate the position of the reverse cleat. This is best done having someone hold the shelf and marking the underside of the cleat and the inside faces of the sides of the shelf itself. If on your own, hold the shelf in place and do the same, trying to feel how it will look. his usually works fine.
Screw one end to the wall using screws into a stud or plastic plugs if a brick or composite block wall. I will leave this up to you.

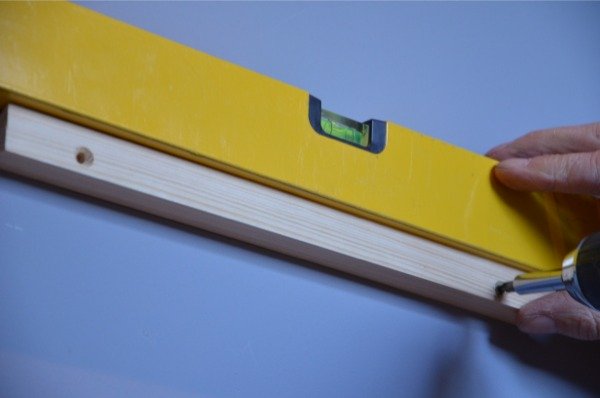
Using a spirit level, level the cleat and screw and fix the opposite end.
The shelf unit should now hang just fine. If you want to fix the two parts of the cleat to each other, screw through the top and the top cleat into the cleat fixed to the wall. This is not generally necessary, but, in a public place or a place with young children, you may want the added security measure.
Comments ()