Router Planes in Wood Work Well
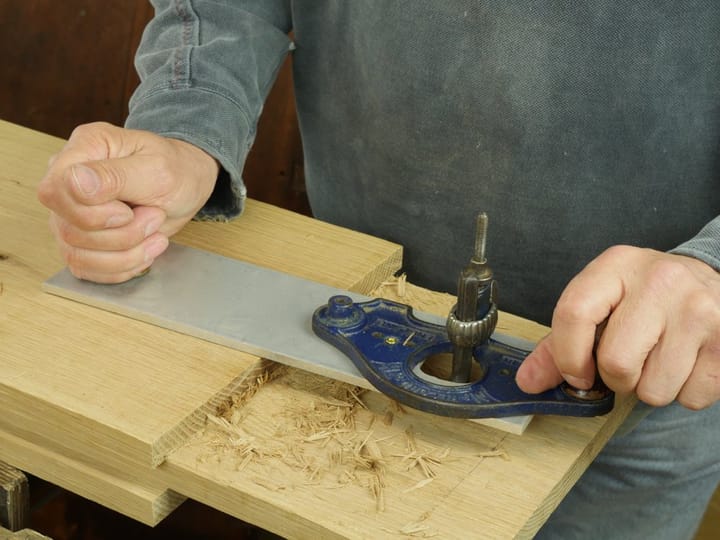
I most likely own two dozen router planes. I feel almost ashamed to say that but we use them for classes on two continents. Actually I have more when I add in the tools I have left in my US storage after my 23 years living in the USA. These planes, router planes, are indeed essential to my woodworking even though I can function perfectly well without them. When we did the series on building the workbench on my YouTube channel in 2012, I introduced the poor-mans router and of course it became a real hit with everyone because it could do what any of the metal-cast routers could do and more. In a recent exchange of views on bench planes a comment was made about the tolerances between some router planes, about the slack in the adjustment mechanisms of older Stanley models compared to high-end makers. I smiled when I read it because what I am about to tell you is that tapping with a hammer for adjustment will most likely cause some to grimace when I say that tapping planes for minute adjustment matches the accuracy of a turn of a screwed thread on threaded-rod mechanism any day once you get used to it.

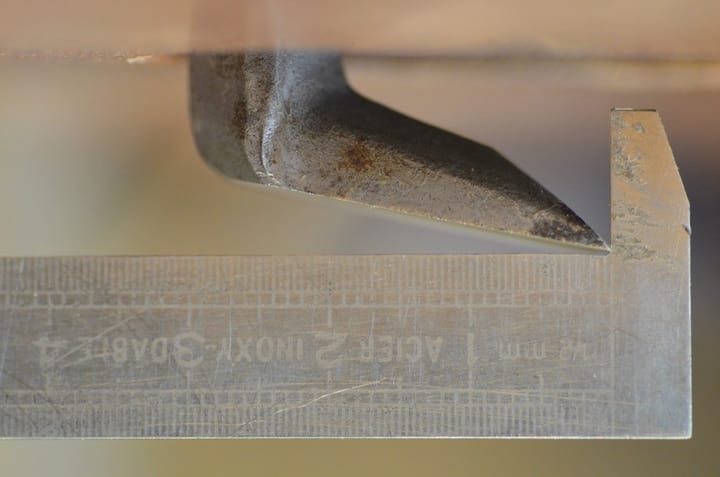
Of course my poor man’s router does seem perhaps, well, a little crude, but you know what, it really does work and works well. In fact it will leave a level surface as good as the very best of router. You can see what I mean here on the bench build. If you don’t want to watch the whole thing go to around 11.30 on the video clip to see it working out so invincibly. There is another video on this that you might enjoy, as it shows the whole of making and using one if you have’t followed how we do it. We want to equip you for working wood and these methods work.
What I want to introduce you to is the user-made router from the late 1700’s that were made by craftsmen all the way through to the 20th century. This router is made from a piece of chestnut, but any hardwood will work. I have had them in oak, walnut, cherry, ash, hickory and even pine. This router works exceptionally will. It adjusts easily with a tap of the steel or hard plastic hammer and keeps you progressing through your projects when you don’t have one. Using the tenoning method I show on the bench build opens up all kinds of possibilities for guaranteeing your tenons coplanar alignment. You can indeed make longer versions of the plane body if you intend to use the tool for tenons or wide recesses for such things as inlays and so on.
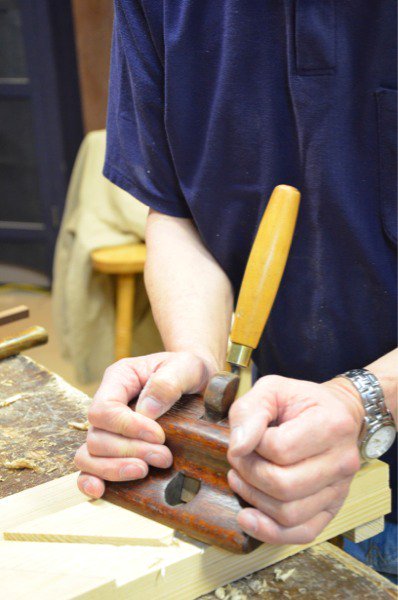
This plane is made from a single block. The holes for the blade and wedge are bored through and then shaped and refined with a chisel. In this case I use plough plane cutters from my Marples or Sandusky plough planes. As a lad this was standard procedure as almost all the men I worked with had old wooden plough planes in their tool boxes. But they also used just regular bevel edged chisel too. They simply had two wedges to cater to the opposite taper chisels had to plough plane irons.
Comments ()