Making My Bed
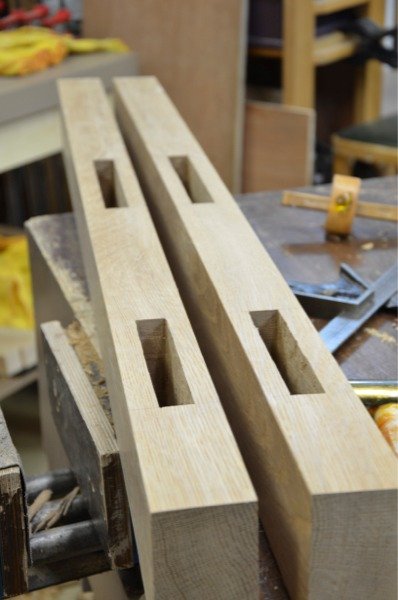
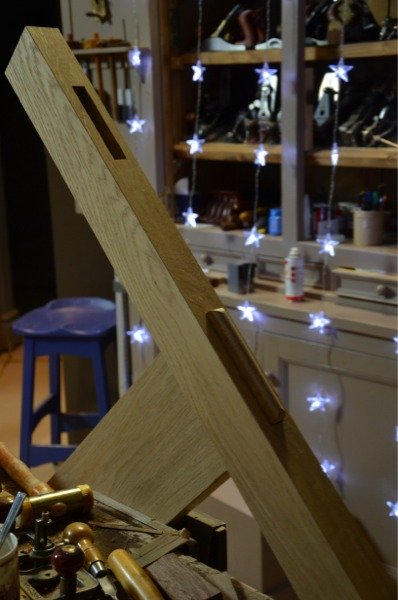
I worked all day on the bed and made good progress. The large mortise holes in the footboard are done and I started the tenons and fitted the first one mid afternoon. These mortise and tenons are quite big for furniture at 3/4", but they cut quickly and I had them done in quick time.
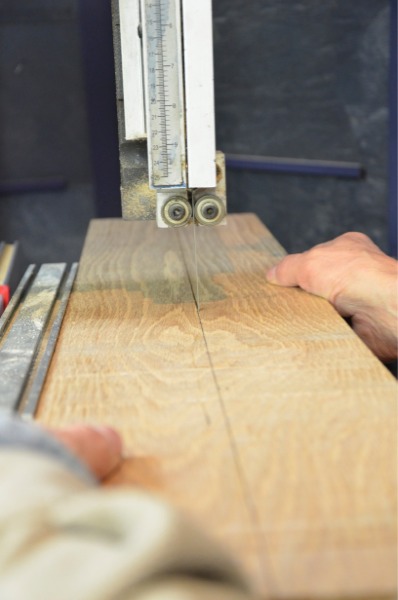
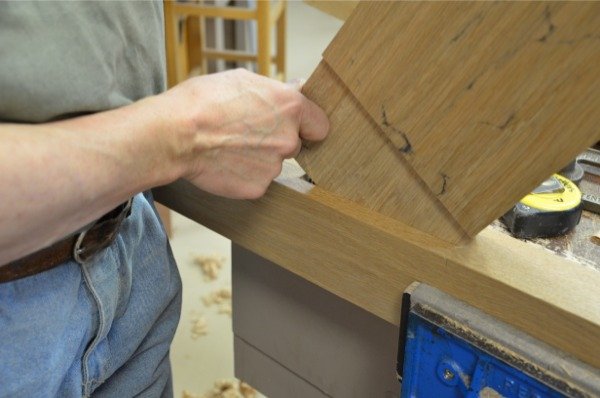
I do use bandsaws for larger stock cutting...
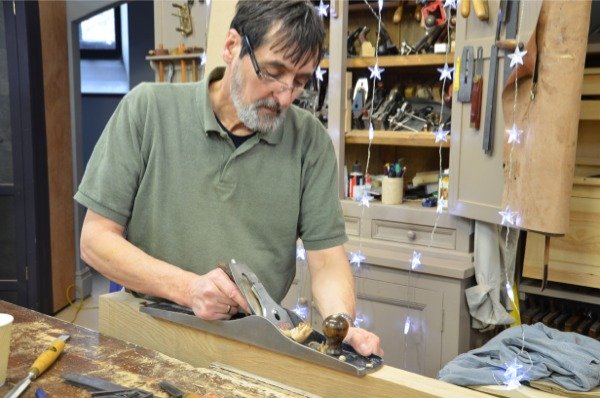
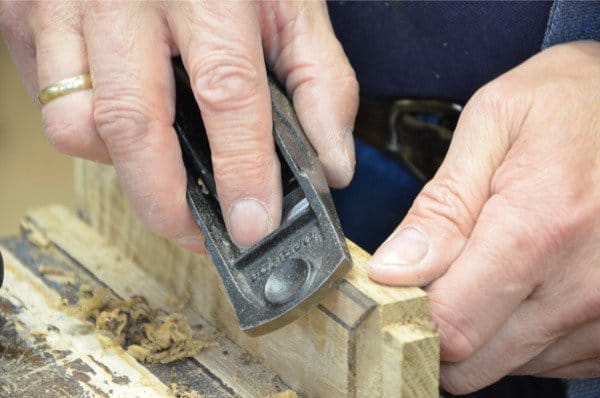
... also use the hand plane to surface the faces
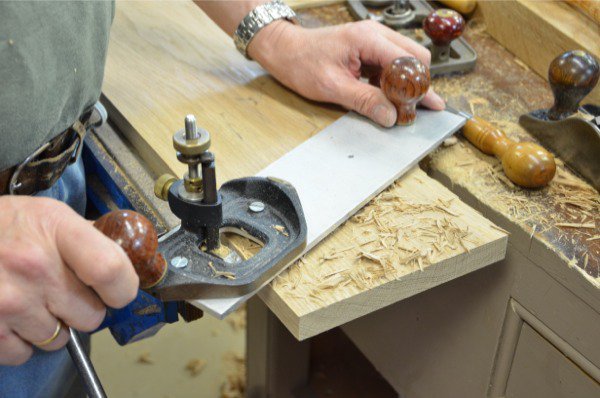
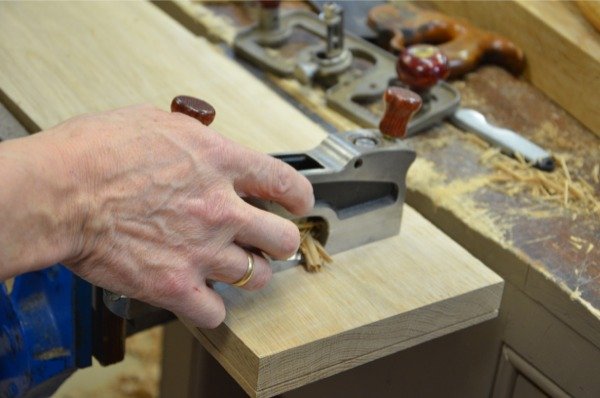
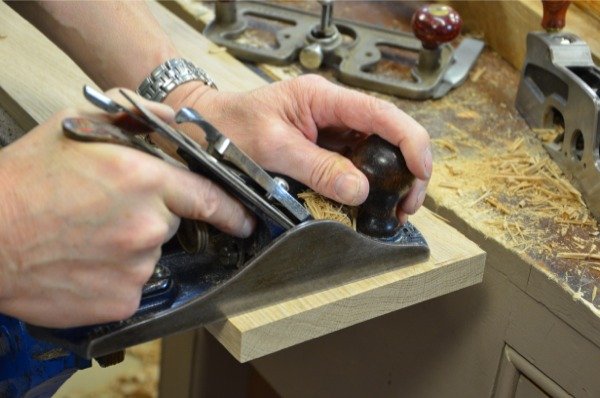
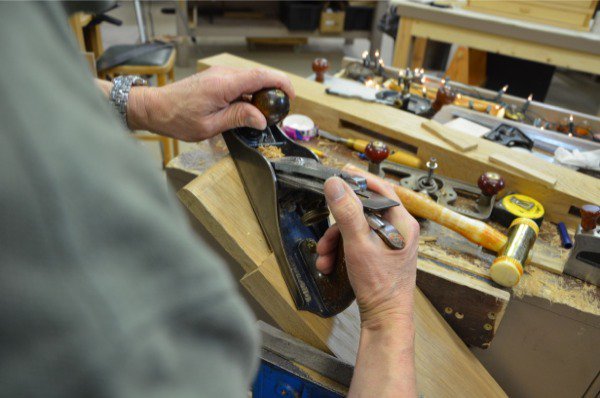

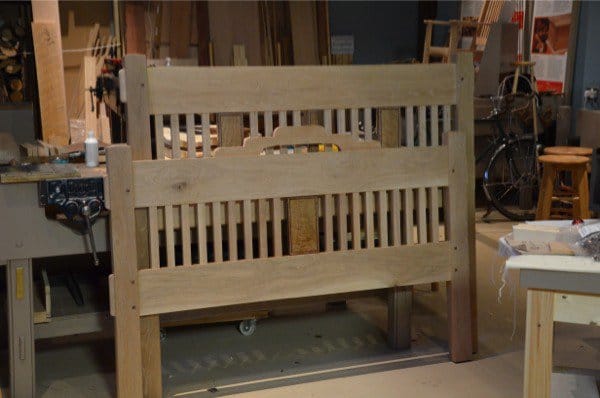
When you make beds it's always the mattress and box spring that determine the dimensions. And you kind of work from the inside out using these dimensions to establish the positions of the rails in the posts. I am using oak because it's indigenous and replenishable. It's also strong and reliable, attractive and very workable. As the mortises deepened, the waste wood gets harder to lift from the holes but then the rhythm sets, my pace increases and the holes meet from each side in the centre.When the tenons begin I feel the awkwardness of large tenons under my saw. The carcass saw is too small and the teeth too. A 10ppi handsaw rips well down the tenon cheeks and I leave the tenons fat for slimming down with the chisel and the hand router. To plane down to dead width I use a couple of methods. Method one involves the use of a plate I devised and made to fit the Veritas router five years ago. The plate is a high-grade aluminium I salvaged from a scrap dealer for a few pence. It's 6mm thick and the width of the router plane. Any router plane will work. I can also elongate the wooden block used in the poor-man's router to do this. All I need is a 1/2" chisel. You can see that I tapped the alluminium to receive the screw thread of one the router knobs. I remove the knob and relocate it in the plate. Two sets screws through the existing plane body secures the plate to the plane. I use method one to get close and then finish the work with a wide chisel, a Veritas shoulder plane and then a a #4 or 4 1/2 smoothing plane. The surfaces end up smooth and level and so they marry the insides of the mortises. Method two is to use the shoulder plane against the side of shoulder after ripping the cheeks and cross cutting the shoulder. Once down to the line I shift to the smoothing plane and plane across the grain until I reach the gauge lines and the face created by the shoulder plane. This and the other method makes for easy tenon cutting on large tenons.
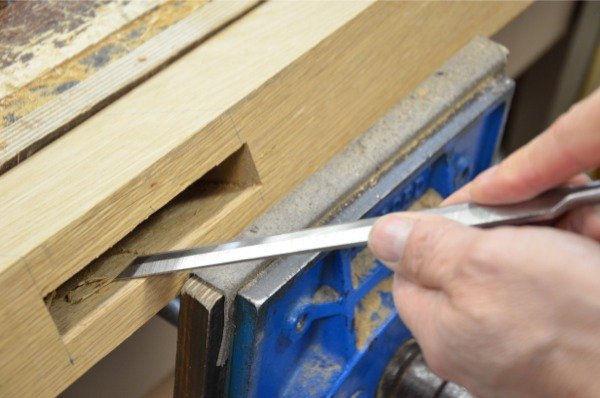
I use loner paring chisels to ensure the mortise cheeks are level as the depth of cut defies flatness in places. I feel peace as I pare down the faces and see the fibres lift in the cuts I make. I want the walls to reflect my intent to have a perfect mortise and so I cut squarely and accurately.
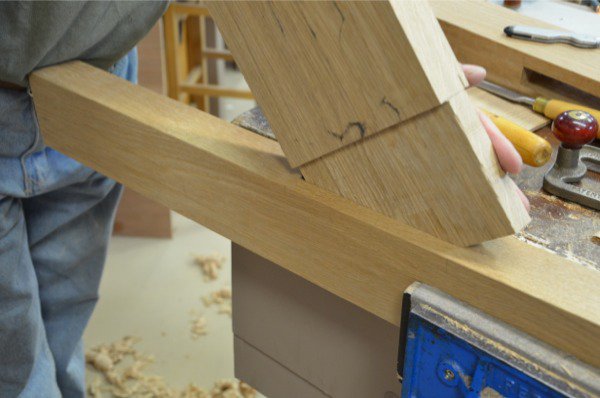
When the tenon touched the rim of the mortise hole I first consider the outside face because this is what will be see. I try the tenon on the outside rim of the mortise hole and allow it to govern my decisions as I plane. Usually it's close, but I'd rather be fat to start. I won't patch gaps. I'd rather recut a new piece.
Soon the mortise begins to accept its tenon. The tenon pivots at the tight spots and causes the wood to shine a little where the friction is. I use this to locate high spots that I must remove. The shoulder plane works well, but so too the smoothing plane if it's away from the shoulder. I work both sides of the tenon if shiny spots appear on both sides.
I mentioned before that the rounded tenon ends come from a Stanley smoother and a flat file. The corners come from a 1" chisel but again followed by the flat file. Each tenon is fitted the same way. Tomorrow the foot board main frame will be concluded and I start the additional features.

Comments ()