On Thoroughbred Saw Horses
On Then With the Thoroughbred Saw Horses


Saw horses of this type depend on four-point contact with compound cuts to the foot and to the shoulders of the legs. It’s this that puts people off making the saw horse of this type. Placing the leg into the recess and elevating it onto a 9” stick of wood gives you the angle of rake. Align the ‘low’ corner of the top of the leg with the top face of the cross beam. This gives the exact shoulder line as a cut line to the underside of the beam. By placing a 3/8” chisel or spacer against the beam you can now mark the angle of the scribe line to each side of the leg. This gives you the lines you the vertical cuts that seat against the side of the beam when the joint is completed. Use a straight edge or chisel along the underside of the beam to get the exact position of the actual seat cut and join the lines using the sliding bevel you have already set. Amazingly, this sliding bevel does both angles to the seat cut. Forget the excess at the top for now, we cut that off after we have screwed the leg to the beam. This is how the joined up lines will now look, The angle you set the bevel to for the housing recesses on the beam will be the same as the two (long and short) angles for the compound seat cut to each of the four legs. You must align the cut lines with a straightedge and use a sharp pencil to mark the positions exactly. The sliding bevel will help you to further define the shoulder line with the knife walls needed to guide the saw cut and chisel clean up subsequent to that. Simple!

The vertical cut lines you scribe on either side of the leg must be joined along the top of the leg to give you a direct saw line to cut the face to. I used a tenon saw to cut both the face and the shoulder but a small-toothed handsaw will work too.


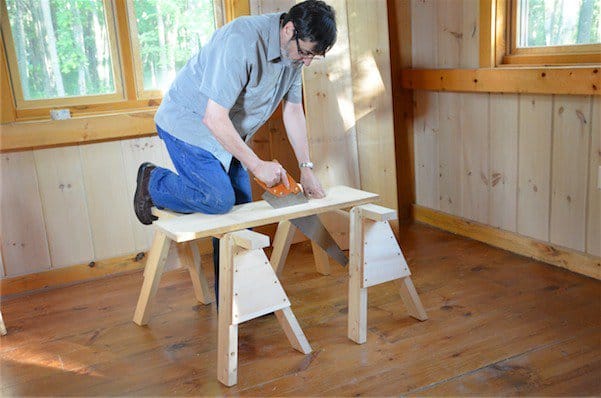
With the seat cut to each leg completed this way I can now assemble the saw horses. I should point out that it is easier to lay out and cut all the leg seat cuts first because the frame become unwieldy if you fix one completed leg and then try laying out the next.

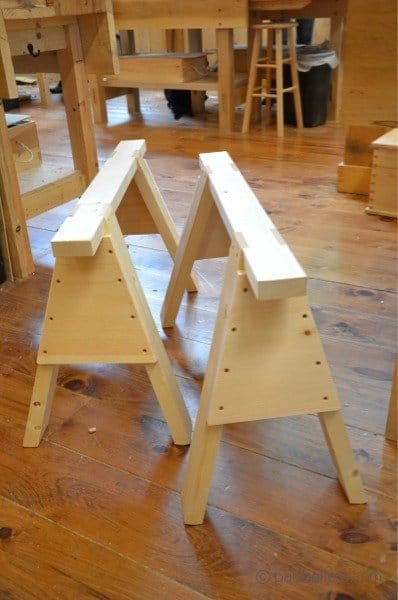
Here's another view for clarity.


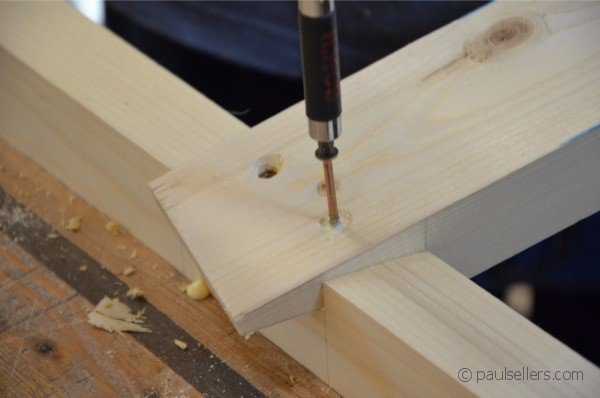
I drill, countersink and glue and screw each leg to the beam using two diagonally placed screws. 2” screws are usually long enough but this depends on the finished stock size of your legs. Longer screws work too. Set aside for the glue to dry.
More shortly.
Comments ()