Making the Paul Sellers' cane - getting started
Starting out a business - the first steps may well begin here
You may well see this as a starting point to a home-based business and I hope that that is the case for you. Learning to make them by hand will give a greater understanding and feel for the process and will give you greater levels of skill and fulfilment than using machines. I will however give the process for making them by machine when I am done with this training series. That way you can meet the higher demands should your business grow into a manufacturing enterprise.
Upcoming cane-making series with woodworkingmasterclasses.com
Another thing. Those of you who are members of woodworkingmasterclasses.com may want to hold off starting your cane until next Wednesday 30 October when we start the new online broadcast series for making canes, sticks and staffs. This will actually show the techniques and methods more clearly than I can do here.
http://vimeo.com/77576126
Start with some straight grained oak. Its strong, resilient, flexible and delivers a good quality cane suitable for any user. Oak is an easy wood to work and works well with hand tool or machine methods. All of the steps can be readily applied to machine methods of making and will suit anyone wanting to make a production business from making them. That’s a bit of a boring way to do it but it works too.
The blank sizes are 23mm x 50mmx 175mm long (7/8” x 2” x 7”) for the handle and 23mm x 35mm x 965mm (7/8” x 1 3/8” x 38”) long for the shaft or stem.
The tools you will need are square, knife, pencil, mortise gauge, 1/4”*, 3/8” and 1” chisel, chisel hammer, tenon saw, plane, spokeshave, hand ripsaw, hand router*, rasp.
*Denotes non-essential tools.
1: To begin, lay out the taper on the stick shaft. The stick tapers from 35mm to 22mm (1 3/8” to 7/8”), regardless of the length you make your cane.
2: Rip down the length with the ripsaw cutting on the waste side of the line and leaving sufficient to plane down to the line.
3: Plane the edge straight and square.
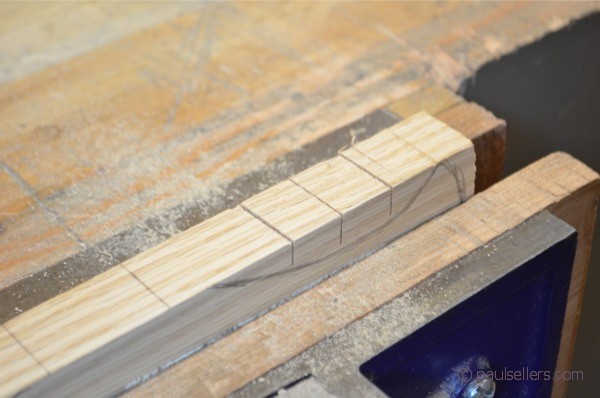
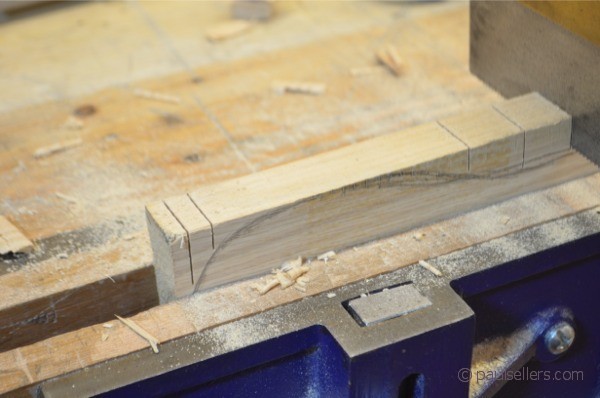
4: Square a shoulder line around the shaft a little more than the width of the handle after being cut to shape but before any rounding over is done. This is done at the wide end of the shaft, which is obviously the top of the cane. Use the square and the knife and remember the cane tapers, so you must decide on a face to register the square against and stick to it.
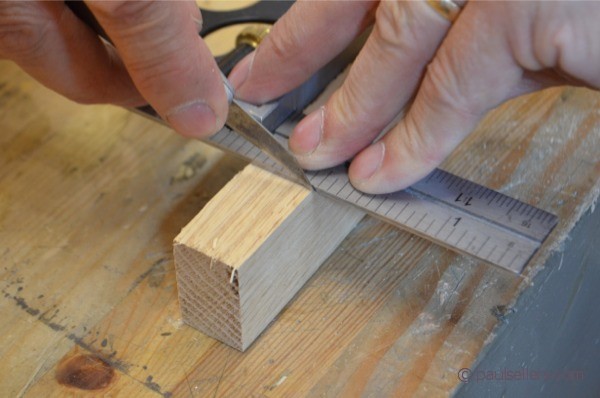
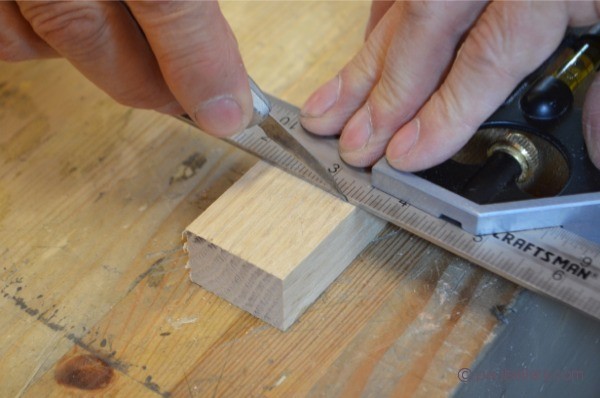
5: Set the mortise gauge to a 10mm (3/8”) chisel and, centred in the 22mm (7/8”) face so that the distance is equal from both sides, run the gauge lines along both edges and onto the end grain. This setting will work for both the shaft tenon and the handle mortise.
6: Chisel into the knifewalls on the waste side to further delineate the shoulder line.
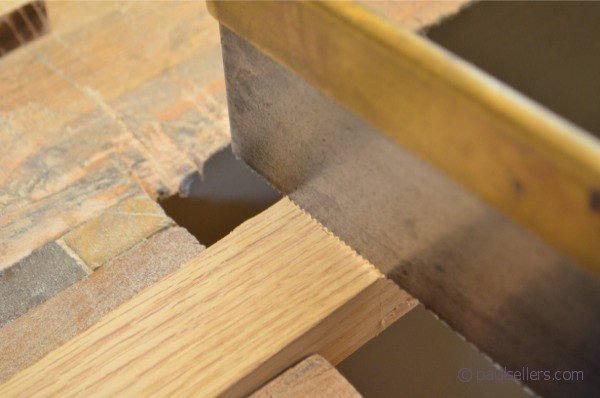
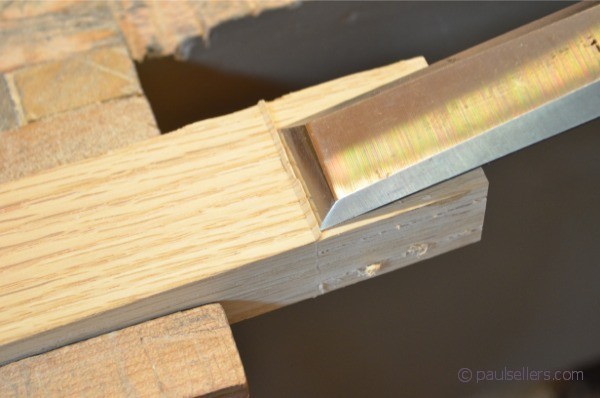
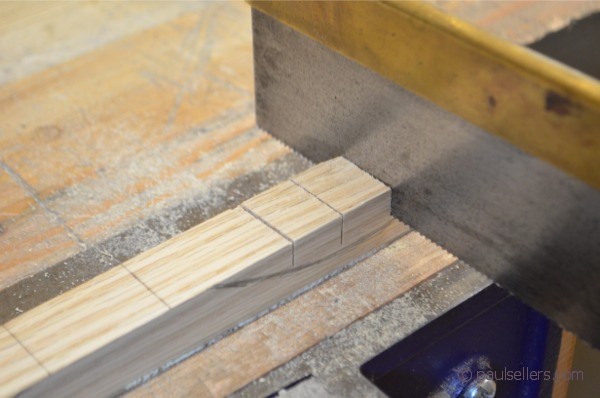
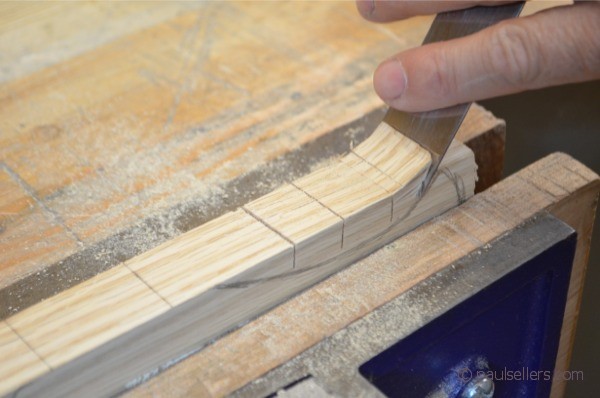
7: Saw down these shoulder lines to the cheek of the tenon.
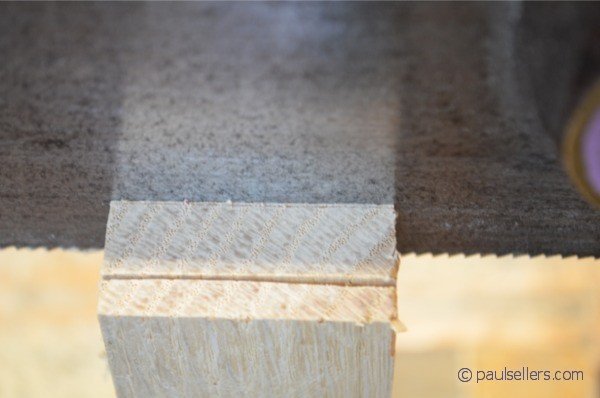
8: Now saw down the gauge lines to establish the cheeks of the tenon.
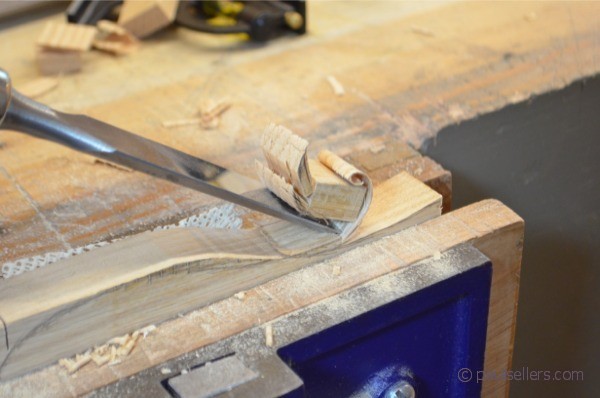
9: Trim the shoulders with the 1” chisel to remove any fibres and level the shoulders.
Mortising the handle
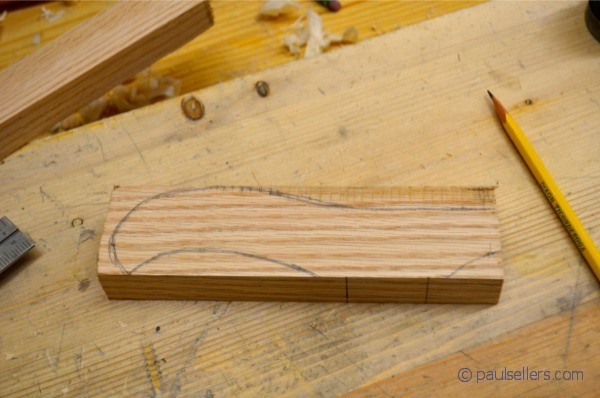
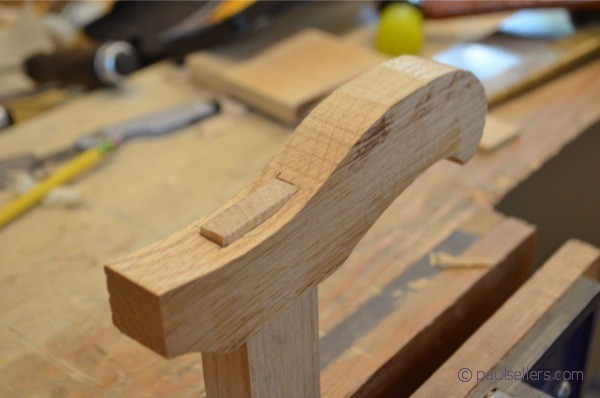
10: I like to shape the handle before I mortise as this makes the mortise less deep. Draw out the shape as show onto the handle blank.
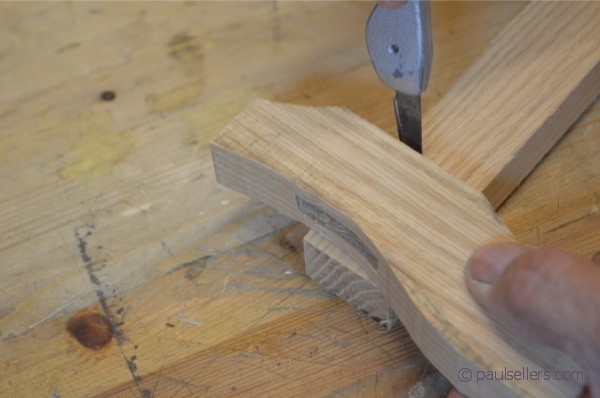
11: Make saw cuts down to near the lines and chisel away the waste. Take care to follow the grain and use wisdom in determining which direction the grain runs.
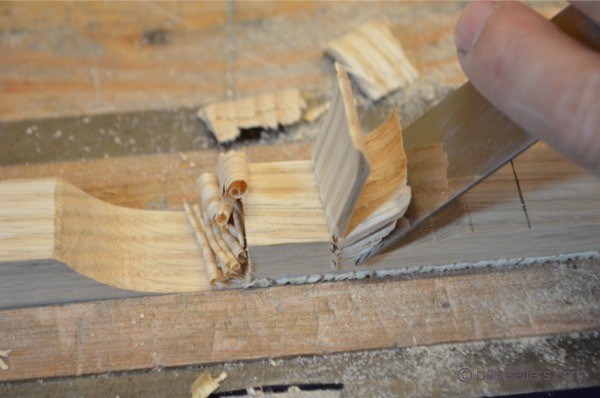
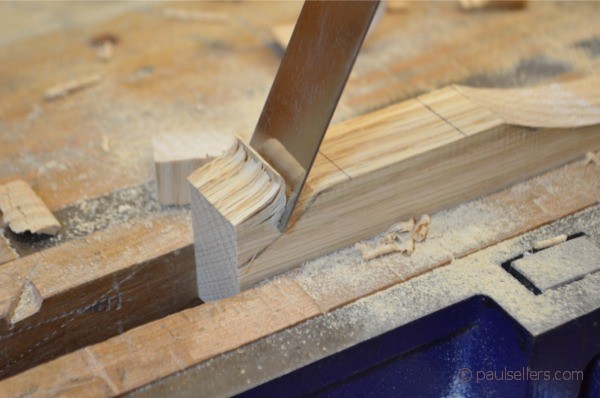
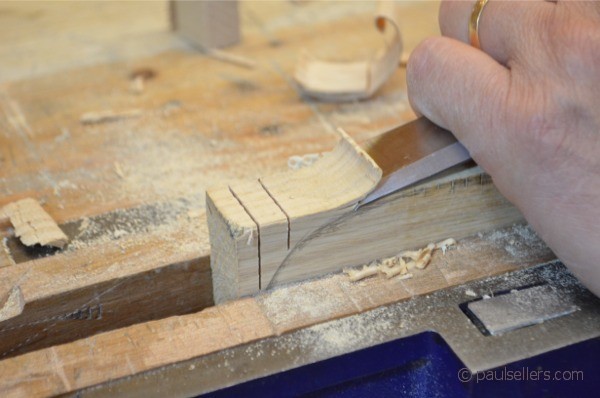
12: Now use the 1" wide chisel to remove the waste wood.
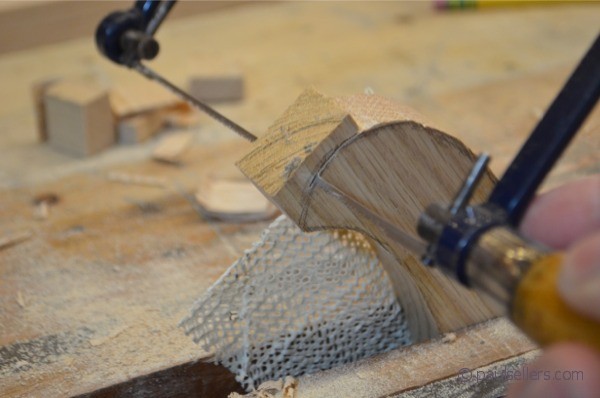
You may want to use a coping saw for direct crosscut work near the rounded end.
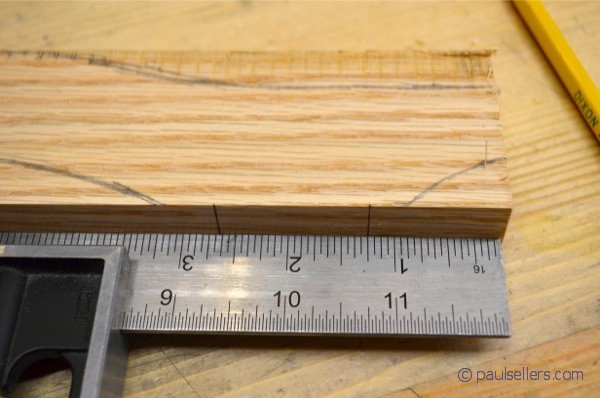
Measure 30mm (1 1/4”) from the end of the handle and make a mark. Use the actual shaft to get the exact distance for the second line. These lines are not accurate but they serve as temporary lines to show where to start and stop the gauge lines.
13: Using the same mortise gauge used for the tenon, mark gauge lines onto the narrow edges of the handle and between the pencil lines.
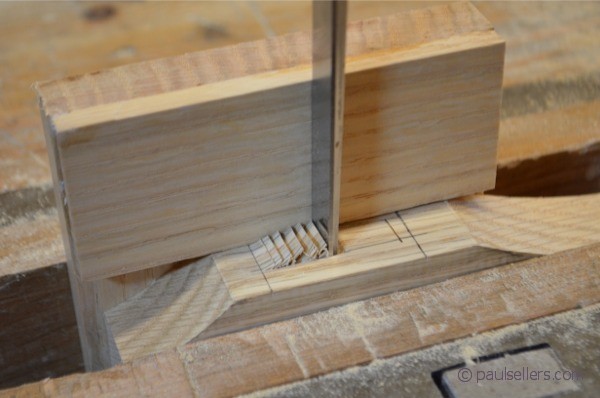
14: Chop out the mortise hole working from both sides and meeting somewhere in the mid section. You can make a guide block if you want to, but with through tenons these are generally unnecessary.
More soon.
Comments ()