Last On Traditional Saw Horses Series

My third and final blog in the series on building a traditional sawhorses
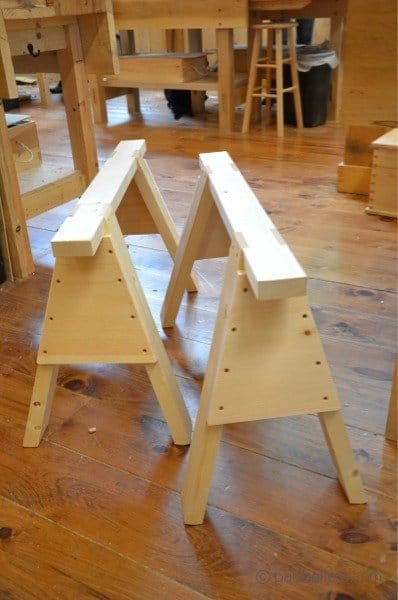
My saw horses stack. The gussets can restrict this and though I have a 11” wide gussets to increase strength, this width can be substantially reduced even to as little as 6”. This is up to you but the saw horses will still be strong and sturdy. Stackabilty is steadier and using narrower gussets will reduce the stacked height substantially too.

You must now cut off the horns adjacent and flush with the top of the beam of the saw horse. I leave them just proud so that the saw doesn’t cut into the top face of the saw horse and then plane them flush.

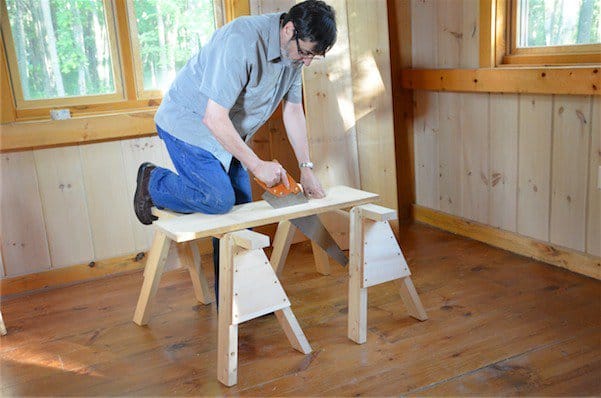
Plane the end grain of the legs flush with the beam using a #4 smoothing plane.

Soon we will scribe the feet of the legs to correspond to the angle of presentation to the floor or a flat surface. Exactness is always good to shoot for, but sawhorses are designed with flex in mind and will accommodate the general inexactitude of wood, tile or concrete floors when in use. I add the gussets before I cut the feet to correspond to the splayed legs. Place the gusset piece against the outside edges of the legs, under the outer end of the beam, and mark the angles to both sides with a pencil. Cut the gusset just off the line on the waste side, leaving enough to plane flush after securing the gussets to the legs.
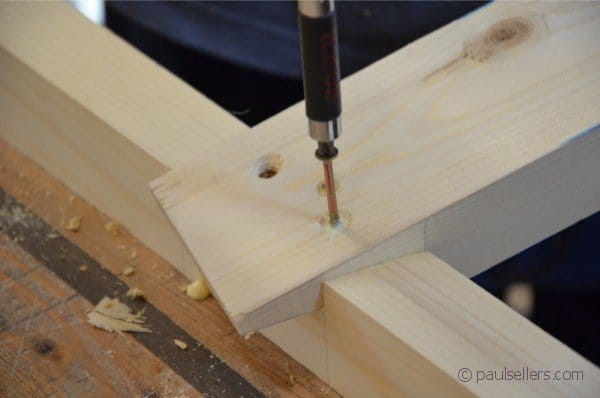
Pre drill and countersink the gussets. You may want to consider planing the ends of the gussets in a vise at the bench and offering them to the saw horse until flush or you can glue and screw them in place and as shown and then plane them exactly flush.
I like to remove any and all corners with a couple of swipes with the plane. In other words removing the arris.
Scribing the feet
This final phase requires a flat surface large enough to encompass the footprint of the saw horse. Place the saw horse on the bench, flat floor or the tablesaw table. The distance to the short outside corner of the leg is the scribe distance we need. Cut a block of wood to that distance or simply use the blade of a square if it corresponds to the distance needed. Pencil the line all the way around the log. That way you can choose which face to cut from that suits your comfort. Saw the scribed feet carefully to the finished length.
Now you have a pair of thoroughbred saw horses. Use them carefully and they will last you a lifetime.
Comments ()