Getting the edge for under £1
Getting started by getting the edge
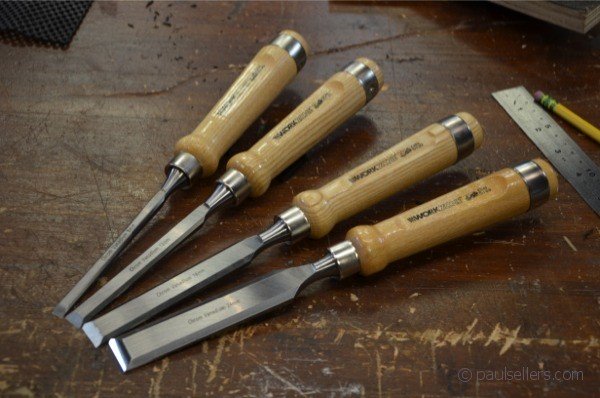
So you just bought your Aldi bargain in chisels and you want to fettle them for refined woodworking. This video shows you how.

http://www.youtube.com/watch?v=Ki8tt-VjwqI
In the past Aldi included a two-sided carborundum whetstone with their chisel set. It was a low-grade stone, which was not necessarily helpful and I am glad they have removed this from the pack this year. Unlike the claim on the packet, these chisels are not polished and the chisels are certainly not sharp enough out of the bubble pack - neither should they be, so what to do? Some high-end makers, send their chisels out sharp enough to go with, but that's totally unnecessary because no matter how good they are they will need sharpening in a few hours anyway. We thought that people might expect them to be sharp and ready to go and certainly Aldi will not have the insights we woodworkers have for just what sharpness is, but they have given us some good steel and solid wood handles on a well balanced and well made chisel. Now it's up to us.
Recently I blogged that sharpening on expensive diamond plates or ceramic and water stones may be prohibitive for new woodworkers starting out, so using wet-and-dry could be the way to get started and certainly this is indeed a good way to flatten the backs of the chisels anyway, if not the bevel edges too. The important thing is to get you started and then consider the long term methods after we have a sharp edge and a flat back face to the set. Flattening the backs and polishing them out is generally a one shot deal you most likely will never need do again, but it is an essential step to a sharp edge.
Costs
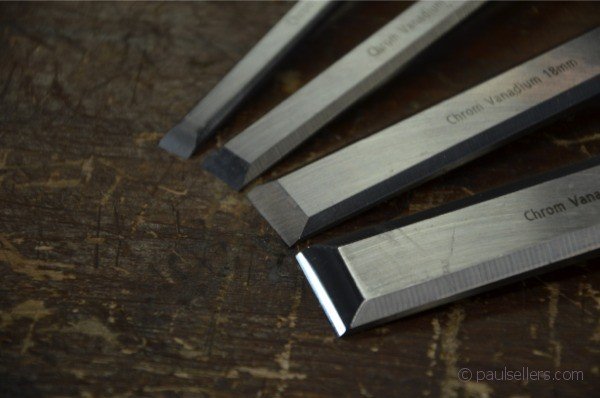
The lower 24mm chisel has been worked on the abrasive paper using 1/2" plate glass as the support to establish flatness.
In the long term, using any kind of abrasive paper soon becomes prohibitively expensive because the paper tears unexpectedly and this often, not rarely, happens on the first go round. The other thing is that you want a system that's ready to go and without mess and fuss. This method becomes irritating and a nuisance as well as a waste of valuable time in the process of making. (We shouldn't discount the fact that people do have spare time and they like to simply spend time sharpening even of they don't actually use the tools for real work. I never had that luxury.) Anyway,it's this that makes abrasive paper methods of sharpening expensive. The method I used for this video costs under £1 in abrasive papers. I used three half sheets on 250, 400, 800 and then quarter sheets of abrasive paper in 1200, 1600, 2000 and 2500. Any variance in these grits will work. It’s not legalistic. In other words I can sharpen 4 chisels on 2 1/2 sheets of abrasive. These sheets cost 29p per sheet from Screwfix but you have to buy packs of each grit size. Even so, 73p per session soon builds up when you sharpen two or three times a day, which most woodworkers will do if they are staying on top of their chisel edges. Using double sided tape at each end of your sheets will hold the paper firmly in place and prevent slippage. I find it better than spray adhesive for one healthy reason and that is the VOC’s. Using spray adhesive stinks and the stink is not good for our lungs and brains. Sometimes I will use a spray of water on the granite block, but I find that this is unpredictable and the paper does slip under pressure.
Plate glass support
Your undercarriage for the abrasive must be flat. In my case and for this video I used a piece of float glass I retrieved in a skip (dumpster US) here at the UK workshop in Penrhyn Castle. It happened to be a good length and ideal for what I do. Of course the method is messy and glass is impractical long term, but it gets you started and that’s what matters. All in all this method defers shelling out the £150 you will eventually need for more permanent sharpening with diamonds.
Comments ()