Saw Horses – Cutting List to Get wood
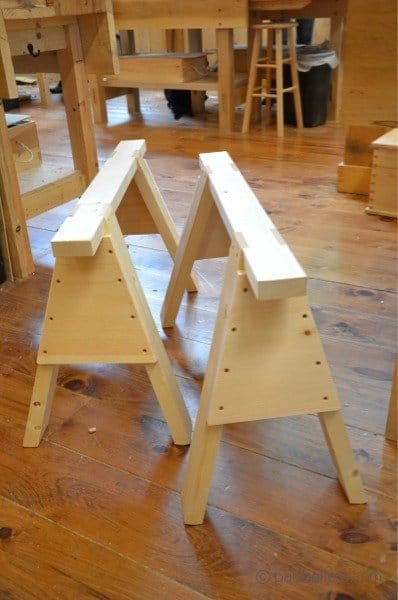
Making Traditional Saw Horses


I suppose we take it for granted that plastic saw trestles now as saw horses are cheap enough to buy and replace so it’s not worth making them. In the USA you can buy two 2 x 4’s for about $6 and make a saw horse of substance that will last you all your working life whether you are a full time woodworker or part time hobbyist. Mostly used in pairs, that’s an inexpensive investment for a mobile and temporary work support.
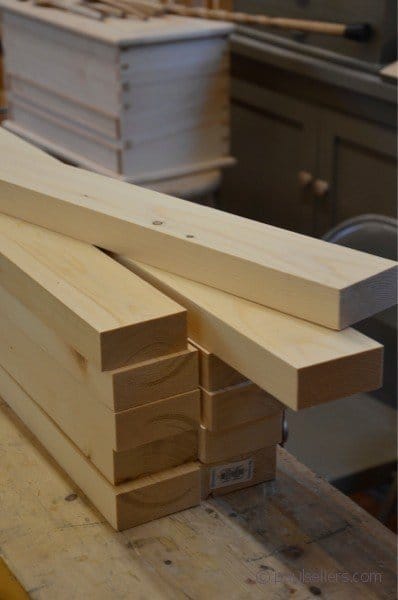
Traditional saw horses like these were once commonplace but have disappeared from most joiner’s shops for different reasons. These work horses rely on four compound housing joints undergirded by direct bird’s-mouth seating atop the legs and two broad gussets that distribute stresses and arrest the possibility of leg-spread under weight. Here are my methods for making a pair I find suited in height, strength and weight. As I say, 2x4’s are good stock to build from. My sizes are finished out at 1 1/2” by 3 1/2” for the legs and 1 1/2” by 3 1/2” for the crossbeam. You can of course alter these sizes to almost any practical size you want and increase length and height by using longer pieces. You know your personal needs so build accordingly. 24” long legs will give a saw horse height of about 22 1/2”. I have made my saw horses 30” long. If I need something longer I simply add longer boards or 2x4’s on top and that works fine for most work.
Cutting list for two saw horses
8 @ 1 1/2” x 3 1/2” x 24”
2 @ 1 1/2” x 3 1/2” x 30”
4 @ 3/4” x 11 1/2” (long) x 11”
My first step was to plane the edges so that I had square-edged stock, which I like, looks best and gives square edges to mark recesses and shoulder lines from. I used a #4 Stanley smoothing plane for this and it takes only two minutes per edge. Not slow, not hard, not too much trouble. Result! Pristine handwork and clean, smooth wood alongside self satisfaction and fulfilling work.

WIth the pieces cut and smooth the next thing I did was to lay a piece of plywood on the bench to lay out my pieces and establish the splayed angle for the first leg, which in turn gave me the angle to set my sliding bevel and so use it for all the other legs and shoulderlines.

Put the beam along the top edge of the plywood, flush along the edge and 1/2" from the corner edge.

Measure 5" from the end of the beam to establish the point at which the leg housing begins. Support the opposite end of the lag atop another leg so that the corner of the leg aligns with the edge of the plywood this time. The difference between the start of the top beam and the bottom leg means that the legs will splay beyond the extreme of the beam and reduce the risk of tipping.

Establish the angle from the leg onto the sliding bevel as shown.

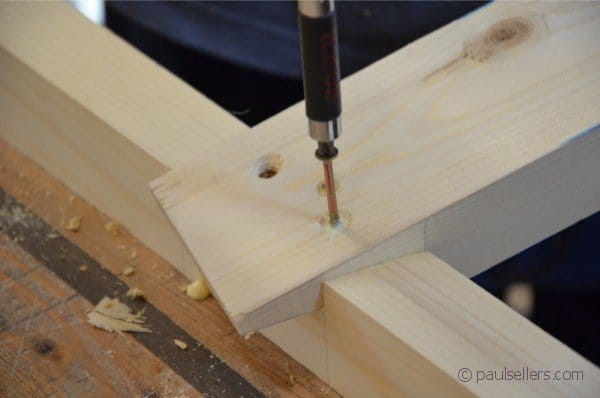
Now use the knife to establish the first crosscut knife wall. In this case I used the actual leg, but you could now use the sliding bevel too.

I used a knife against the sliding bevel to deepen the cut and make the the second knife wall to receive the full width of the leg so that the second knife wall distance was exact. This then enables me to run a gauge line to show the depth on the top and underside of the beam.


I square the lines onto the top and underside and then run the gauge lines for depth.

Saw down the knife lines on the waste side of the line using a tenon saw. I find it best to make two or three crosscuts in the recess area. This helps when chopping out the waste wood.


Chop out the waste and then pare the surface to level the final depth.
Repeat for the other three legs.
Comments ()