Spoon making from the log first I think
More tools
Bow or coping saw
Bow saws can be used throughout shaping spoon blanks they are general safe to use. Someone once baited me in front of a large audience of woodworkers asking me what the main difference was between a powered saw and a handsaw. I said that the main difference for me was if I slipped using a handsaw I always stopped before I got to the bone. Bow saws of the type I made here can be used to crosscut round wood as shown and also remove most of the waste in a highly controlled manner. We have yet to write and film this yet but plan it to follow soon.
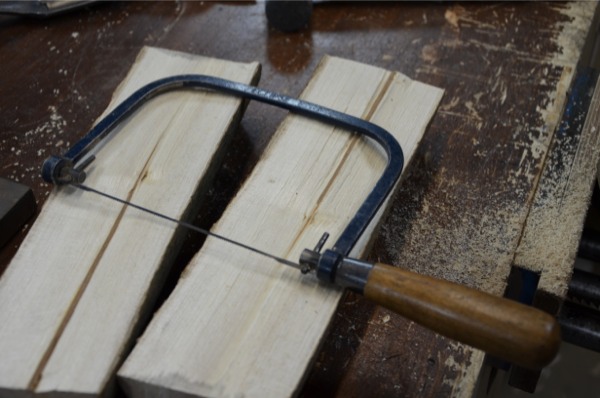
If you don’t have the wherewithal to make one at this stage use a coping saw instead. Not quite the same but a close second for shaping in curves.
Spokeshave
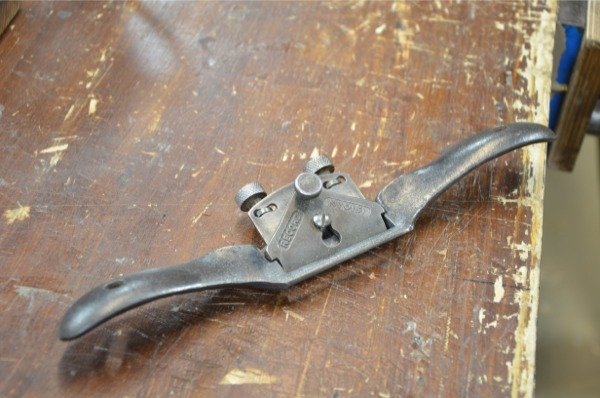
In my book one of the best tools to let your children use and the first one I bought each of my boys. Spokeshaves give great control to children shaving different aspects of the wooden spoon and taking it from rough cuts to refinement. I rarely ever need to use a round bottomed spokeshave as the flat-bottomed ones can be used on convex surfaces and spindle work like spoon handles and also on some concave work as long as the radius is not too tight a radius.
This is an essential tool for any woodworker and especially is this so for spoon making. They are inexpensive and can be had for under £15-20 via eBay.
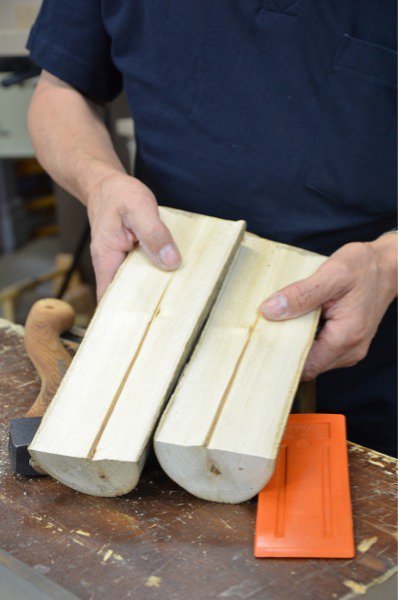
Splitting the log for two spoon blanks
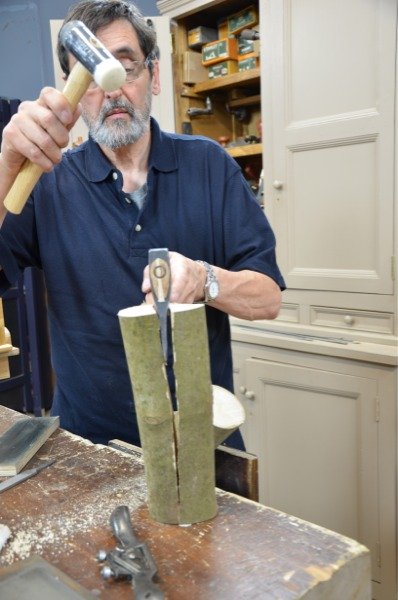
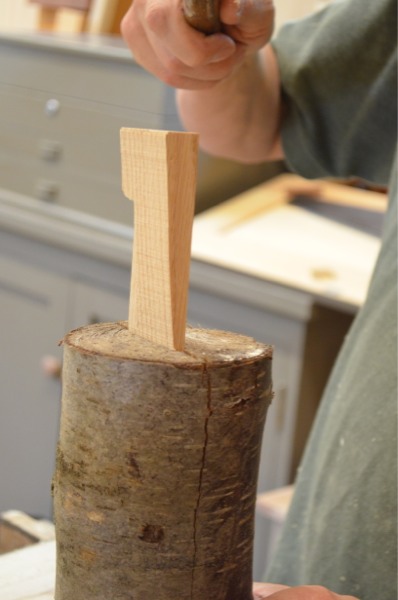

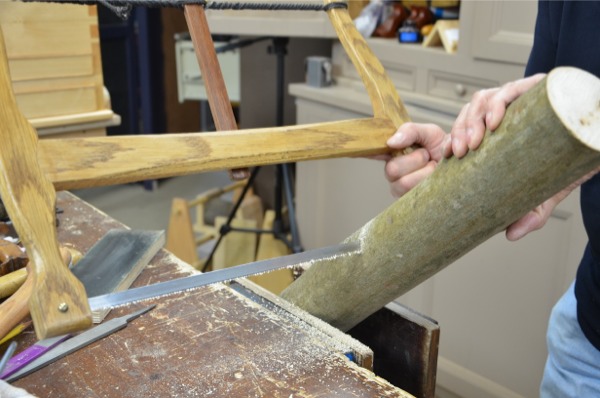
For this first spoon I used a split section about 4” diameter. One log I split in the UK with an axe, in the US I used a similar section of yellow birch and split a natural shake using an oak wedge. Oak wedge or axe, both work. Plastic and steel wedges work well too, but in this case we’re using the axe as a wedge and not for chopping but driving into the wood with a hammer. Better to use the Thorex (or a panel beating) hammer for this. Sometimes steel on steel can chip one tool or the other and the hard face of the steel hammer will damage the softer back of the axe head ultimately.
Splitting is often quicker and usually, on such a small diameter, the wood will split cleanly in two. Down the centre of every log is the very start of the tree or limb when it started to grow. This, the pith, is usually where all splits or shakes emanate from. Placing a wedge in a crack will usually open the crack and separate the two halves equally. The axe is often easier to use for a wedge because it’s handled and sharp-edged for a quick and easy entry-start. Place the cutting edge in the crack if there is one and drive the axe head into the crack using the Thorex nylon-faced hammer or a small diameter limb until the wood splits down the length. This usually splits the length wholly down along the grain but with some woods you may need to drive additional wedges to progress the split.
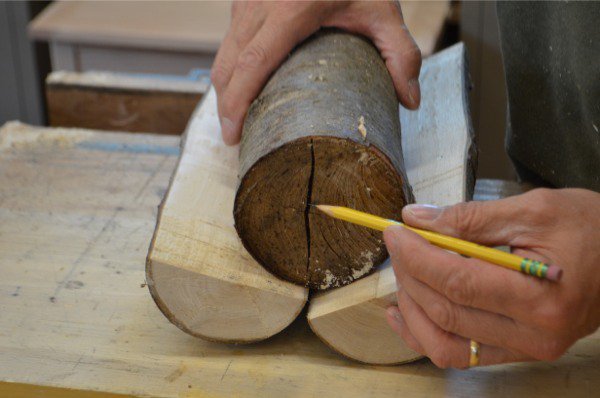
The exposed faces are unlikely to be smooth and whereas it’s not necessary for them to be smooth there is nothing wrong with taking shavings to create a flat face for marking.
You will see how we make the templates as we start the actual shaping. Right now we are equipping you to get started.
Comments ()