Poor man’s dowel maker
I just watched the current edition and final episode in the series on making breadboard ends on woodworkingmasterclasses.com and thought that I should post a quick blog on the poor man’s dowel maker I find delivers the goods.
As a boy we drilled holes in pennies for washers because the boss, Bert Pickford, said he wasn’t going to pay more for a washer than a penny, so, as the washers started to cost more than a penny, that’s what he had us doing. Today they cost much more than that but they can be useful beyond life as a mere washer.
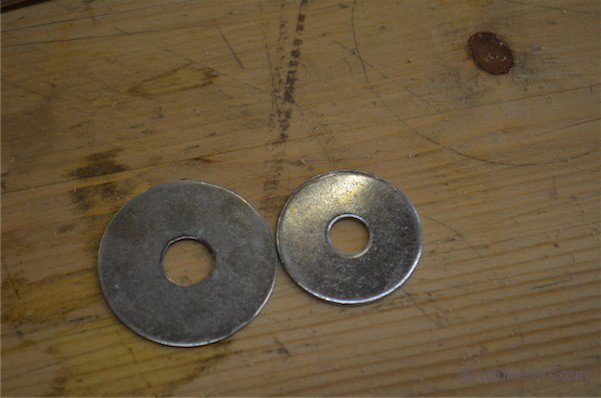
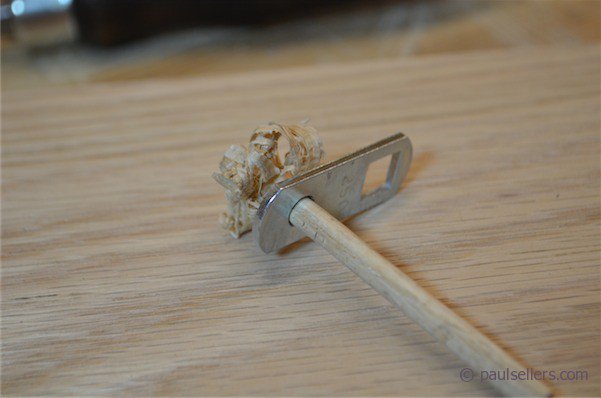
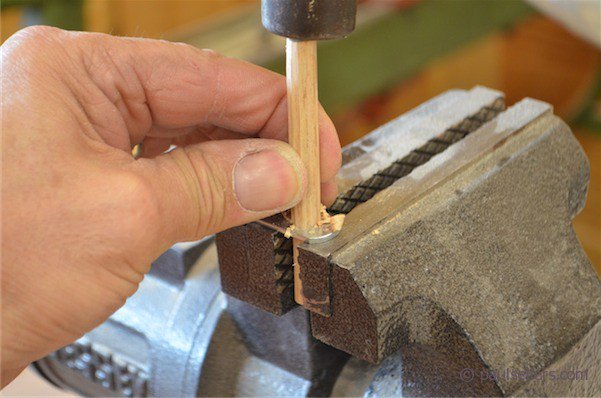
Recently I needed 4” of 3/16” oak dowel and so I did as I often do and drilled a hole in a piece of steel, in this case an obsolete locker catch, to make the needed dowel, which works perfectly. This is most useful when you need a specific wood that dowels don’t usually come in, like mesquite or Boise d`arc or ebony and such. Another poor man’s dowel maker comes from two washers for about 25 cents each. Whatever sized dowel you need, buy that exact size and also buy another washer 1/16” larger if available. Now look at the washer. One side will have a slightly rounded shoulder to the rim of the hole. This will be the exit side of the hole. You will drive the stick through from the other face because this side of the washer has a sharp corner that cuts the dowel more cleanly. Your stick of wood should be barely oversized. I mean just barely. Use a chisel to give the stick a start in the hole and then drive the square stock through the larger washer. The better vise would be a metal working vise but you can also drill a larger hole in a piece of hardwood.
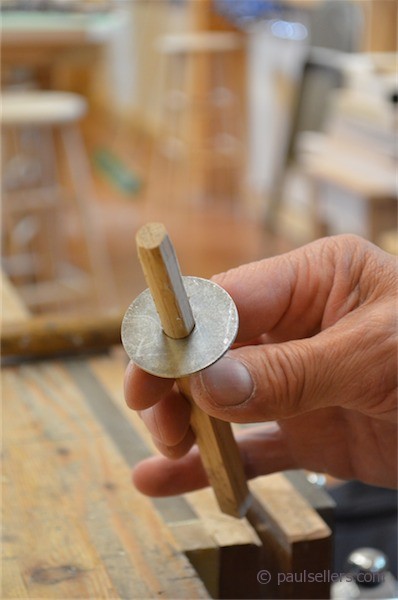
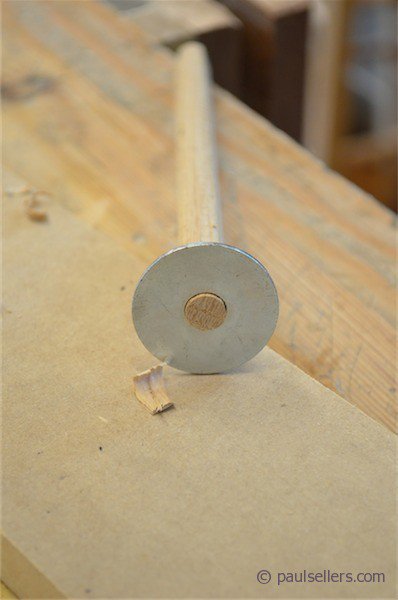

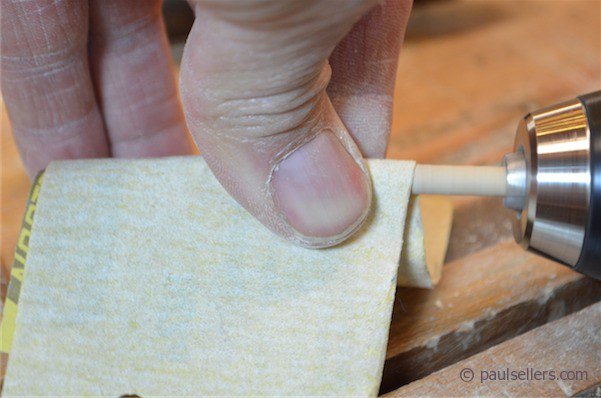
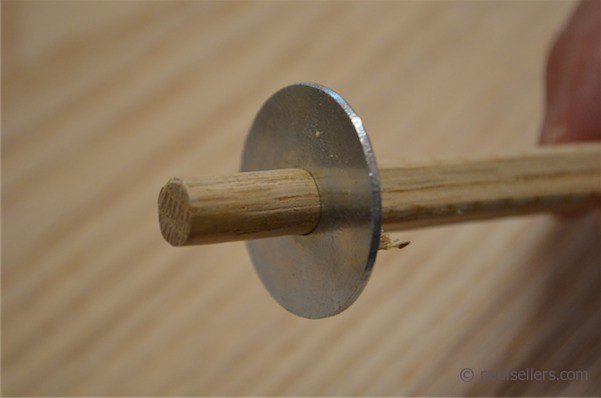
After you driven the stick through the larger hole; this is only to remove some of the waste material on the corners, drive it through the right sized washer, which in this case is 3/8”. The dowel is now ready to fit the hole. Usually the dowel will be exactly to size but if it’s slightly to tight for your pleasing, i.e. if the dowel is slightly oversized, chuck the dowel in a drill or screw-gun and sand as it rotates as you would on a lathe.
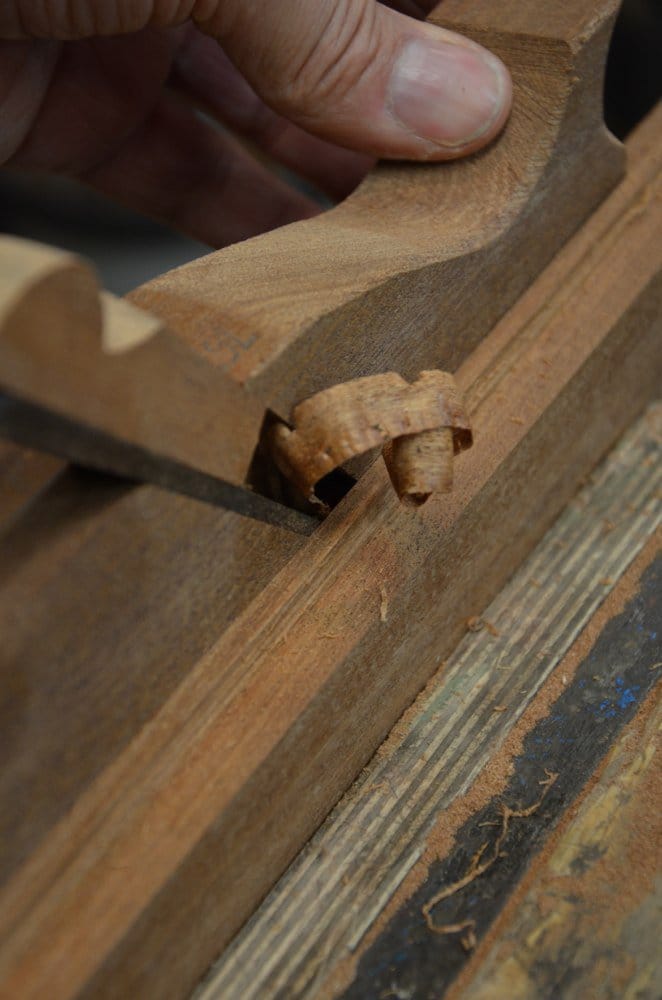
I used this method to create square and raised pegs where I still wanted the reality of a proper draw-bore peg but with a square-pegged appearance, slightly raised and rounded.
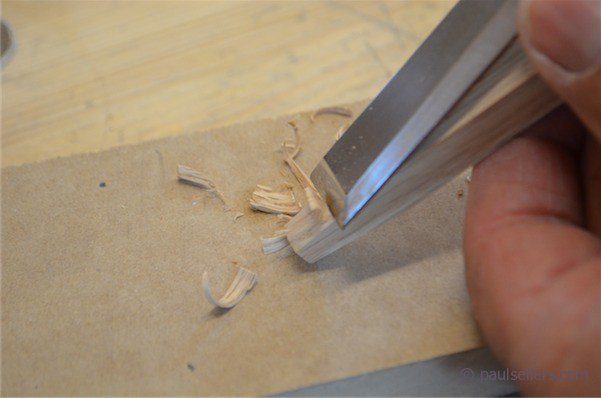
By using the knifewall around the peg you create a stopping point for the rounded part so you have round to square with an abrupt separation between the two. Drive the peg through the two washers to size the dowel exactly to size and tap back out. Cut the peg to the protrusion depth you want and drill the hole you want wherever in your piece of wood. Trim out the corners to the wall of the hole with a knife. square and dead sized chisel and you are ready to install the peg. I file my protruding peg to a cushion shape.

Comments ()