Making My Sharpening Plate Holder
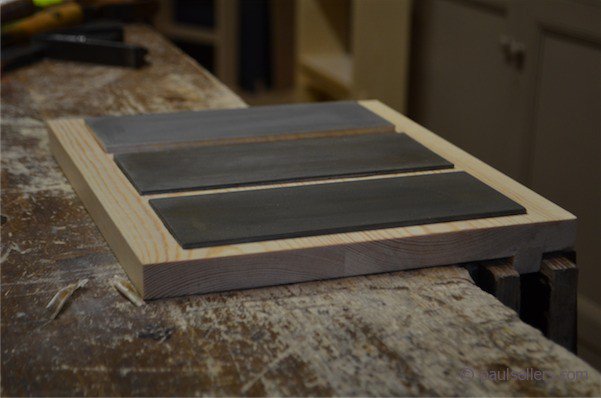
Recently I posted a blog on making one of these using a tablesaw to cut the recess walls and removing the waste using a chisel and hand router. It was fast and efficient and the holder works just fine. The appearance is less pleasing however. Here are the steps to making one with clean and definitive walls using hand methods I think that you should enjoy. My wood is mere pine, which works just fine and lasts well. I have a couple of these that are now 15 years old. The only thing I did that is important is I let the wood sit in my shop to acclimate. That way, any curl became obvious and I could flatten if needed before I cut the recesses. The method will also work just the same with plywood of you prefer.
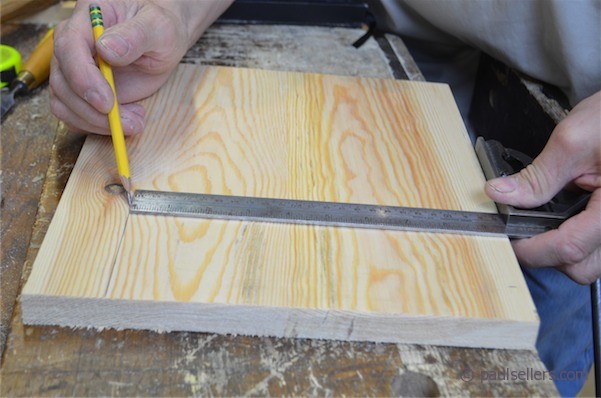
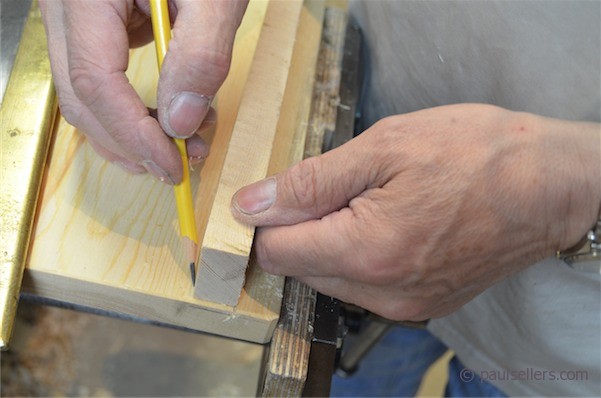
I started by laying out the recess positions in the board having cut my board to 11 1/2” long (length of grain) and 9 1/2” wide. The wood was 7/8” thick, but thicker or thinner works fine, but not less than 1/2” I suggest.
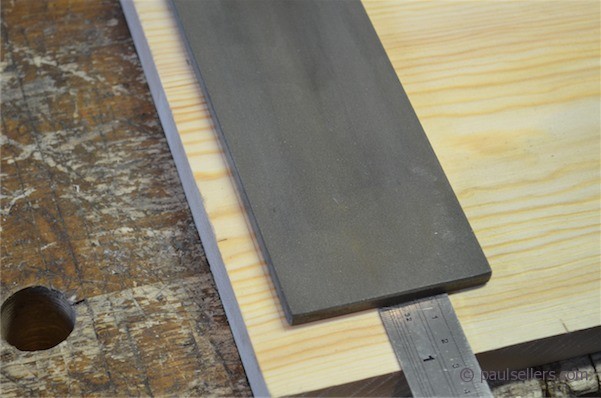
Measure a 3/4” border around the board and then lay the plates against the line to establish the position width of each recess. Equidistant the centre plate in the mid section and get the width. This should be 1/2” from the two on ether side, but plates vary a little in size so best to use the actual plate rather than a measurement.
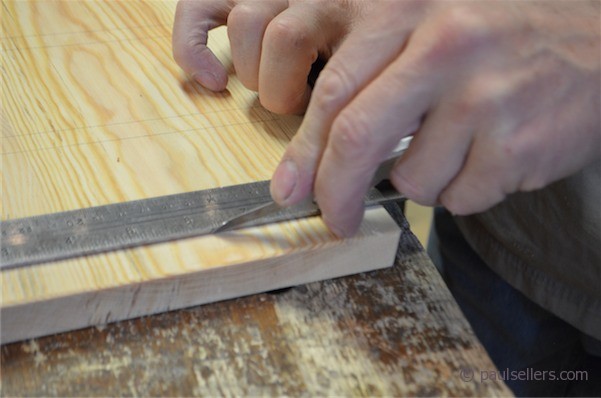
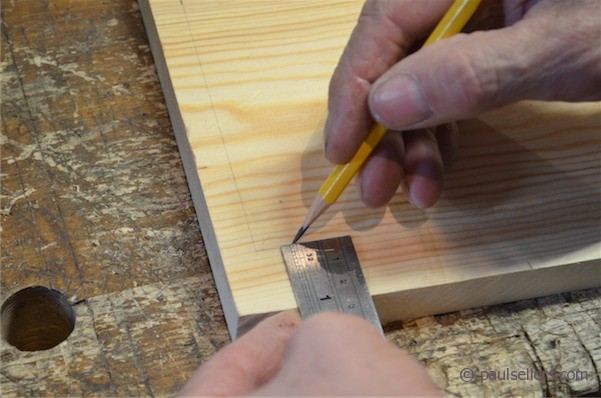
Use a knife to delineate the walls and create a knife wall to each of the cross-grain cuts.
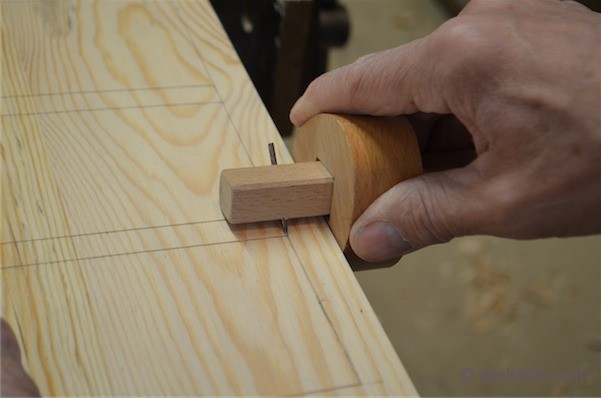
Along the grain, in between the borders of the plates, use a marking gauge along the edge of the board and 3/4” in. This gives a fine indent in which to place my chisel edge.
I make in incised cut with a wide chisel into the knife walls on the waste side of the recess.
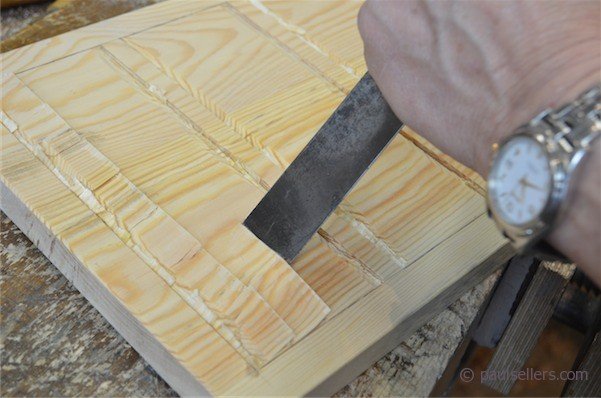
This now guides my perpendicular cuts as I chop with the 1” chisel.
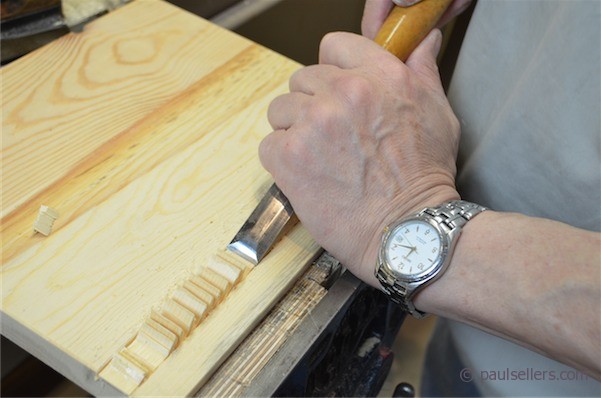
I know use my chisel bevel down to chop-cut across the board as shown. This splits the surface fibres and allows me to readily remove the waste.
With the bevel down, I chisel out the waste, estimating my depth at about 3/32”. I want my final depth to be about 1/8”.
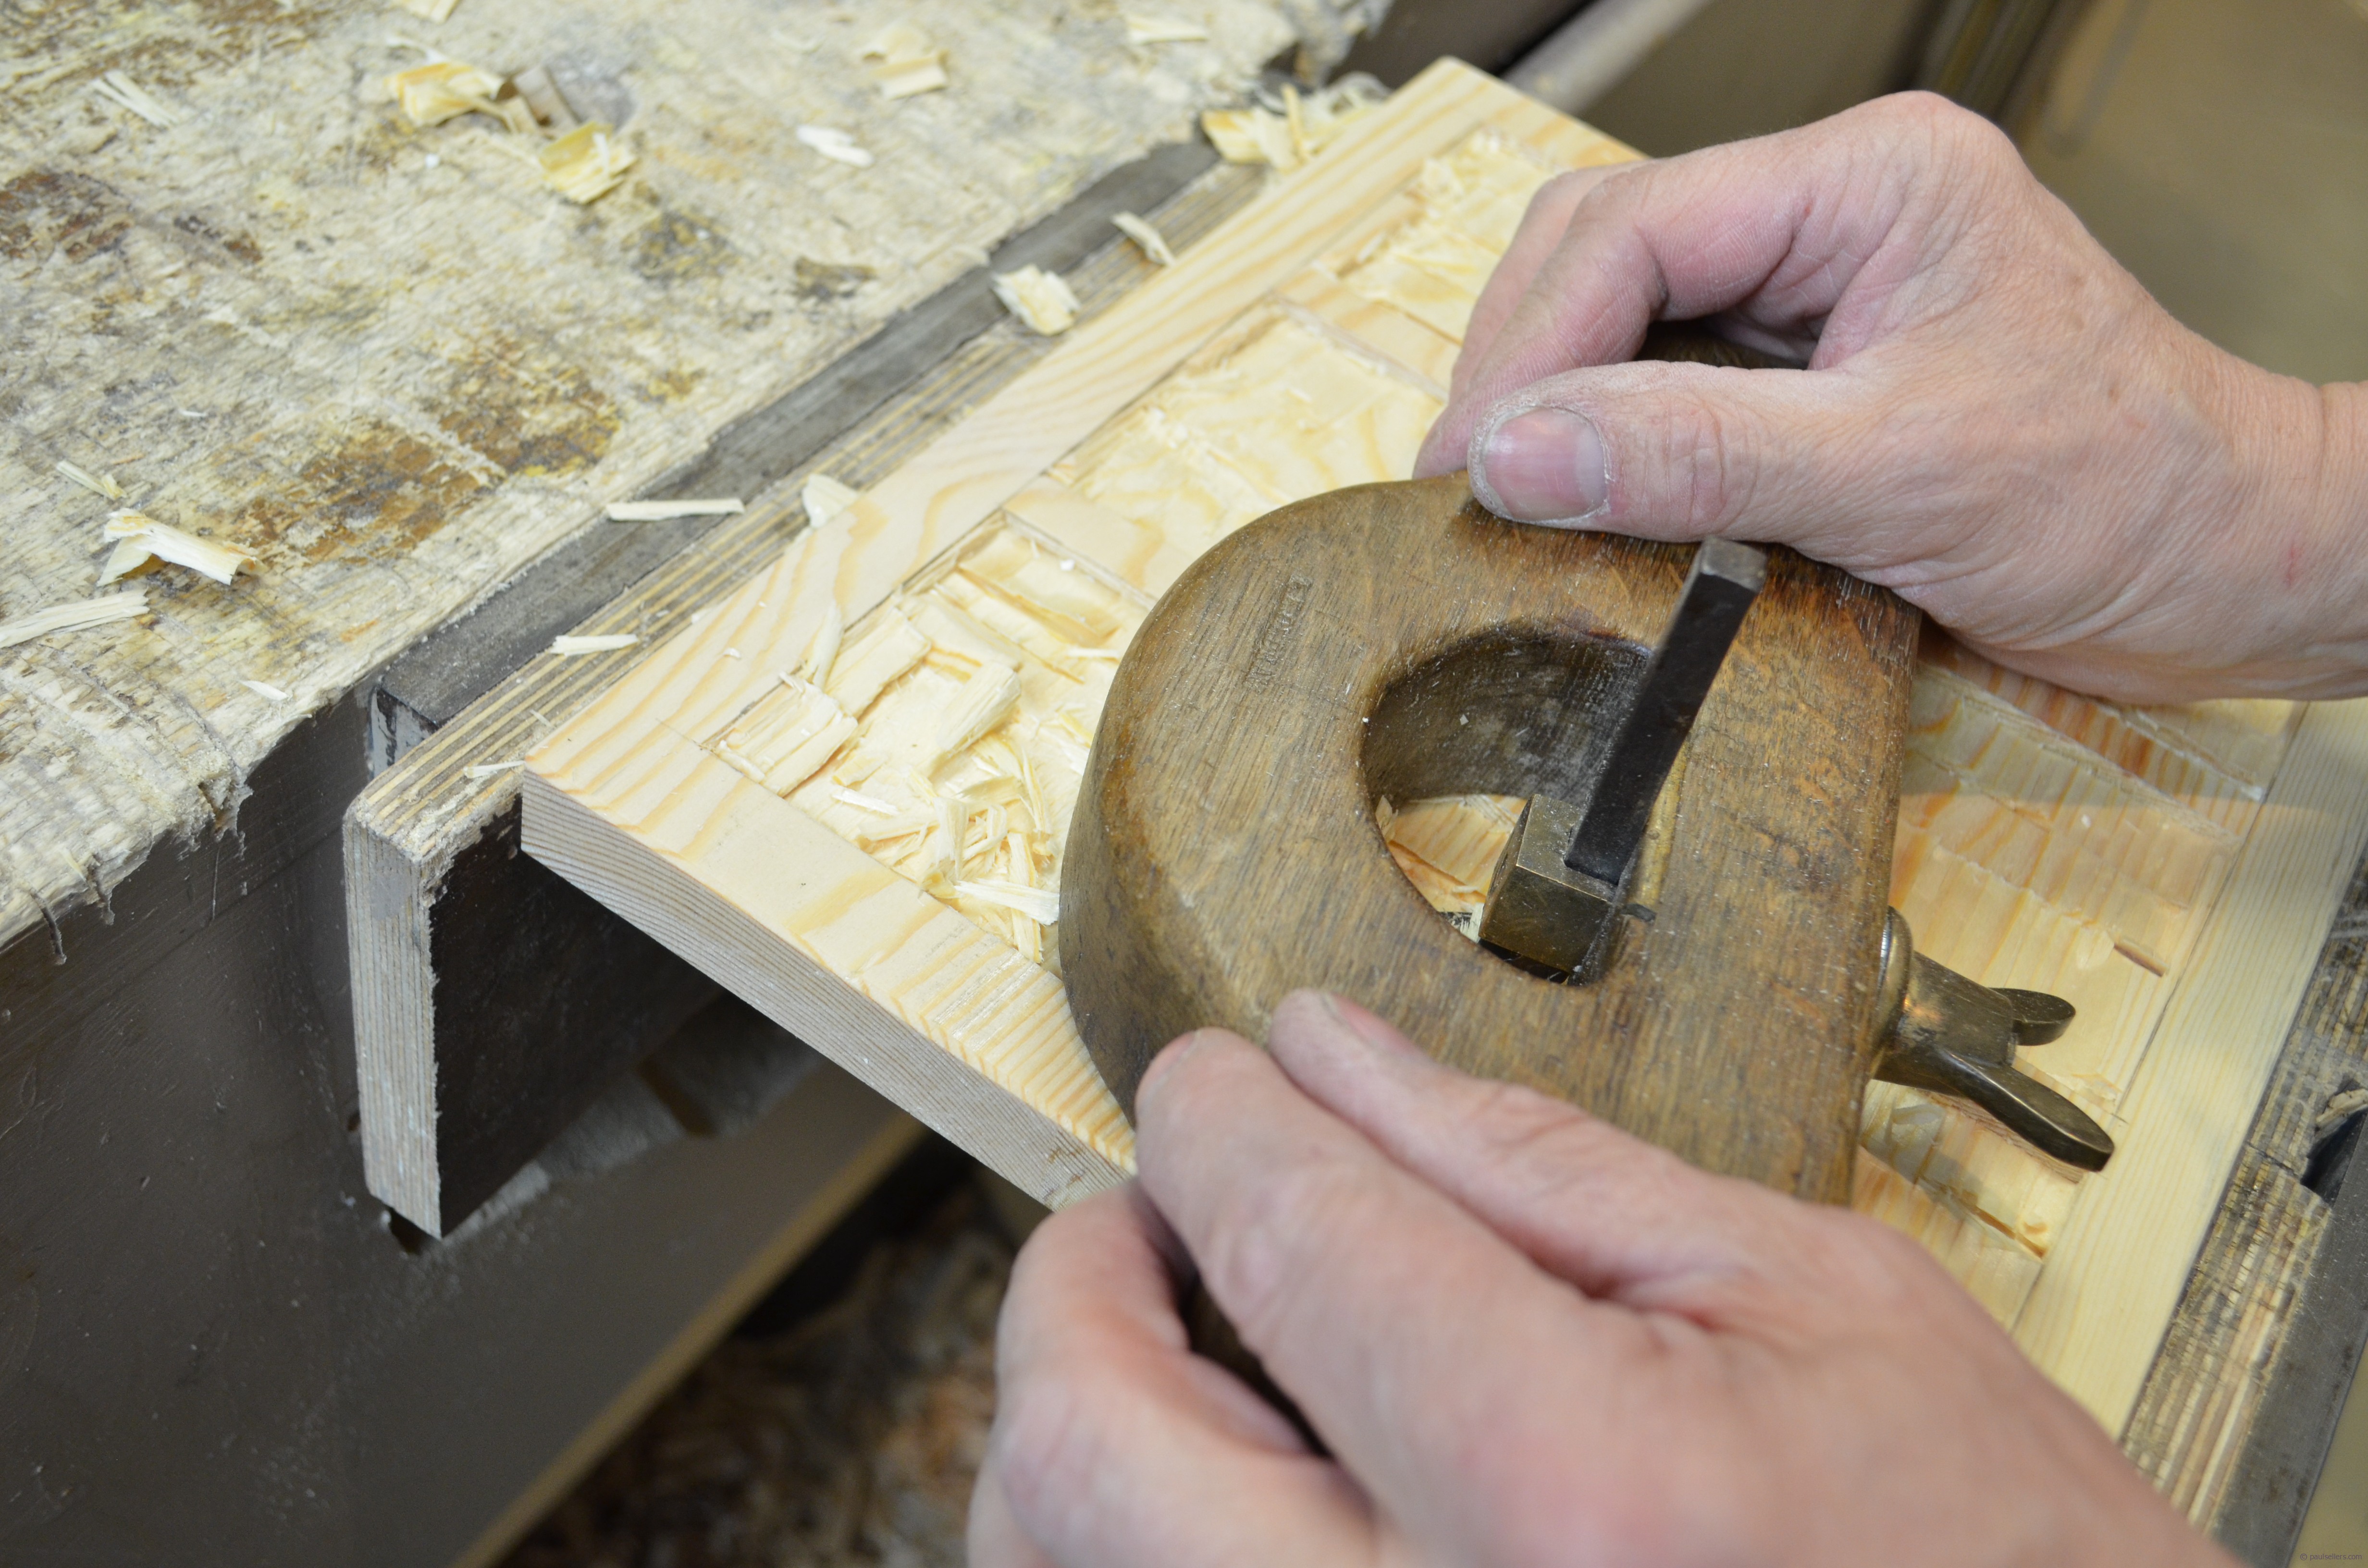
I use my hand router to remove the remaining waste wood using my wooden hand router. You can use an all metal router too, but the wood spans all of the recess walls and doesn’t mare the the narrow dividing surfaces.
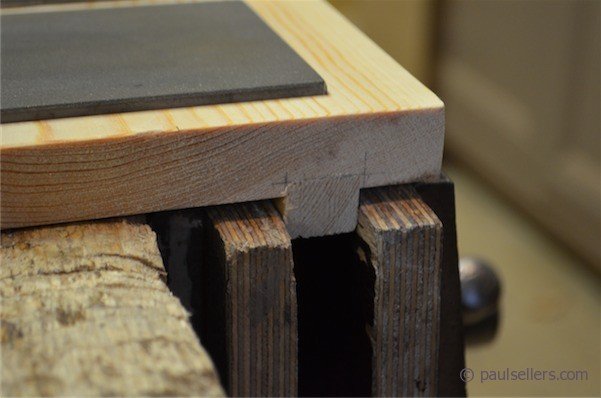
With all of the recesses cut I can now focus on the stop that holds the holder in the vise during sharpening.
First I ran two parallel lines along the long edge at 3/4” in from the edge to the first line and then 3/4” to the second edge.
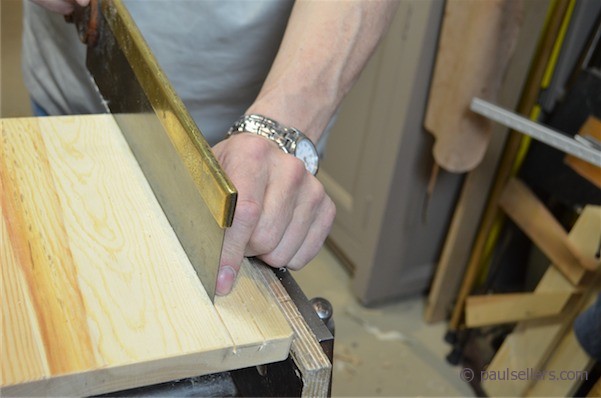
I ran a tenon saw along the first edge to a depth of 1/8”.
I then butted my inset piece of wood against this sawn wall and marked the second parallel wall.
I cut just inside this wall with the tenon saw to establish the second wall to the same depth of 1/8”.
I used hand pressure along the length of the groove with a 3/4” chisel. Bevel up.

I used the same wooden router to remove the waste, progressively deepening the set to the final 1/8” depth.
I fitted my recess stop to the groove with the hand plane.
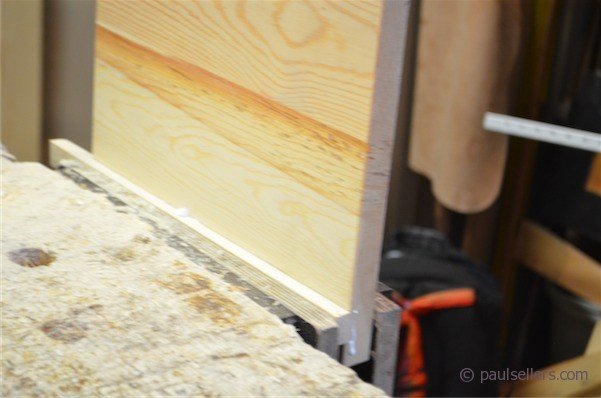
I glued the stop in place...
...and clamped it in the vise until dry.
The stones are secured in place with a zig zag of silicone. I want to be able to easily remove the stones f I need to and this works best for bedding the stones but gluing them permanently.
Comments ()