Making My Mallet - Last One
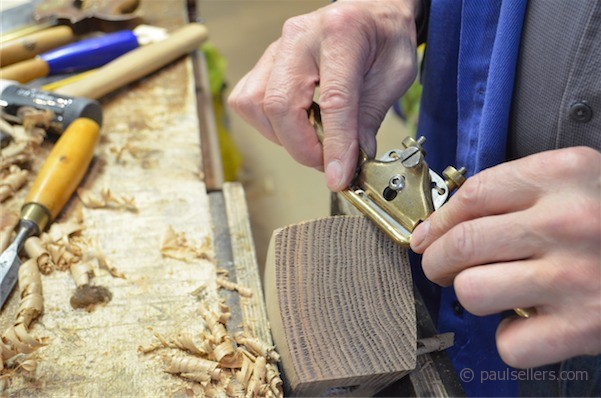
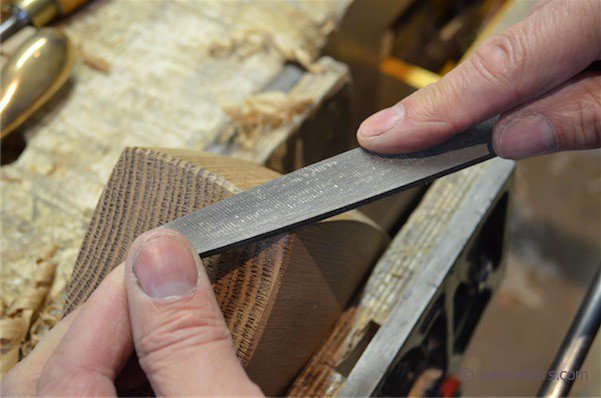
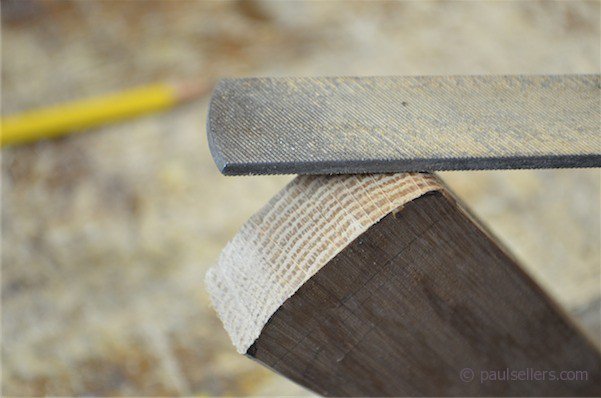
To finish off the corners of the mallet I created an all-around chamfer with the spokeshave. I also used a flat file to crispen up some more awkward grain as needed. You could use a flat file for all of this if you want to or you don’t have a spokeshave. The spokeshave and file are easier to work the rounded parts of the head. If you don’t have either, wrap sandpaper around a flat stick and make your own abrasive file.
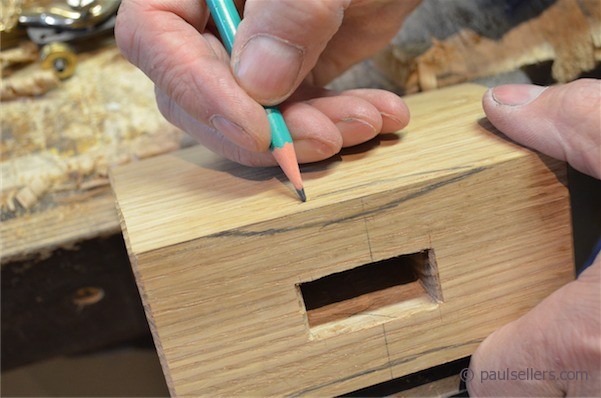
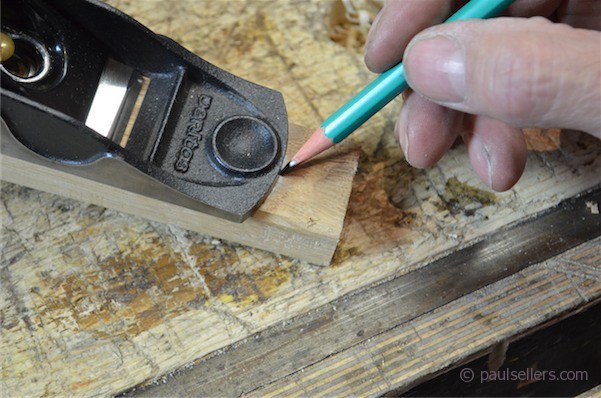
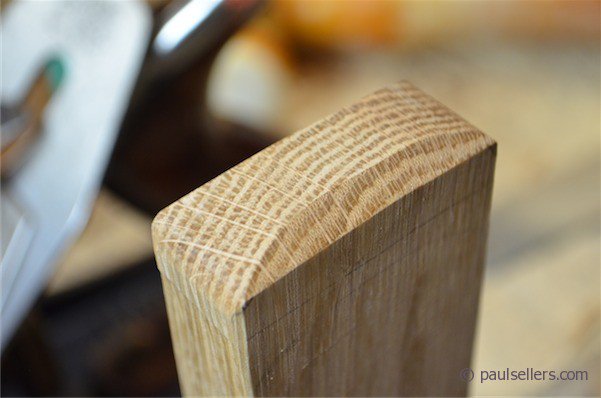
On the inside corners nearest the handle, the original mallet had a corner scallop, not dissimilar to what we call a stopped chamfer of sorts, only short. I drew this on with a pencil to guide me as shown.
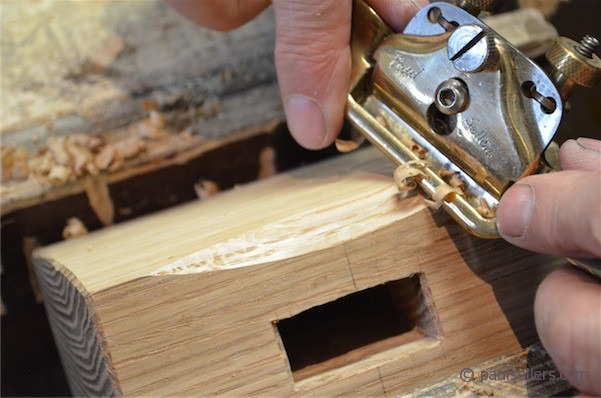
If you have a spokeshave you can scallop the whole thing with shallow cuts from each extreme toward the centre or mid section.
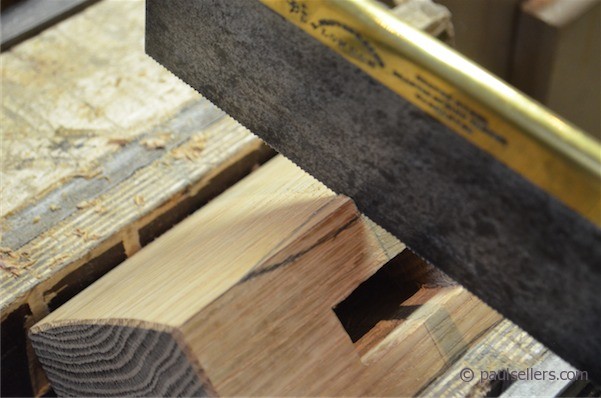
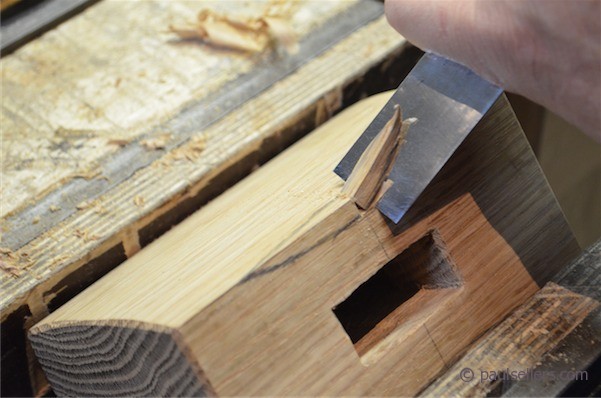
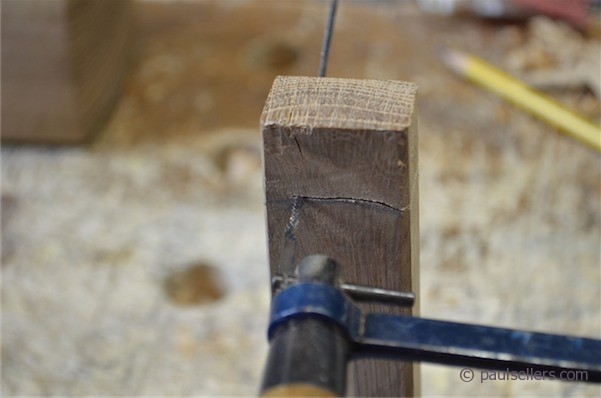
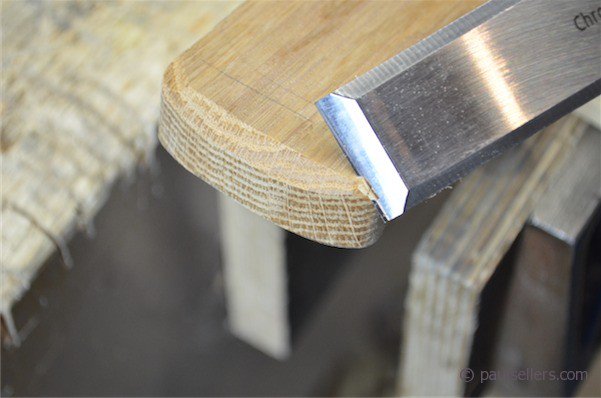
On the other hand, you can make a saw cut in the centre, across the corner, and then chisel in from each end toward the mid section. This works well and eliminates the need for the spokeshave. Any unevenness can be sanded with a stick wrapped again with sandpaper as before.
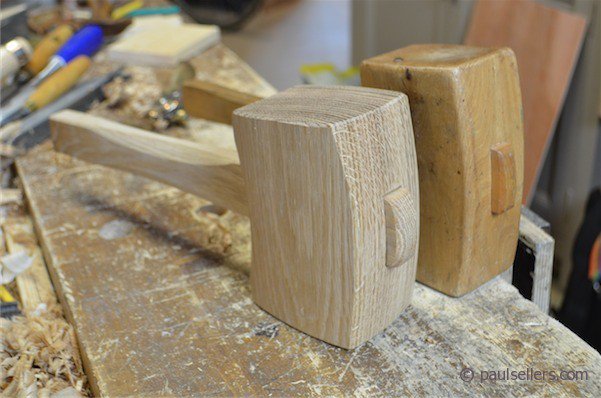
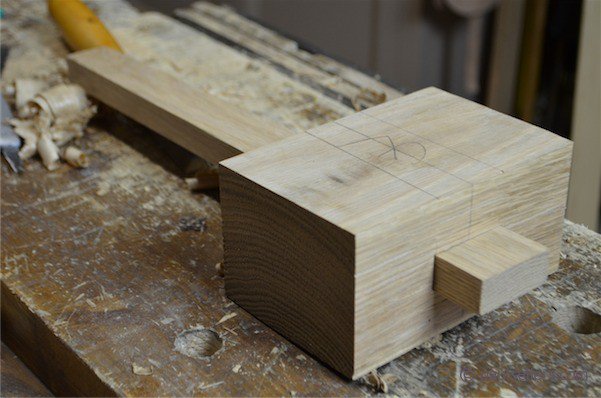
That concludes the shaping of the mallet head; now we start on the shaft itself.
Fitting the shaft
The shaft needs to fit to the hole on both inside and outside faces of the head so that there is no gap. A gap will lead to slop and the head will not feel solid in use and with strikes. Fit by planing as needed, until the gap is closed.
Strike the wide end of the shaft with the hammer until it seats fully into the mortise. The wood will compress and tighten in the hole, but can be loosened again by tapping the other end to remove the shaft.
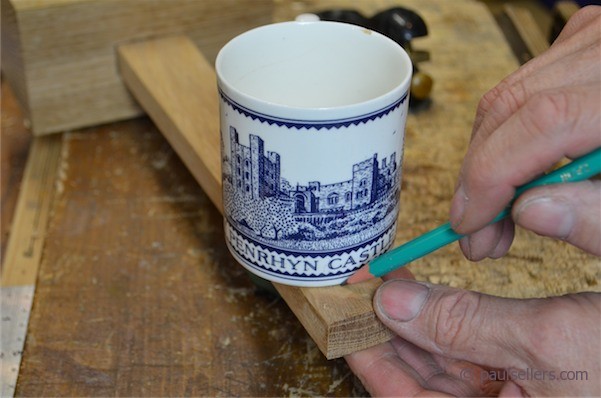
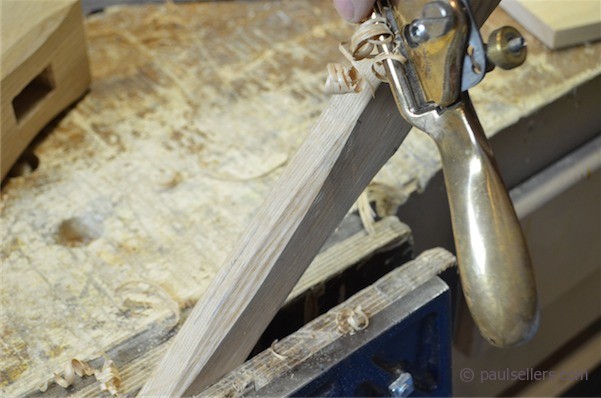
Once the handle is fitted, it’s time to shape the shaft. I rounded both ends to match the original. The shape is as shown. You can use anything to round the narrow end of the shaft. I tried both a radius from the Veritas apron plane and also a tea mug. Both worked fine. At the wider end, I freehanded the shape I wanted.
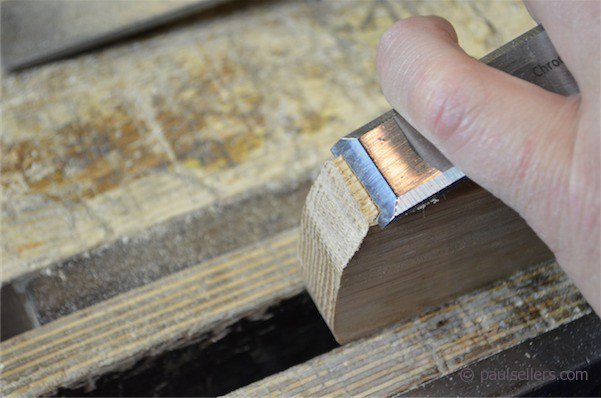
I cut both ends with a coping saw and refined the cut with a 1” wide chisel. I then planed the shape and refined the final shape with the file and finished by removing the hard corners.


I find the shaft works better for me with the corners chamfered. I marked the same distance to all of the corners, on each adjacent face. I made certain the distance was the same on all four corners and measured 1” from the inside of the head end to the start of the chamfer and 2” from the opposite end.
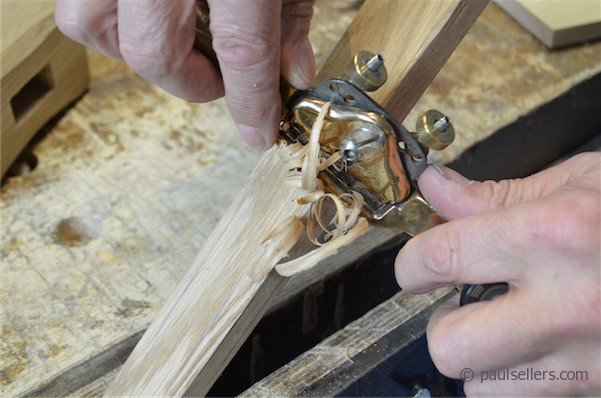
I found it best to use the spokeshave for the entire scallop, working from both ends, downhill into the cove to form the scallop.
Scallop to suit your hand but take care not to remove too much. Better try it in stages as whatever the final shape you end up with is final.
I applied a paste wax to the overall mallet. It needs nothing really to protect it or enrich the wood to make it last longer. All finishes such as boiled linseed oil (BLO) were to seal the wood and keep it clean, that’s all.
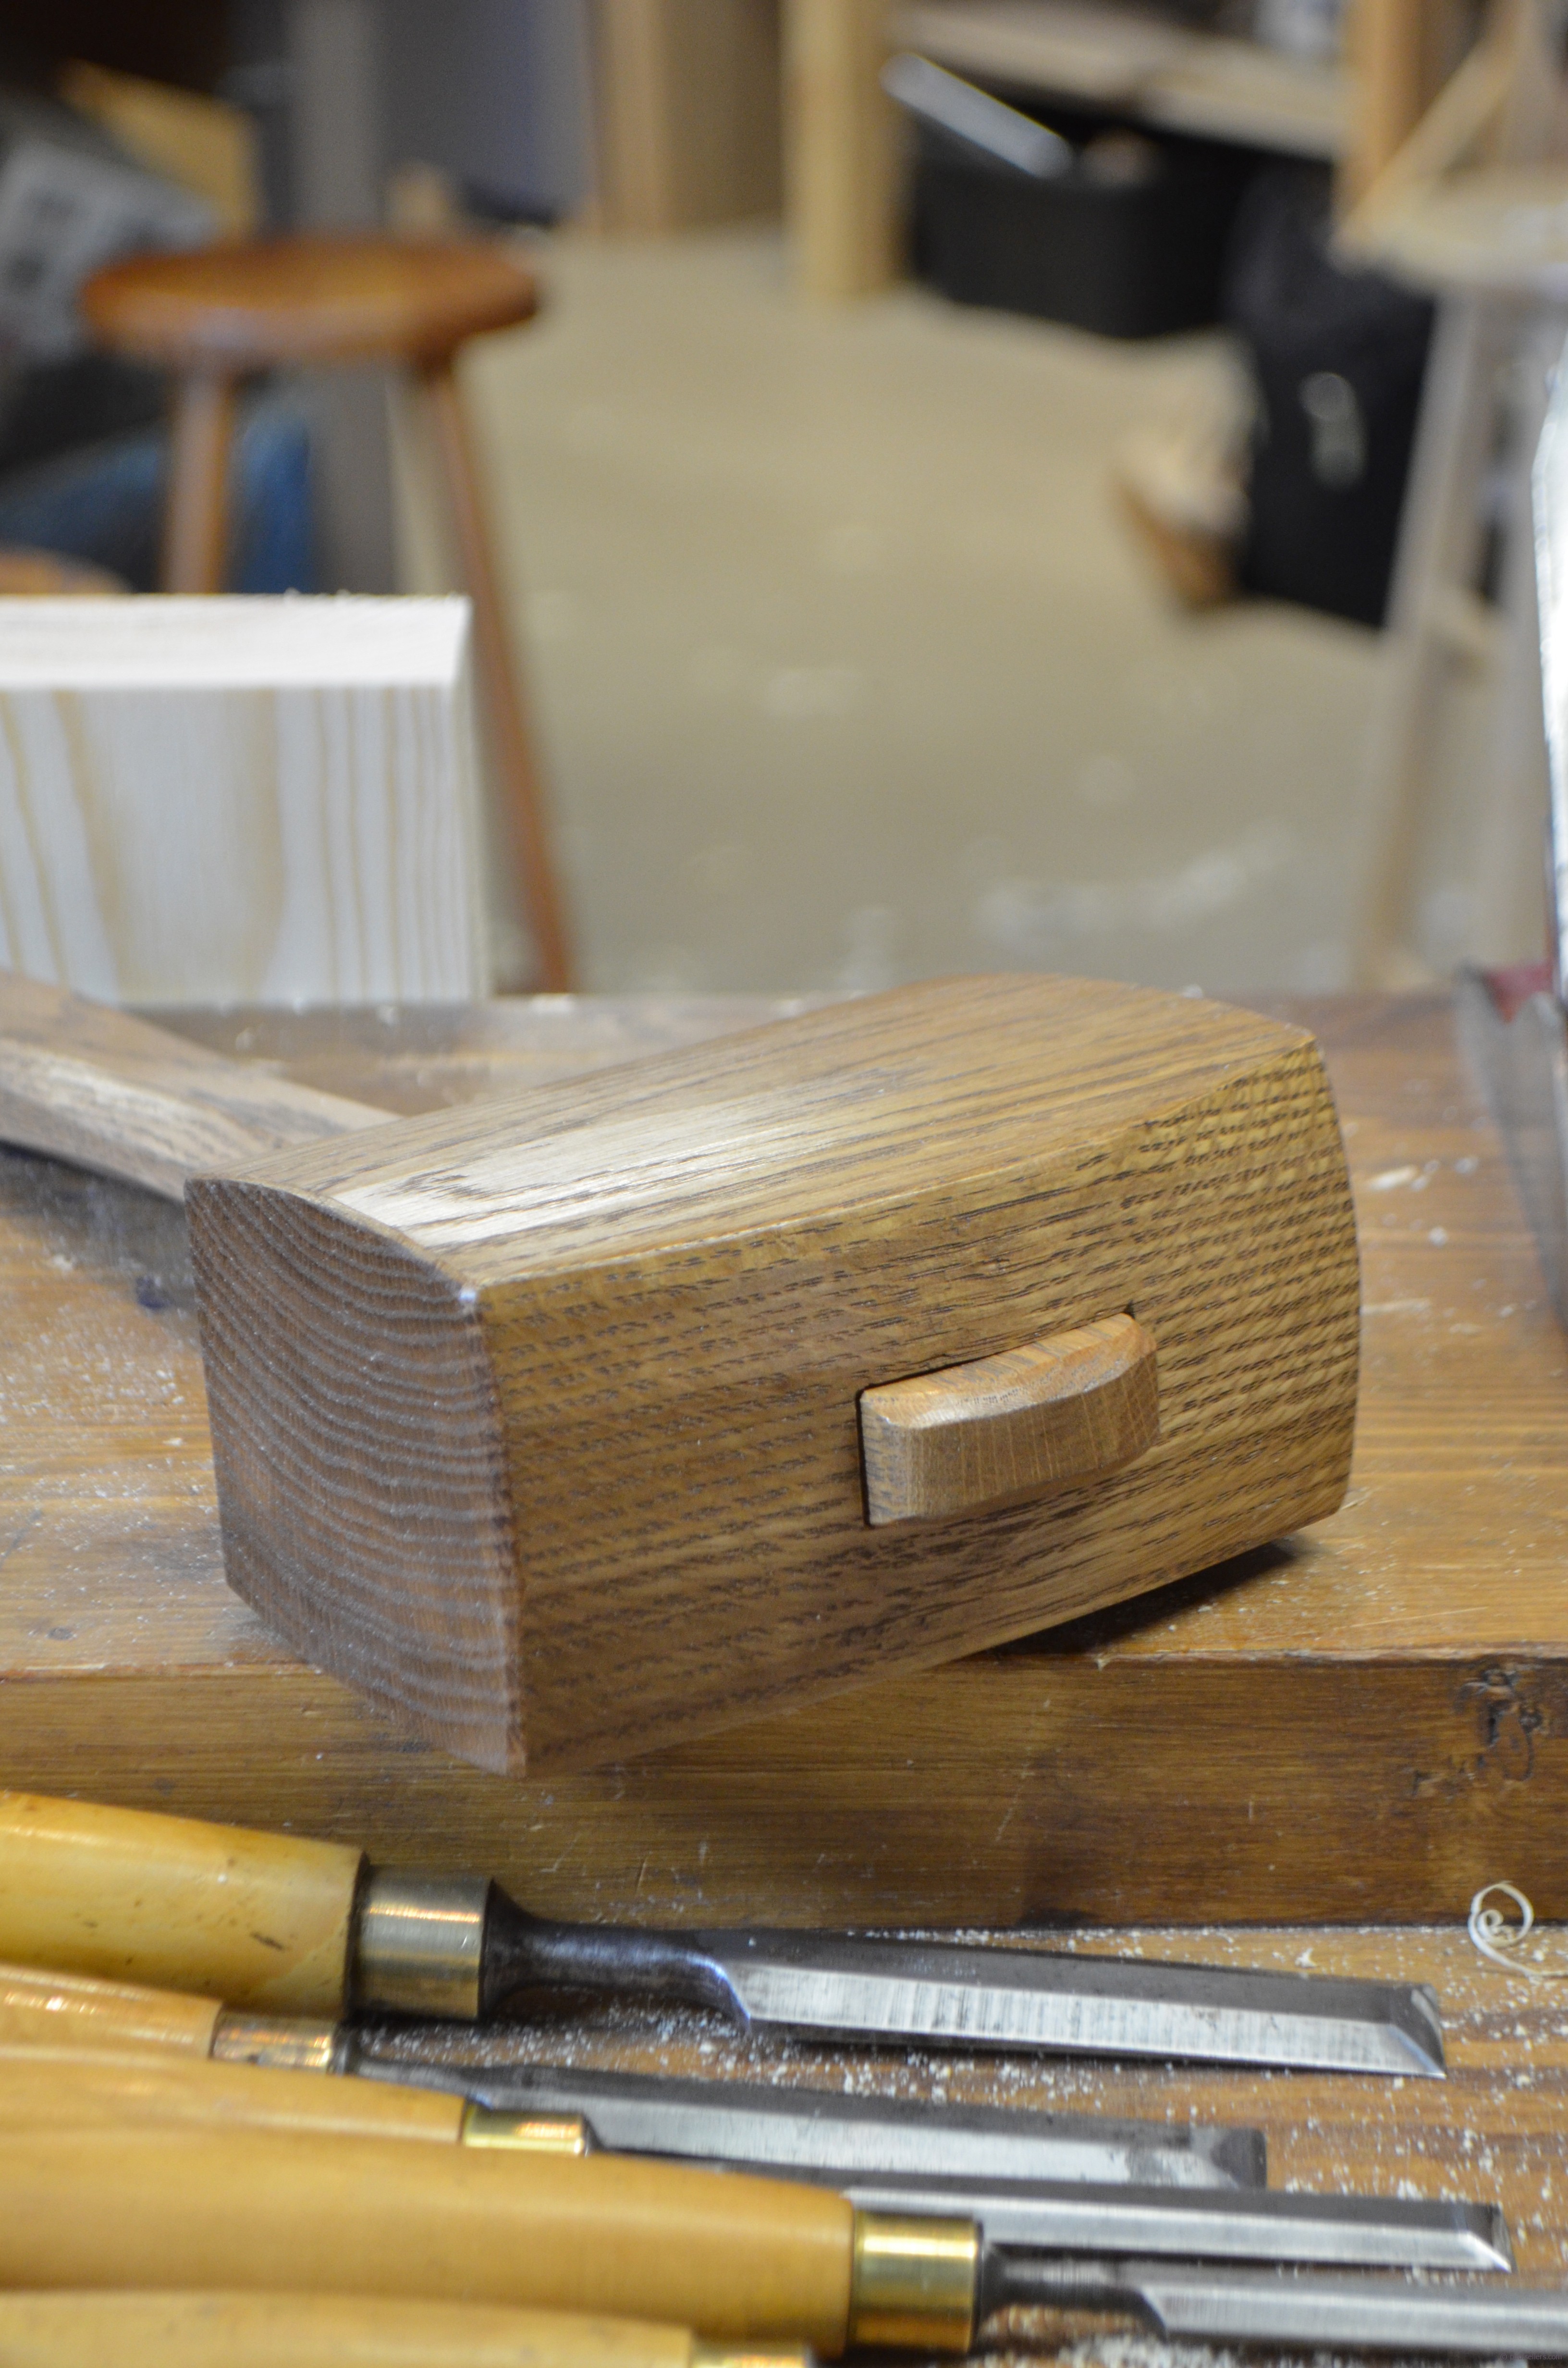
Here is my finished mallet.
Comments ()