Grinding and honing spokeshave blades
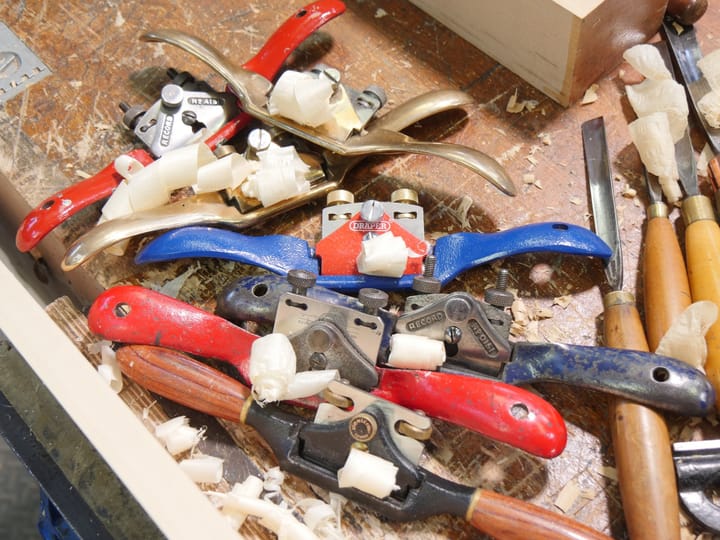
We use spokeshaves a lot at the school. From the Foundational Course projects through to rocking chairs, these tools prove invaluable for shaping arches, rounding over and other multidimensional features we woodworkers configure in our work. Though these tools are very forgiving when it comes to sharpness; they are at their peak if they are sharpened well. I mentioned in an earlier blog that because of the short sole and the short iron itself, I often find spokeshaves do not work when the arrive from eBay or the students have sharpened them for a while. The reason is simple. Freehand sharpening is difficult because of the length of the cutting iron. It’s extremely hard on the fingertips where a lot of pressure is exerted to get the pressure you need to cut steel on abrasive stones and plates.

Most of the men I worked with had a simple wooden holder to extend the length of the iron so I am no inventor of new ways when it comes to holding devices. I thought that this might help others who have difficulty holding them and also, because of the length, these cutting irons don’t fit securely in a honing guide, which I and my students sometimes use to reestablish a bevel when someone’s sharpening technique defied establishing a good cutting edge.
This device will fit into a honing guide and holds the spokeshave cutting iron well whilst being held well in the honing guide itself.

I rough cut on the bandsaw and leave the bandsaw marks in the surface for extra hand grip. Down the centre of the half inch thickness I make a bandsaw cut about 1 1/2” long. The kerf generally takes a cutting iron but you can run a second pass if needed to for thicker irons. This holder is 1/2” thick oak, the width of the actual cutting iron, two inches, and any length you feel good about, 4 1/2” in my case. The iron protrudes about 5/8” from the end of the holder, but that’s not a critical number and with twenty spokeshaves in each school there may be some variance in length after a while.


Though with a snug fit for the cutting iron in the holder there seems little need for further securement, I decided it safer to remove the screw from the spokeshave and tap it into the wooden holder. To do this I first drilled a small 1/16” pilot hole centred in the wood and at a point where it would pass through the large central hole of the cutting iron. I followed with a second hole large enough to take the full screw thread of the set screw but only through one half of the holder.

I then drilled a second hole through the hole I just drilled and into the second half of the holder. The hole size is slightly smaller than the threaded shaft of the setscrew so that the thread would tap the wall of the hole and draw the holder tight on either side of the blade.


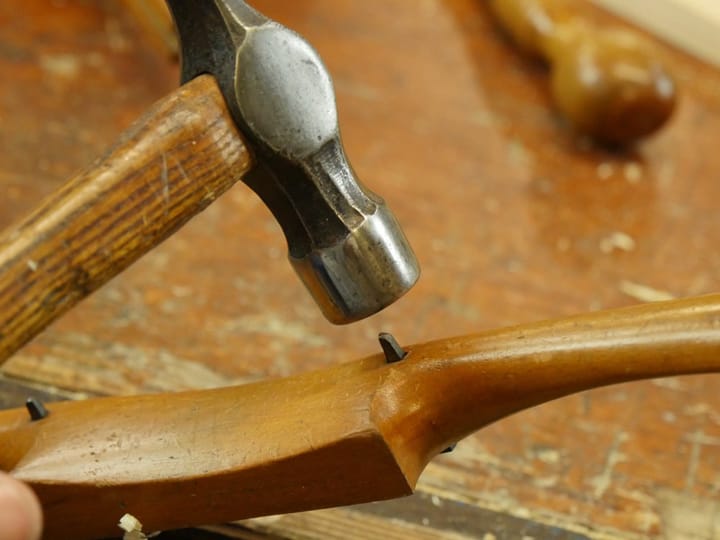
Passing the screw into and through the first hole I tapped hole and I was ready to go.

You can use the threaded screw from the spokeshave itself for this, or the knurled screw that secures the cap iron of the spokeshave as shown here. This saves the need for a screwdriver.
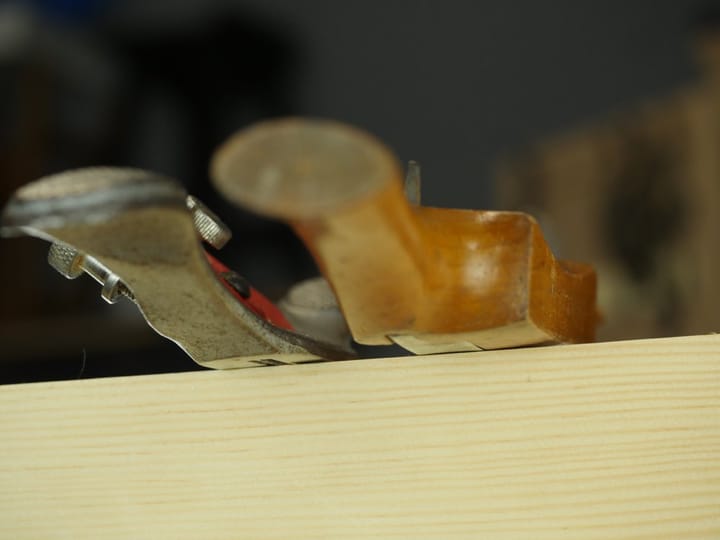
As you can see above top, the holder fits will in the honing guide and
you can apply as much pressure as you want when developing a ground bevel and also for fine honing.
Comments ()