More on the marking gauge
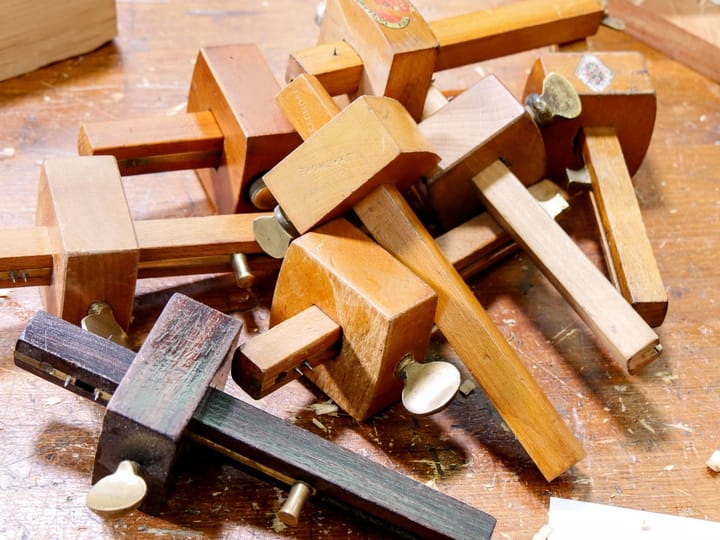
There are of course several types of European marking gauges that come in different shapes and sizes and I should like to see these as images here, to see how and why they differ, what woods they are made of and so on. If anyone has a picture of say a Polish or Belgian gauge or Swedish , Norwegian or Swiss. I have sen different types but never had the opportunity to photograph them.
I think that sometimes, oftentimes, tools go unnoticed. These tools, like squares and gauges serve us day in day out, month after month and year after year. They seem somehow to be insignificant tools with no recognizable character to most and those that do recognize them seem not to recognize them with the fondness I might. Marking gauges are awkward in the hands of most. My students rarely handle them rightly and I think it’s because they have no handle as such, no place to some slide your hand into or wrap your hand around with the same degree of comfort say an old Disston saw might, or a well used plane. Pick up an old and well used and cared for hand plane or dovetail saw and the smoothness brings that hand-in-an-old-glove experience you get on a wintry night’s walk.

There are things about marking and mortise gauges I know that can transform the way we feel about their awkwardness. Having refined them with sandpaper and some shellac followed by a little furniture wax, filed off hard edges and protruding, poorly set screw heads we should start using them asap. Most people ask if you pull them or push them and the answer is both. You become confident with tools the more you gain competence and competence only comes in the iterant doing of things. I pick up my gauges many times a day and have done so thousands of times. A problem I see is that all woods are different. When I use the circular disc type marking gauges in say pine they cut the wood grain remarkably finely and I go, Wow! Then I do the same on endgrain oak and I can’t move it because the oak is more resilient and the fibres seem to wrap around the disc and grip the fine edge. What does that mean? Do I throw it out? Not likely. I find myself keeping this tool for some refined work in different woods and reaching for my pin-type gauge. These gauges capably mark all woods but the difference is that they generally don’t so much cut the wood as scribe it, bruise it and part the fibres. Whereas my students find themselves bulldogging the gauge to the wood with a full headlock, white-knuckle grip, I find they work best with a firm but non coercive grip. Holding the tool against the wood and trailing the pin lightly on the wood’s surface rather than pressing it into the grain means the gauge stock no longer fights with the pin in the grain and the two run parallel lines in harmony with one another.
On pins
")
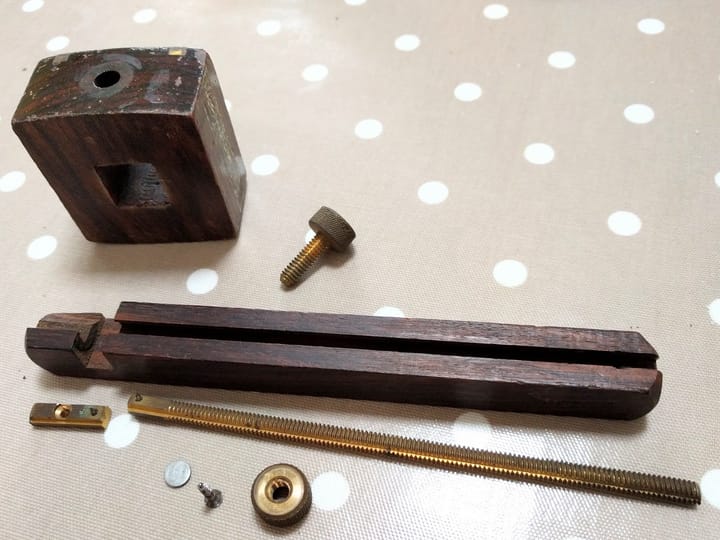
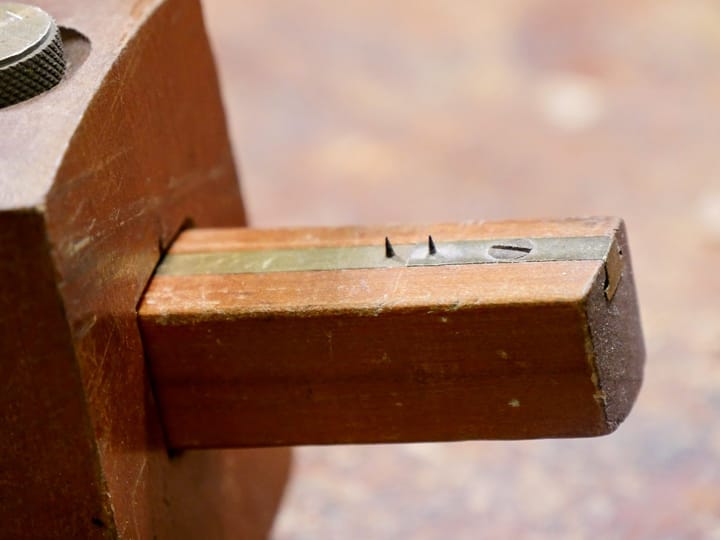
People often tell me of creating chisel type points to their pins by filing the points to a flat and not a round. This is of course easier because it is hard to file a round on a pin with a file when the pin is in the wood and so that is more the reason woodworkers do this. Fact is we don’t actually need a round conical point because the gauge is used only omnidirectionally back and forth so a chisel point works as well as a conical point and that is more the reason we do that. No rocket science here. You may want to remove the pin to file it or replace it if necessary.
So, it stands to reason that we don’t want the gauge to gain any upper hand so we press its point firmly into the woodgrain when that is exactly the opposite of what’s needed. Pressing the pin into the grain that way makes the pin act like a keel but the wood is not like water that moves around the keel. Wood is grain is long strands of fibrous material with strands; long, stringy strands. The gauge pin can and often is governed by these strands and the strands can prevent the pin from following our intended path because it is pressed too deep into these strands that are not conforming by running parallel to the axis of the length of the baoad. Lighten up and focus more on keeping lateral pressure so that the stock of the gauge registers against the wood. Don’t press the pin into the wood so much as onto the wood. This will leave sufficient mark to work to. Relax your grip and work lightly. It works.
Comments ()