How to Build a Workbench – Intro and Laminating the Tops (part1)
NOTE:Just so you know, this is an older workbench series. Paul has a newer Workbench series. If you are interested in the updated version of Paul’s workbench please click the button down below. This page links to a cutting list, tools list, FAQS and much more.
Click here to go to the workbench page
Making the Workbench with Paul Sellers
This replicates my personal workbench, one I have used and preferred over all others for, well, actually, half a century. Let’s talk briefly about benches and specifically working workbenches and not images of what a bench should be. Anyone can build any bench type they like, regardless of whether it works well or not, is big and clunky and lacks versatility. I know at the end of the day when you finished making your workbench you will have fallen in love with it.
Aside from all of that, when you work at a bench there are several criteria that must be faced. Probably the most critical is size, this then comes down to you building into what you have available as your creative workspace. There is a lot in my earlier blogs on developing a Creative Workspace. This is a critical phase in that development so the allotted space is important and then there is you. You are tall or short or average. The bench needs to fit you. If someone will be using your bench and is a different height it is a simple matter to make a floor board or jack the bench up on a 2x4. I here many fallacious statements about bench heights. Fact is you must try to find one beforehand to try out. All of my benches at the workshop are 38” high. That suits me as mister average height but my friend Matt at 6’4” finds it too low, but not the 5” discrepancy between him and me. He likes the bench to be at 40”. You can make the bench taller, try it for a week and cut some off the legs if you feel doubtful at all. My 38” bench seems to suit everyone between 5’4 and 6’0”. Most men and women fall within that range.
My bench is a traditional British joiner’s workbench. My personal knowledge and research shows this bench to be typical of just about every workbench made and has been used by boat builders, joiners and furniture makers throughout history. Pine of some type be it pine, spruce, fir or a hybrid of each is an ideal wood for workbenches and a bench made using the methods and design that follow will last you for at least a century and more. So let’s get started.
As you know I do have beautiful workshops to work in and teach from, but making your bench presents several challenges not the least of which are planing, sawing and jointing the various components and then assembling the units as you develop the bench. That being the case, I am working in my own back yard (American for lawned garden) for the development of the whole bench. This is going to take a few days because of my commitments but it will be worth it. In my earlier blog you saw me picking the wood from the racks. Again, it is unreal to think that you have access to a sawmill and machines to mill your own. You must work milling sizes out for yourself. I know in B&Q and Home Depot or Lowes, you can find wood that is around the sizes I am using and so you must sort through that for yourself. If you have machines, all the better. And remember, no matter what anyone tells you, a machine is NOT a tool, it’s a machine. A tool is powered and directed by you and responds to your senses. All machines were developed for mass manufacturing so no matter which editor or author tells you differently, a machine is a machine.
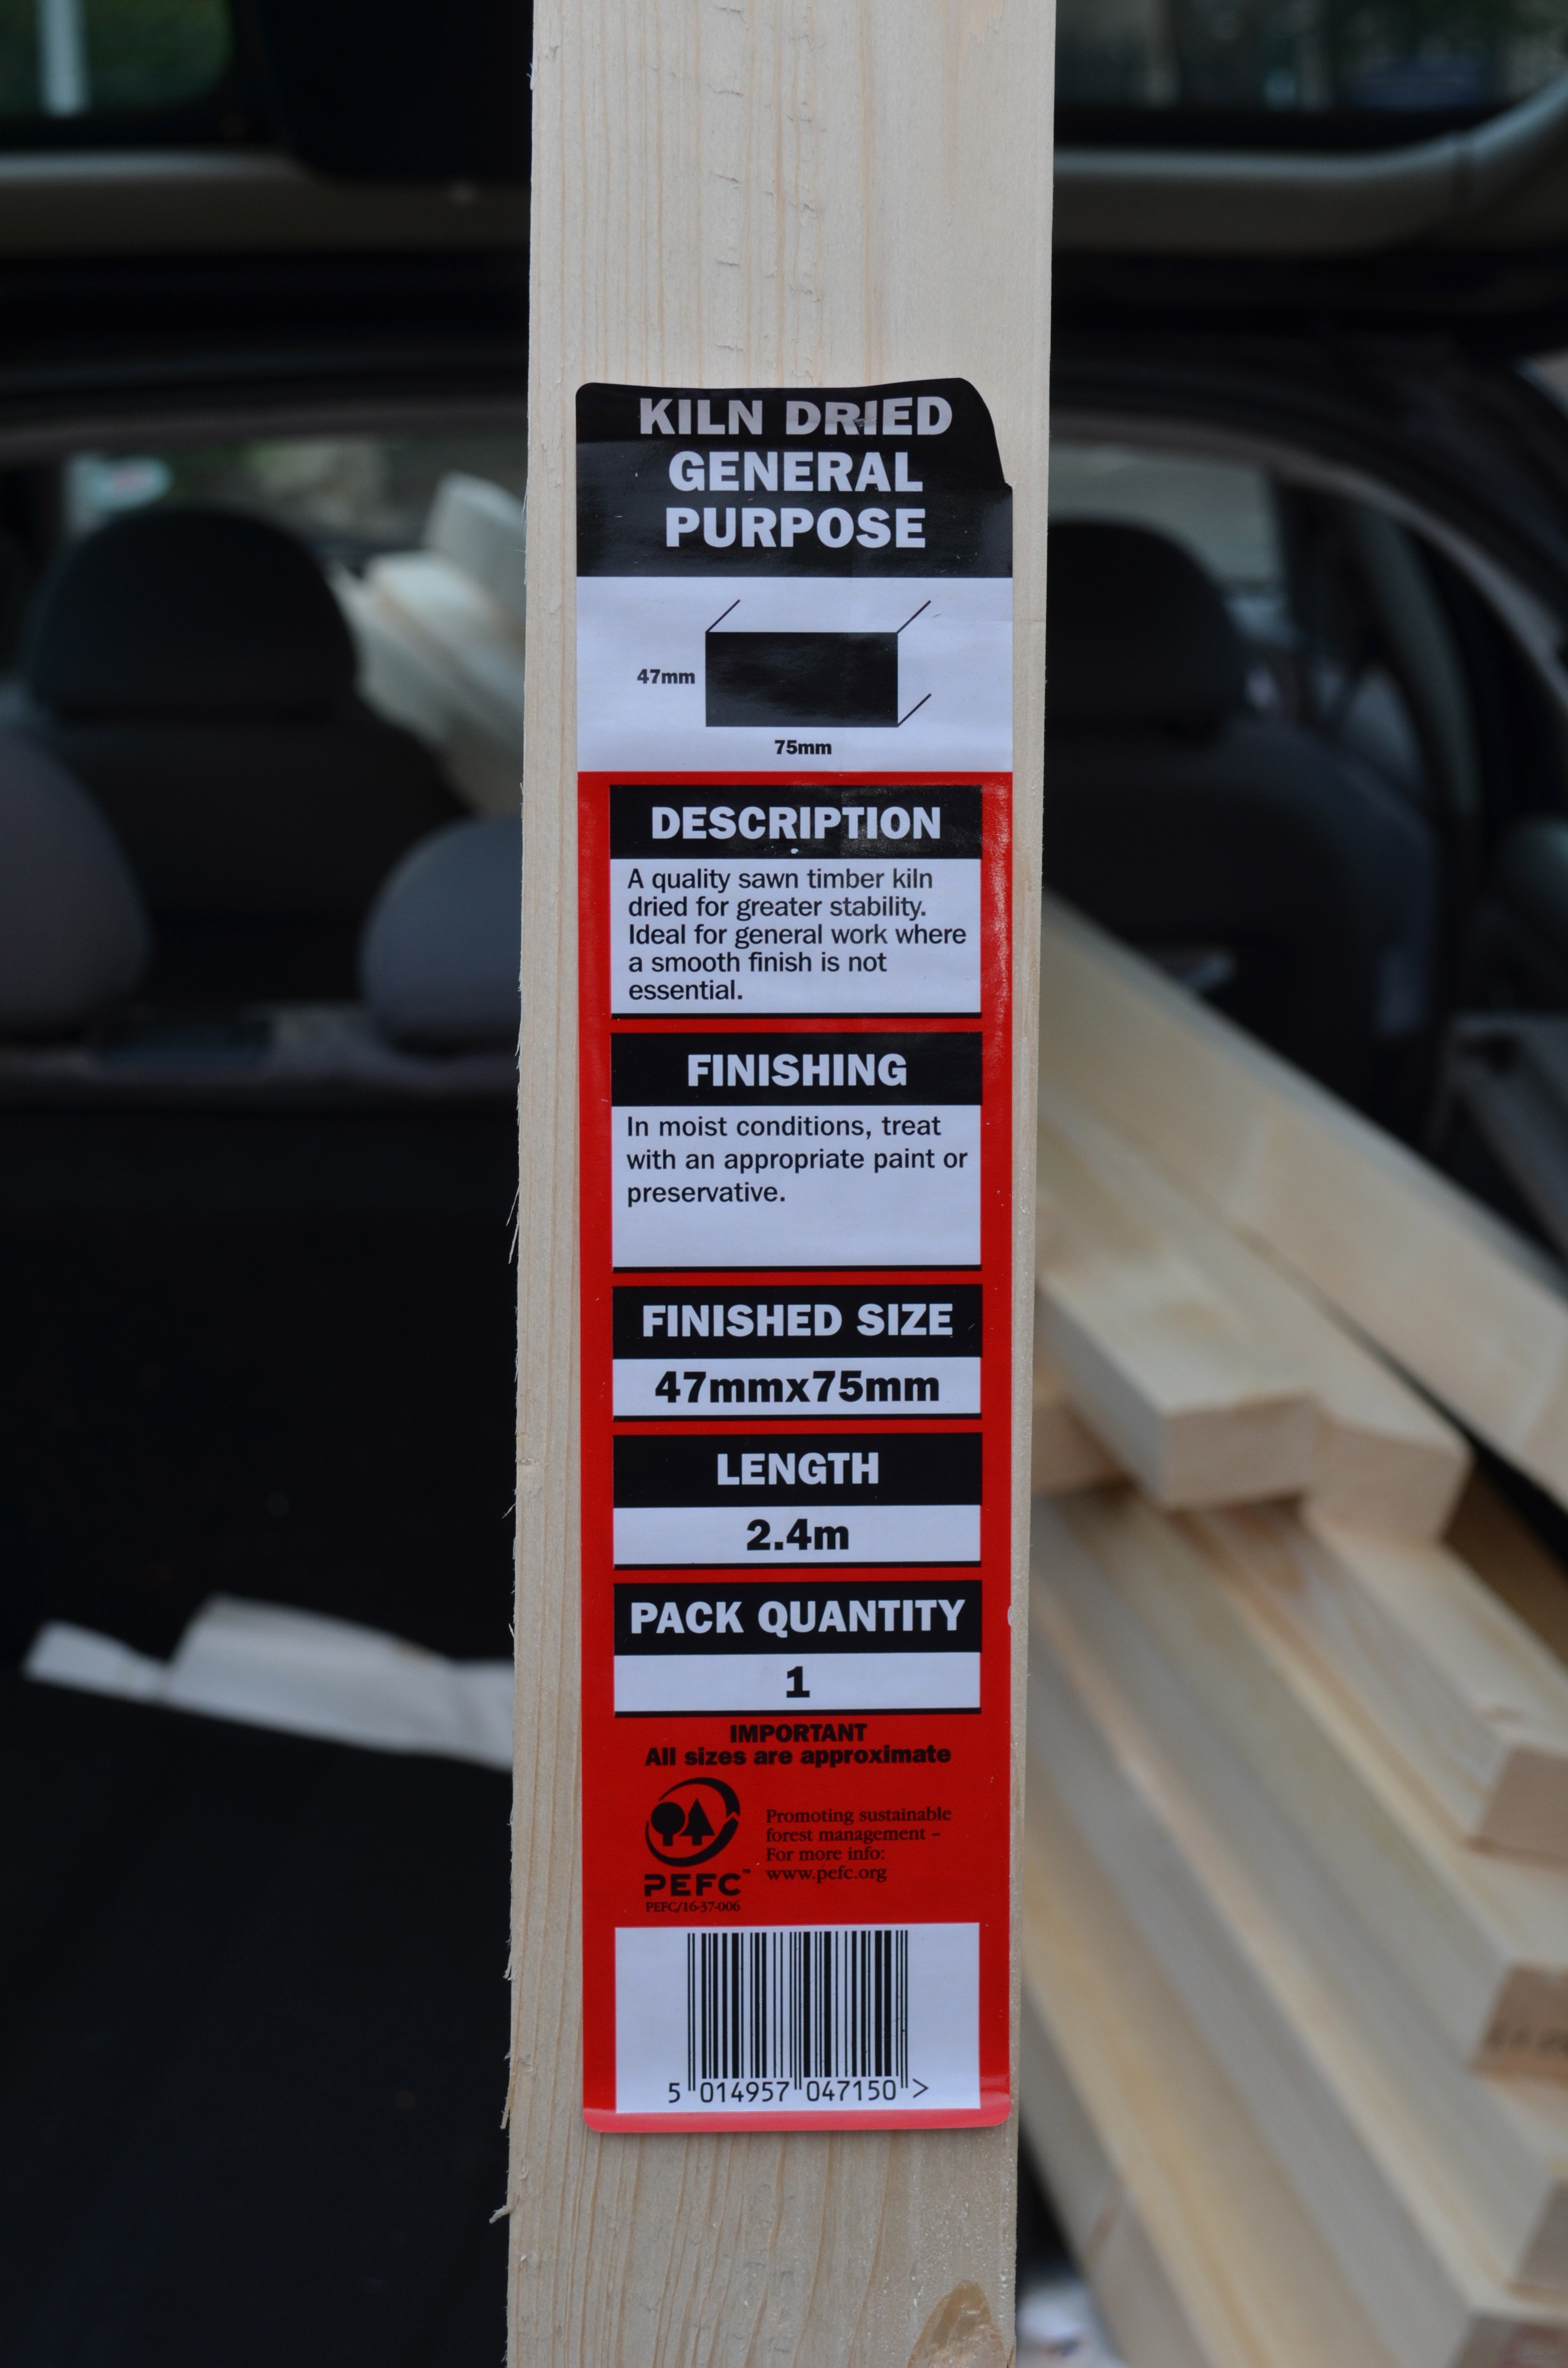
The thickness of your bench top needs to be about 75mm. That’s 3” in imperial. I would say that the bench top needs to be a minimum of 63mm or 2 ½” thick if you have stock already or that’s a size you can find. Now in the US, Home Depot stocks a spruce type (they call it white wood, which is not a species at all) stud that is about 1 ½” x 2 ½” and this will work. It would be better to use regular 2x4 and rip to 3” if you can. These are a dead 1/12” thick, which works great.
Choice of stud
There are a variety pine-type choices. I have used Douglas fir and that worked fine, I have also used Southern Yellow Pine, which also works well but can be a little soft. Hemlock works well but is more difficult to hand plane and then there is Spruce, which I favour the most along with European redwood which is a true pine that is harder than most North American pines. This is my absolute favourite for weight, strength, colour and consistency as well as for working with hand tools. For my bench I used spruce and was able to find lengths that were fairly consistent in grain, straight and minimally knotted. Southern Yellow Pine is fine straight from the bundle but you must work with it quickly as it does distort unless laminated. It's greatest advantage is that t planes so well with hand tools. Look for minimum amount of knots. hey tend to be big and this species of pine grows rapidly and can have soft aspects in the spring and summer growth which also makes it soft.
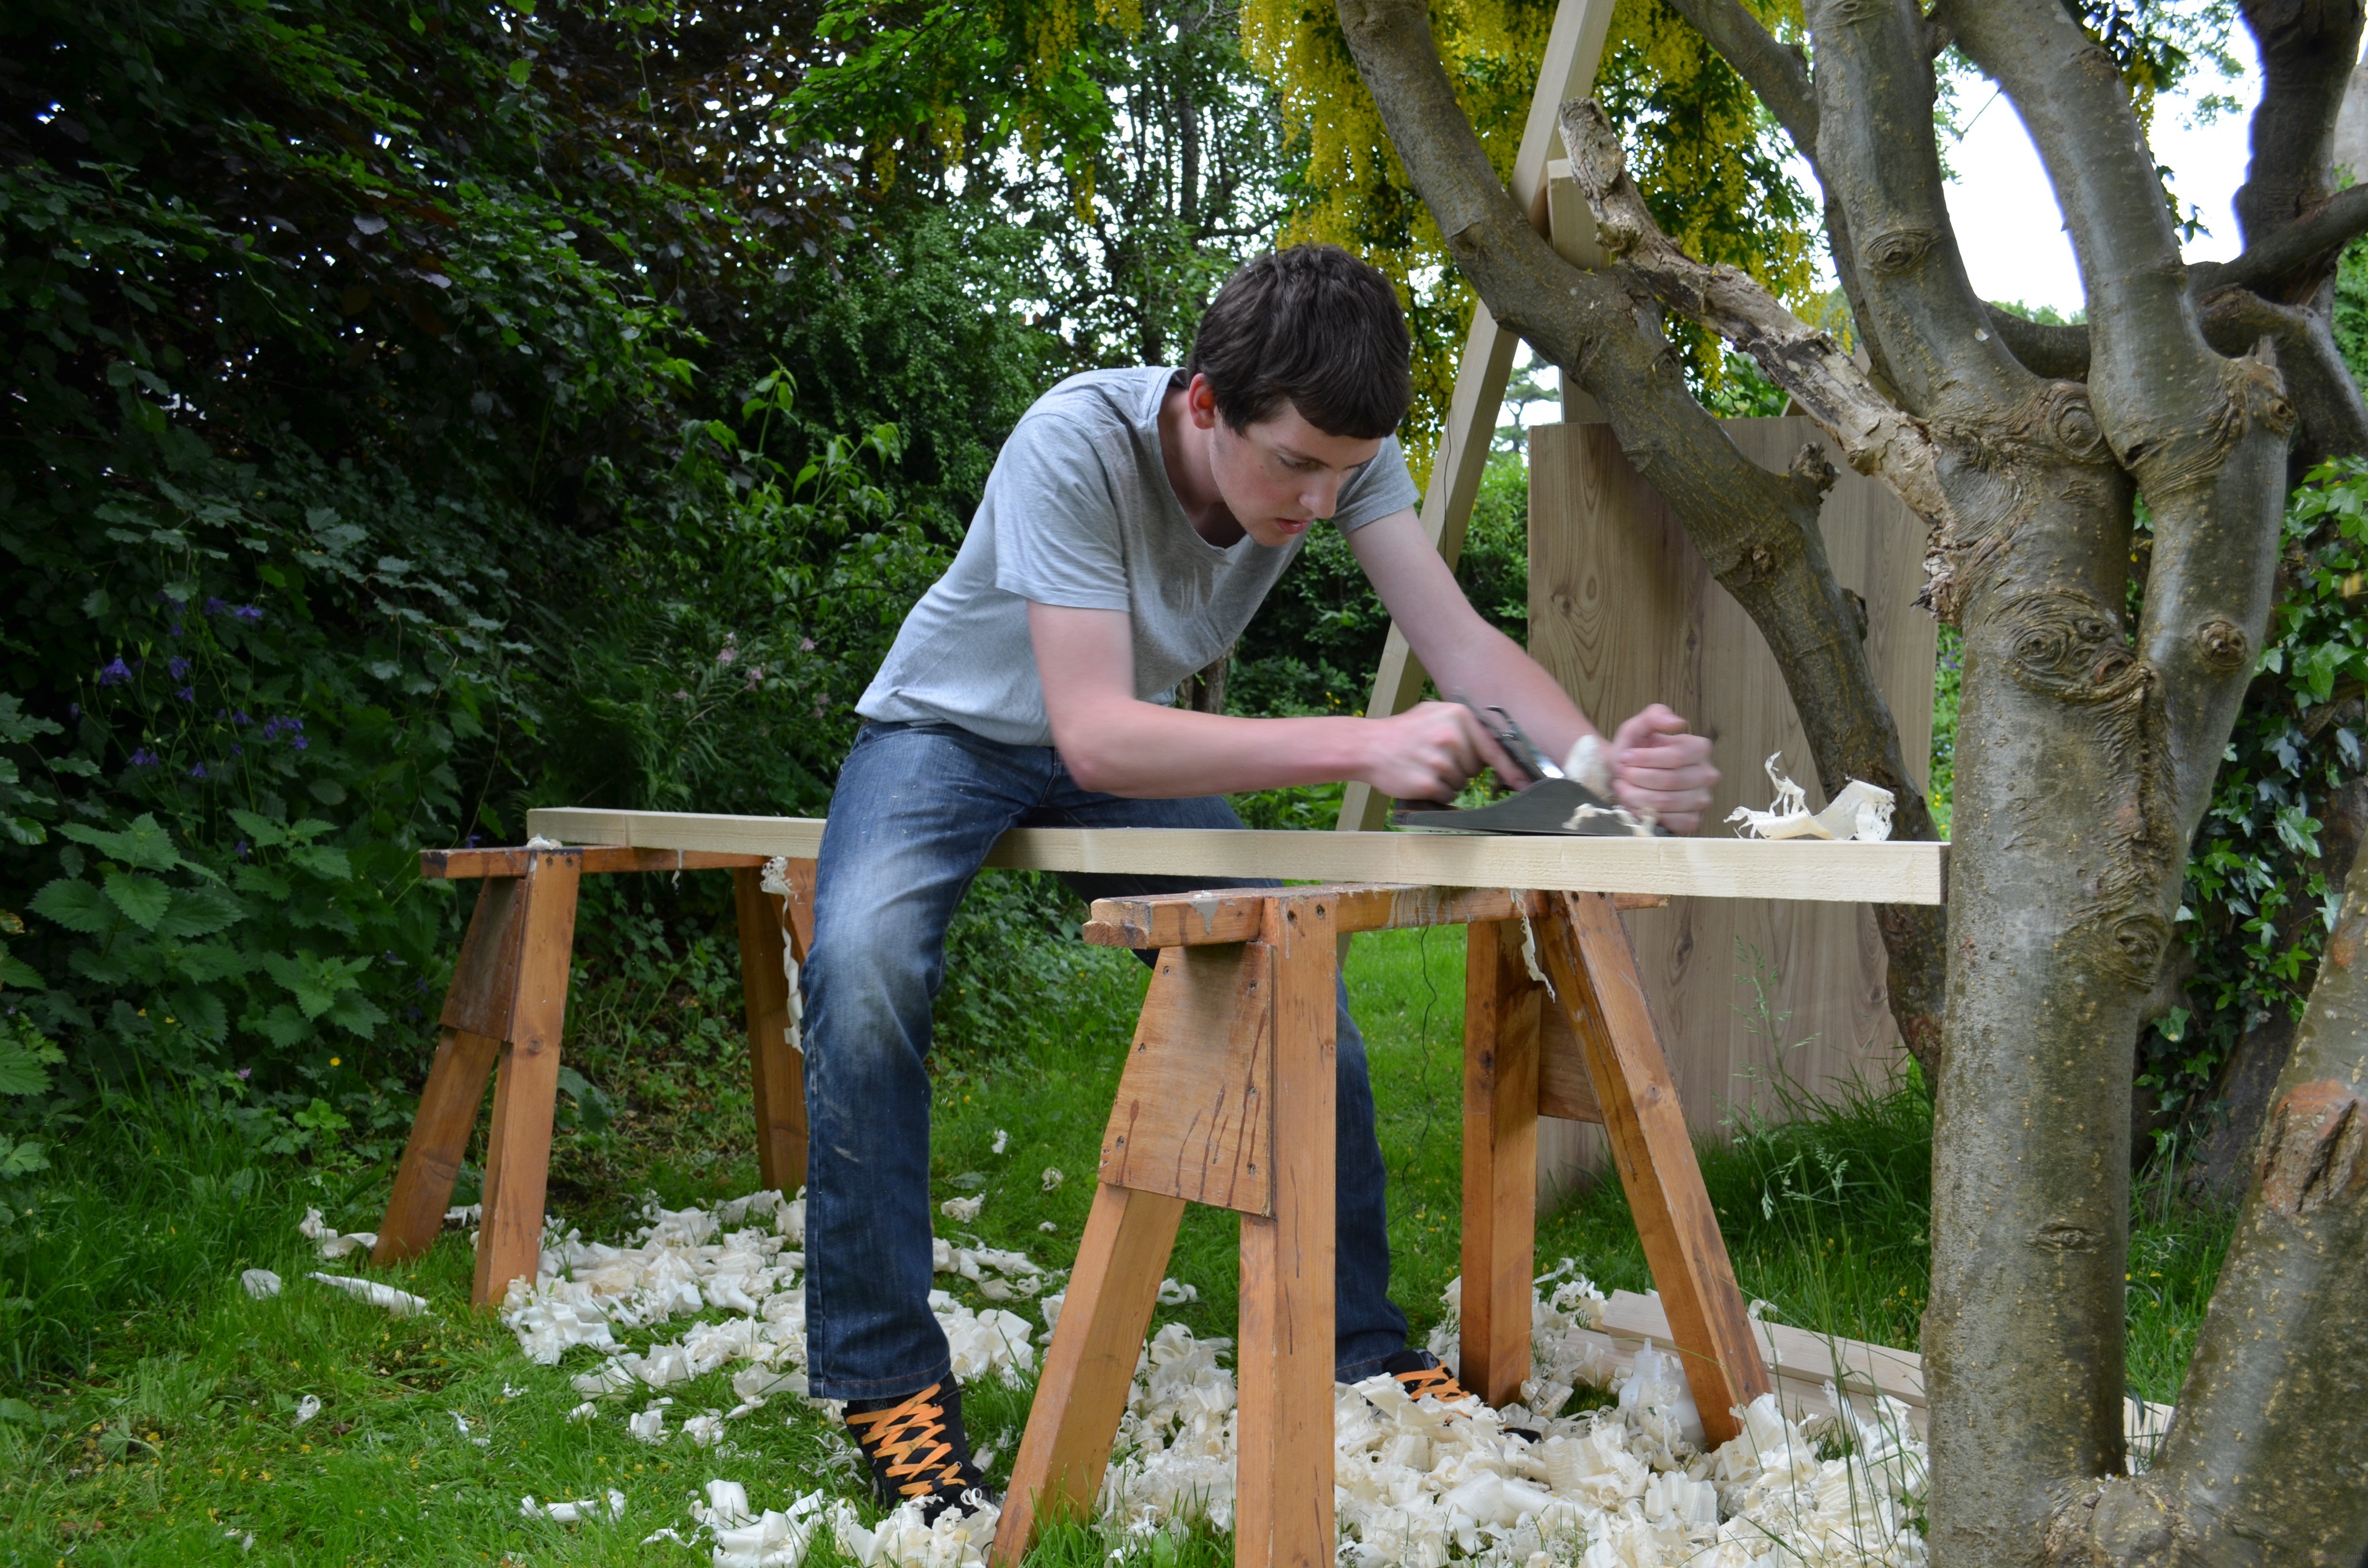
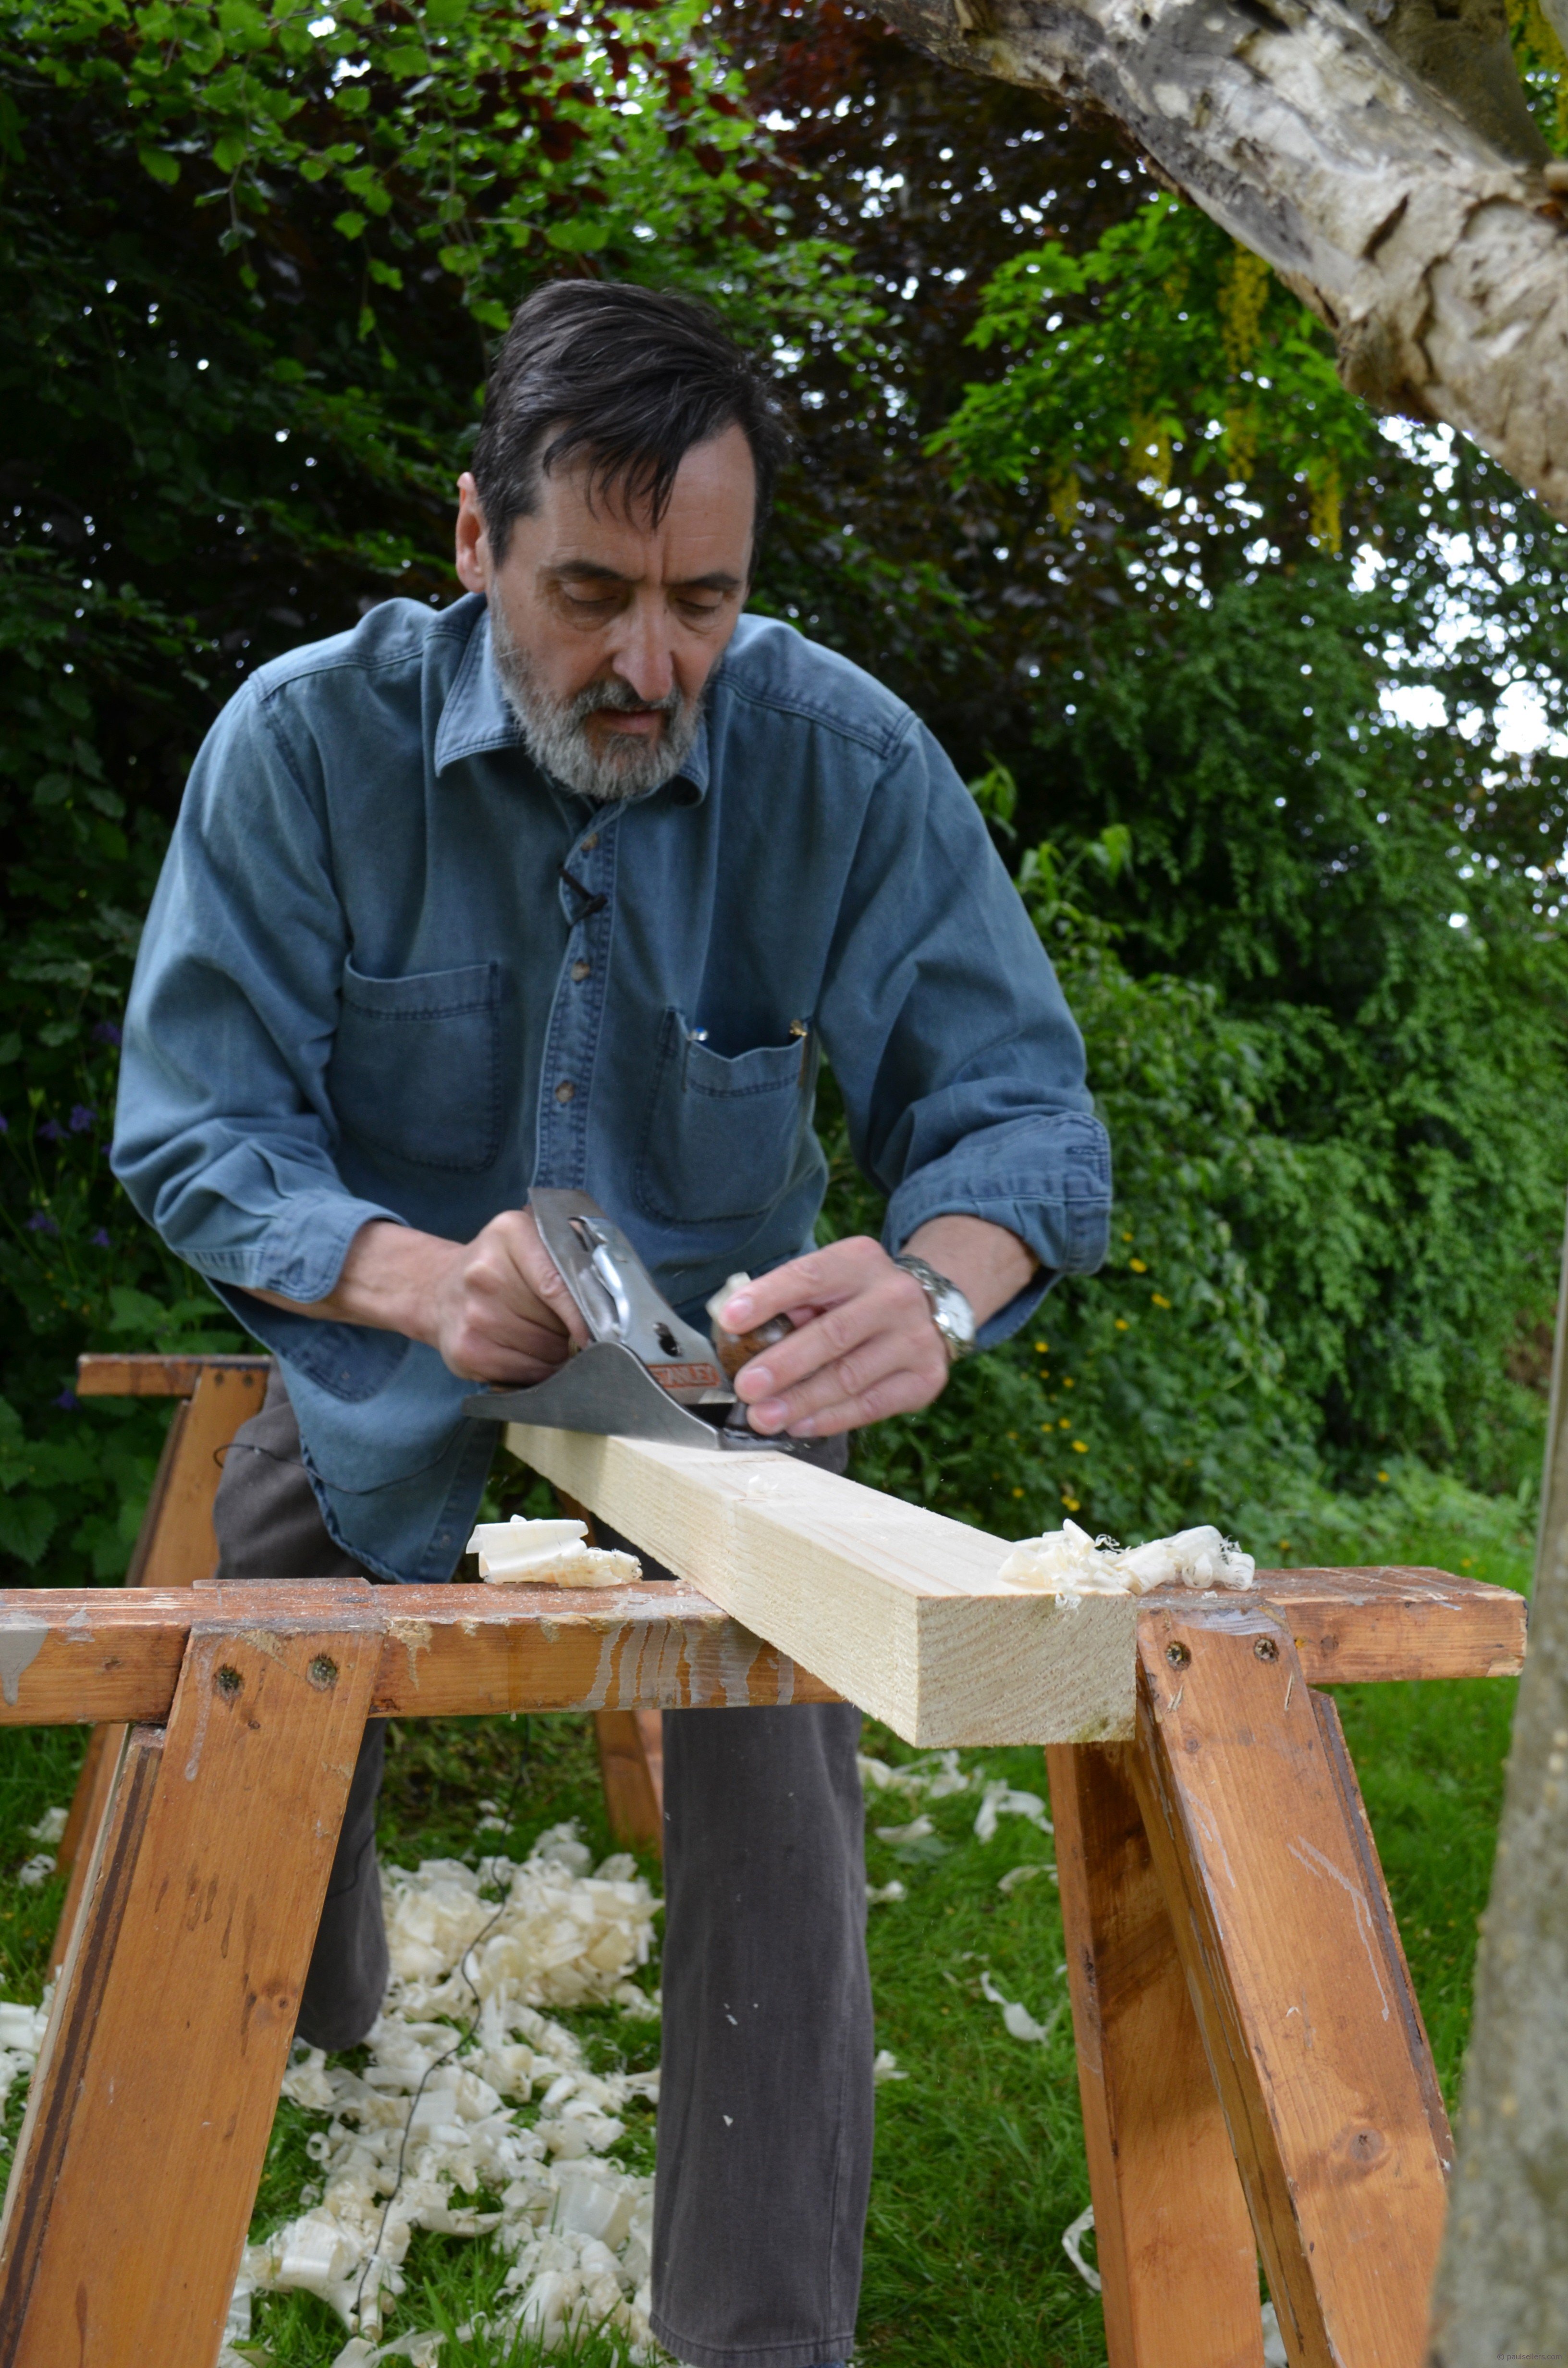
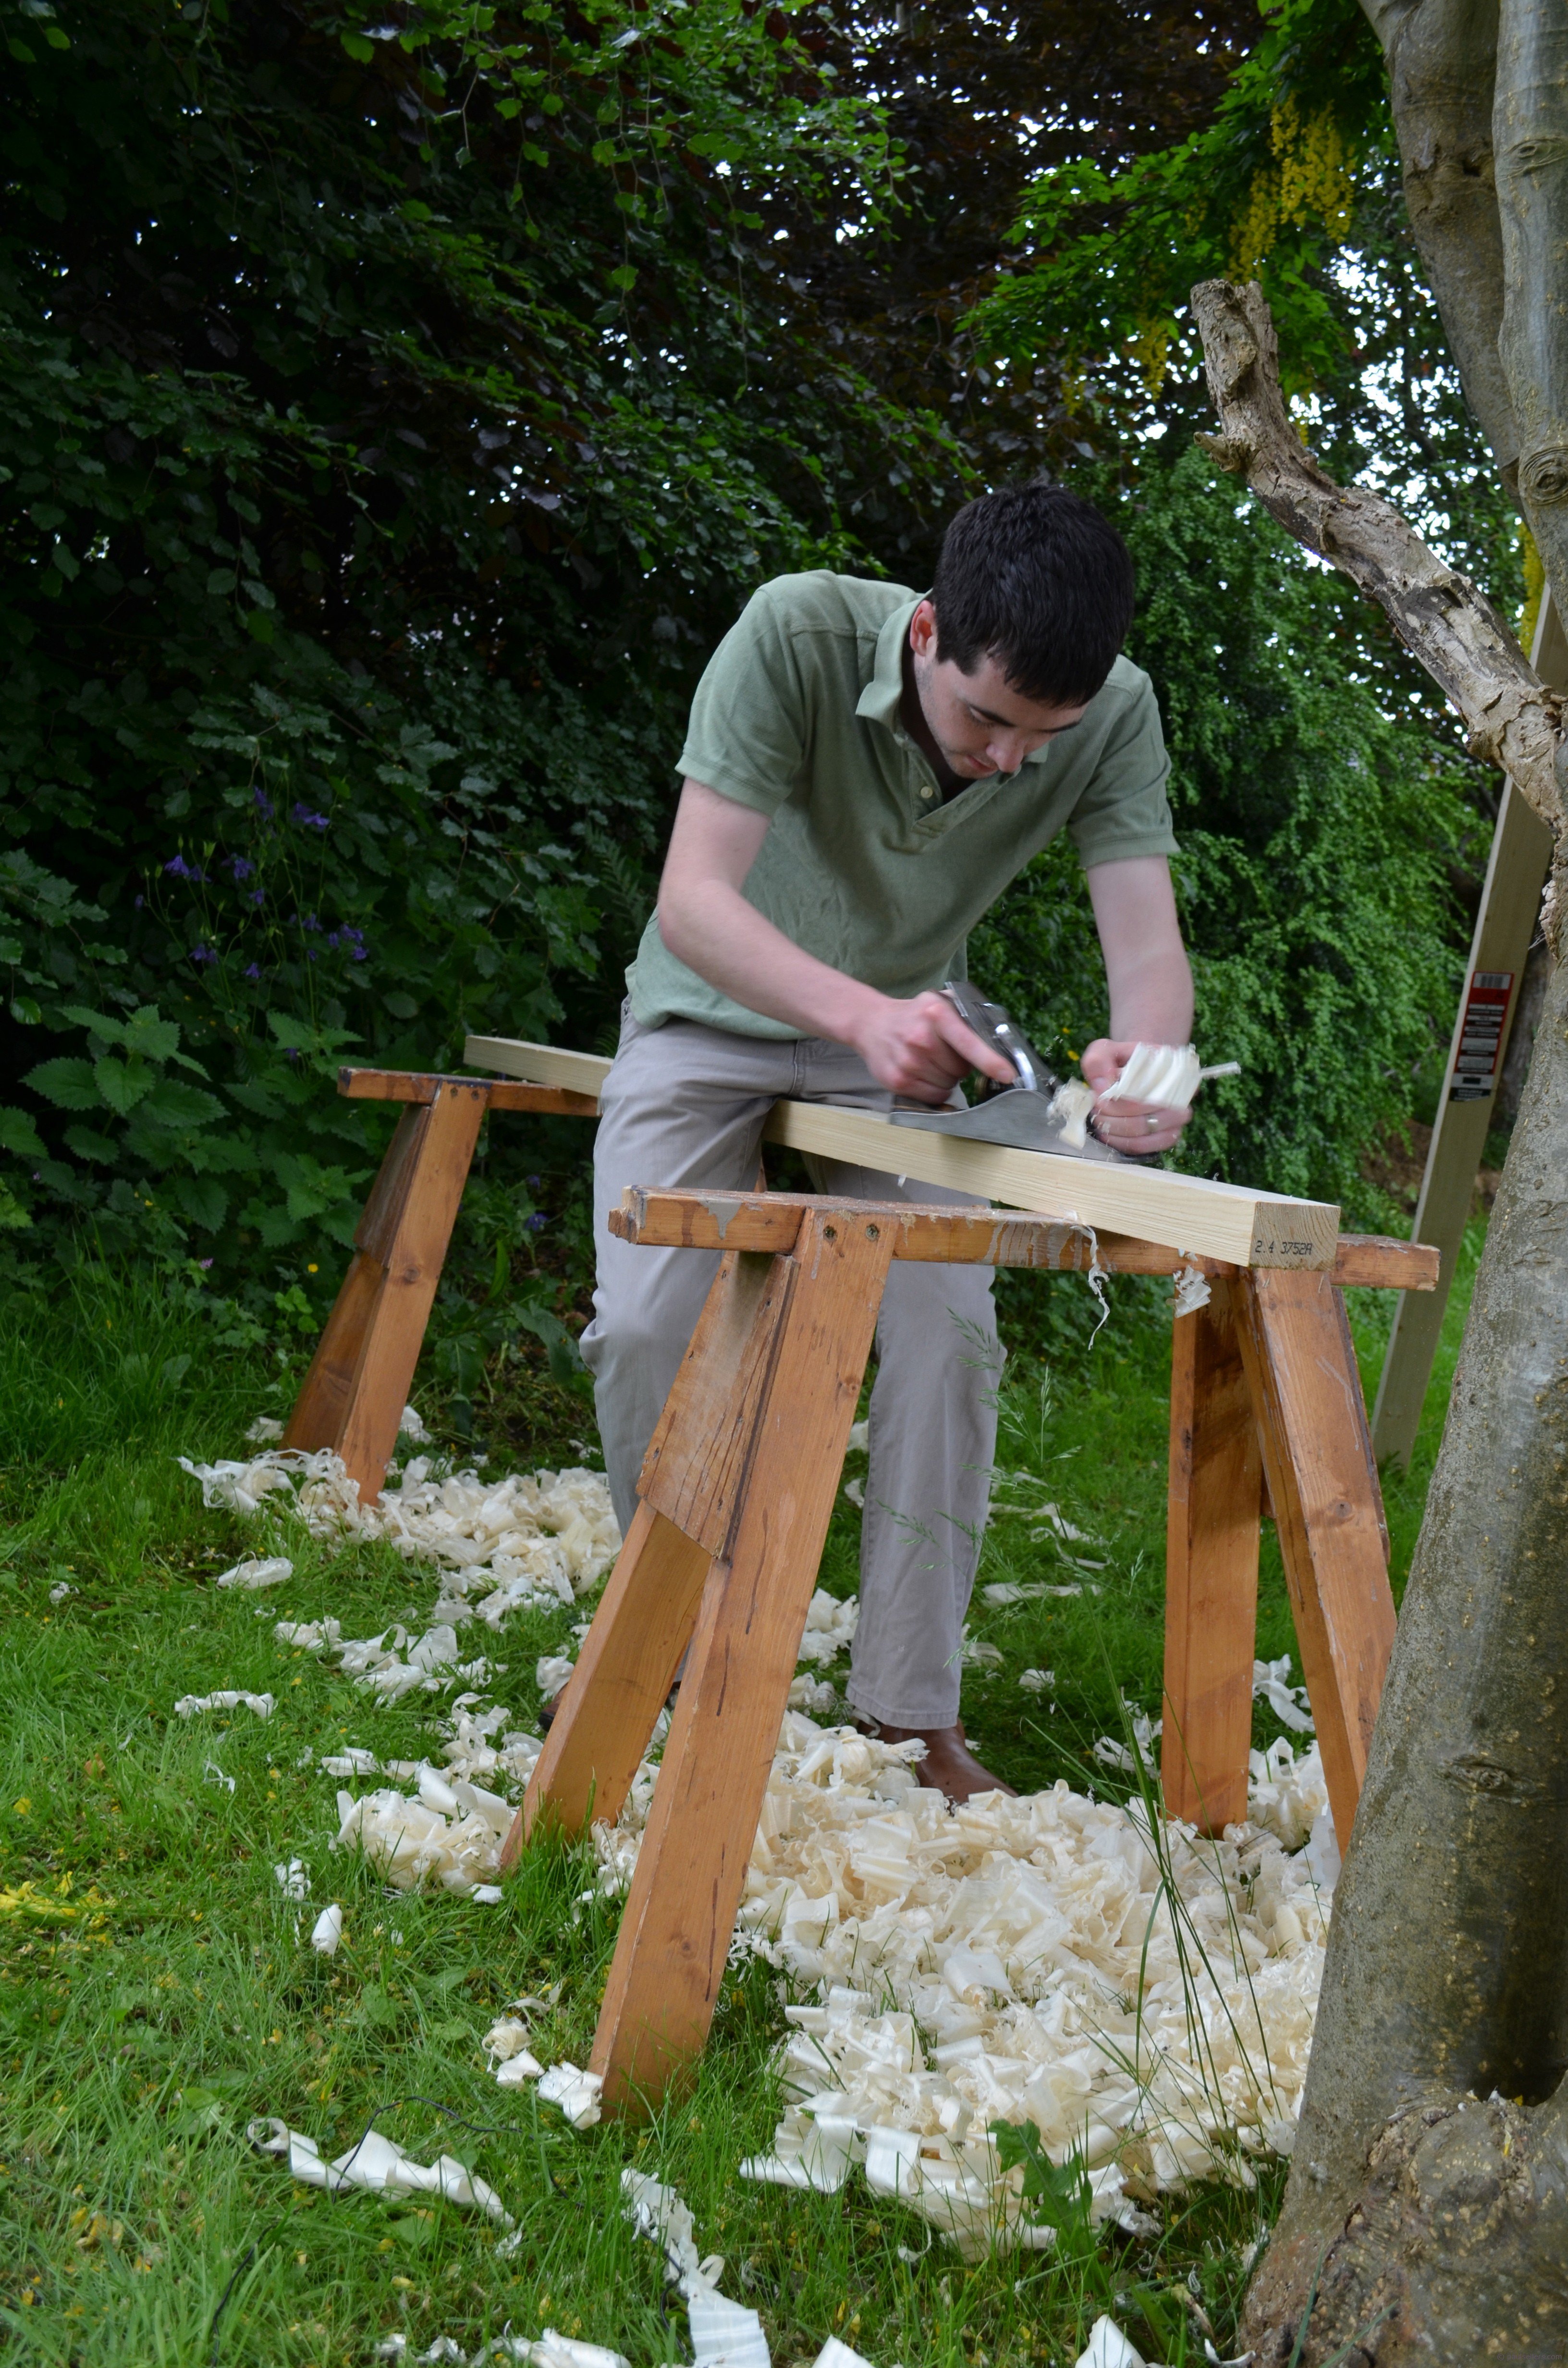
The boys and I set up a pair of sawhorses in the garden because we don’t have a picnic table. You could use a workmate or other collapsible temporary work station or a couple of garden benches. This is the challenge for you to work through.
We used a laburnum tree to push against and I think it took the three of us about an hour to surface plane the large flat faces ready for gluing up the laminated tops. This was fun even though rainclouds hovered overhead the whole time.
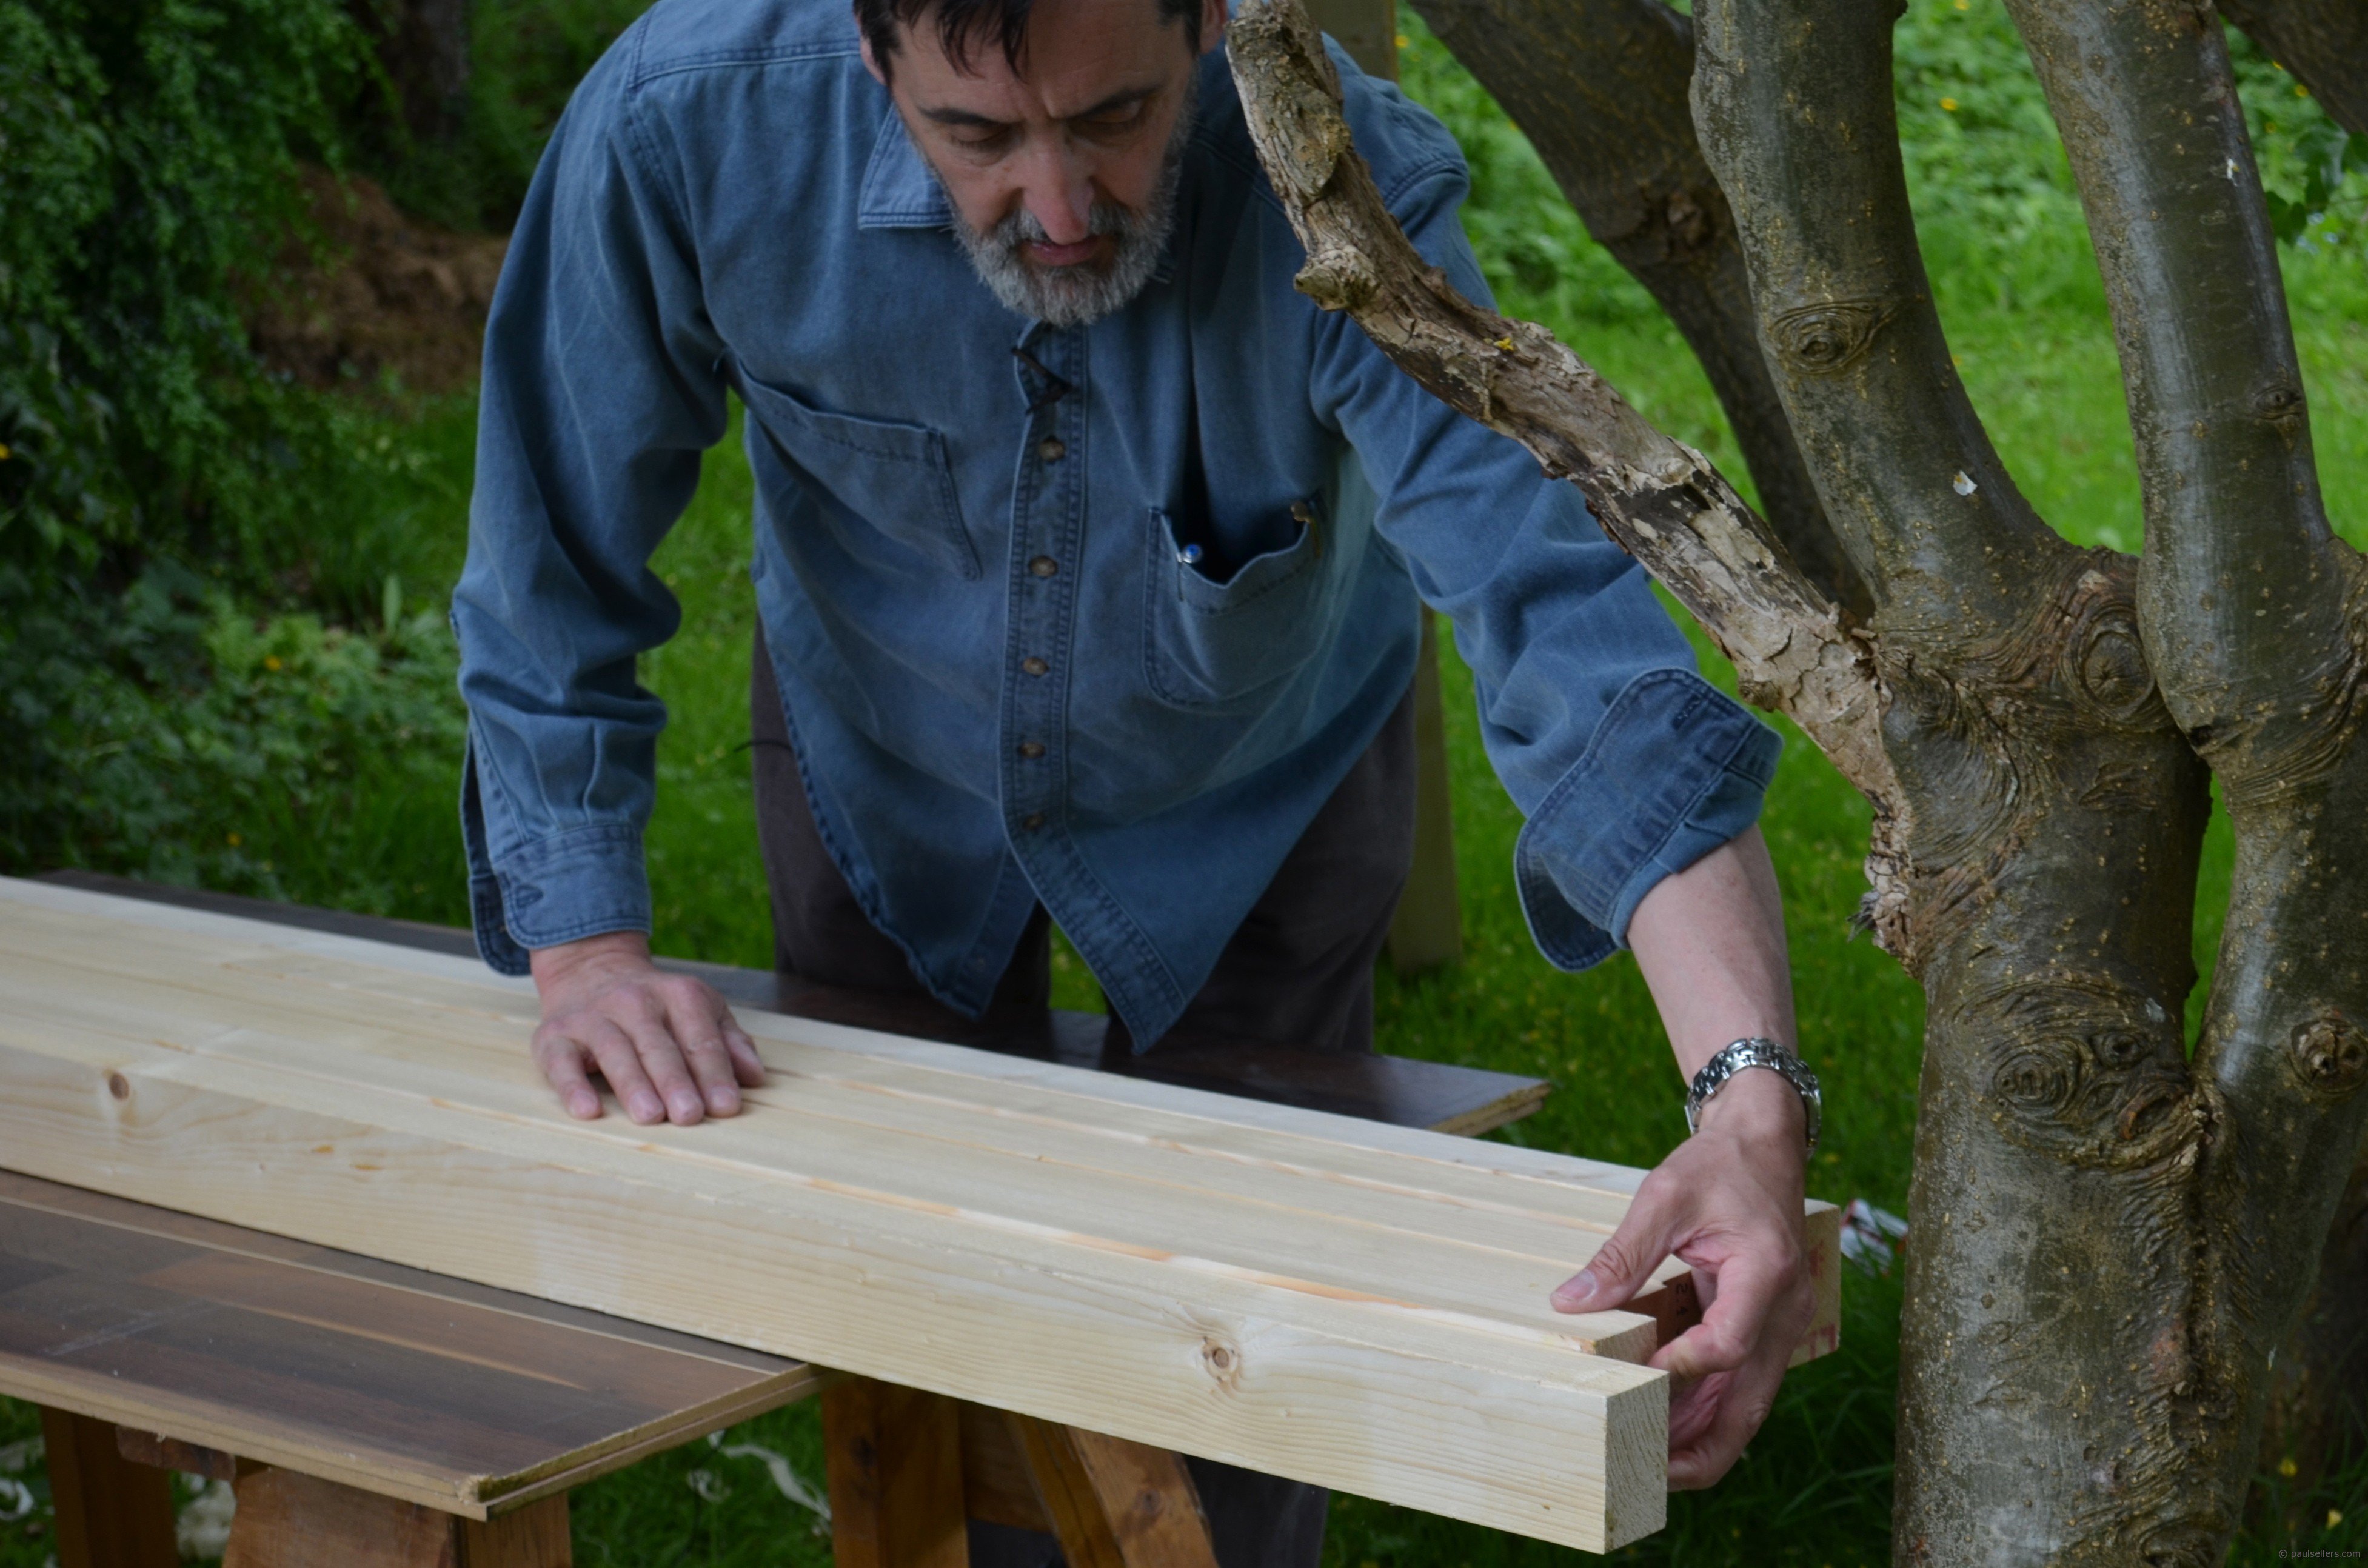
When all of the pieces were planed, I placed them on edge in position and squeezed them with arm and hand pressure to make sure the surfaces came easily together. It is not necessary to plane the wood dead straight or straight at all. Choose wood that’s straight to start with and look for warpage or twist ahead of time. Choose the best you can get. The act of planing is purely to smooth the wood and remove machine ,arks from planers and saws that might hold the surfaces apart and prevent good glue surfaces.
My bench is about 8’0” long, so I used 8’ stock. That means that after glue up and completion, my top may end up 7’10” long. You must think of the bench size that fits your situation. I often work from a 5’ long bench and find it most comfortable.
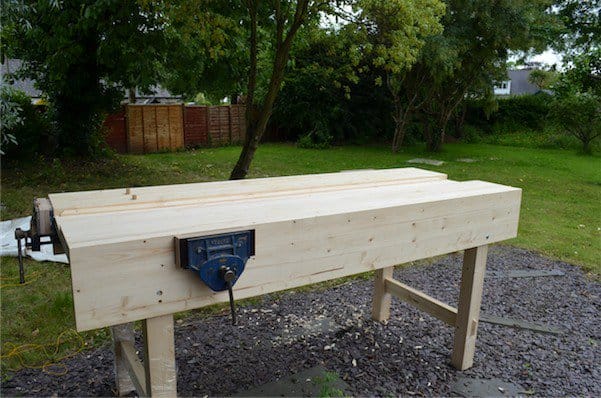
My bench has two laminated sections, on each long length, which allows for a well in the middle. The well hold tools during construction and nothing slips to the floor that way. The 12” laminated bench tops are more than adequate for all work and any wider will span to the other side.
So here we are, we have planed the meeting surfaces using only a smoothing plane. Forget heavyweights, a plain Stanley #4 or 4 ½ will do better than any other. You don’t need a longer plane, that’s unnecessary and will slow down the process though I can concede a #5 or 5 ½ if you insist. Also, you don’t need any retrofit irons with extra thickness, they take twice as much effort to sharpen, take twice as long and wastes twice as much steel for half the results of a regular thickness iron.
Set up your clamps and rehearse your glue up using the clamps. This will ensure you have the clamps set, the right number of clamps and that you have a procedure to follow that you feel comfortable with. It means that you have a strategy and a plan and that it works well. Once the glue goes on you have reached the point of no return and you must move efficiently and decisively.
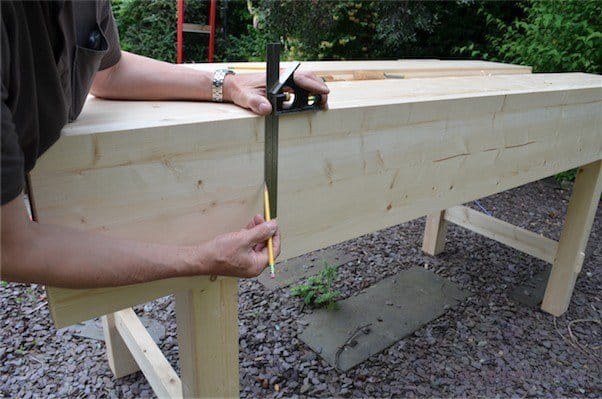
Flush up the ends incase you want the fullest length possible.
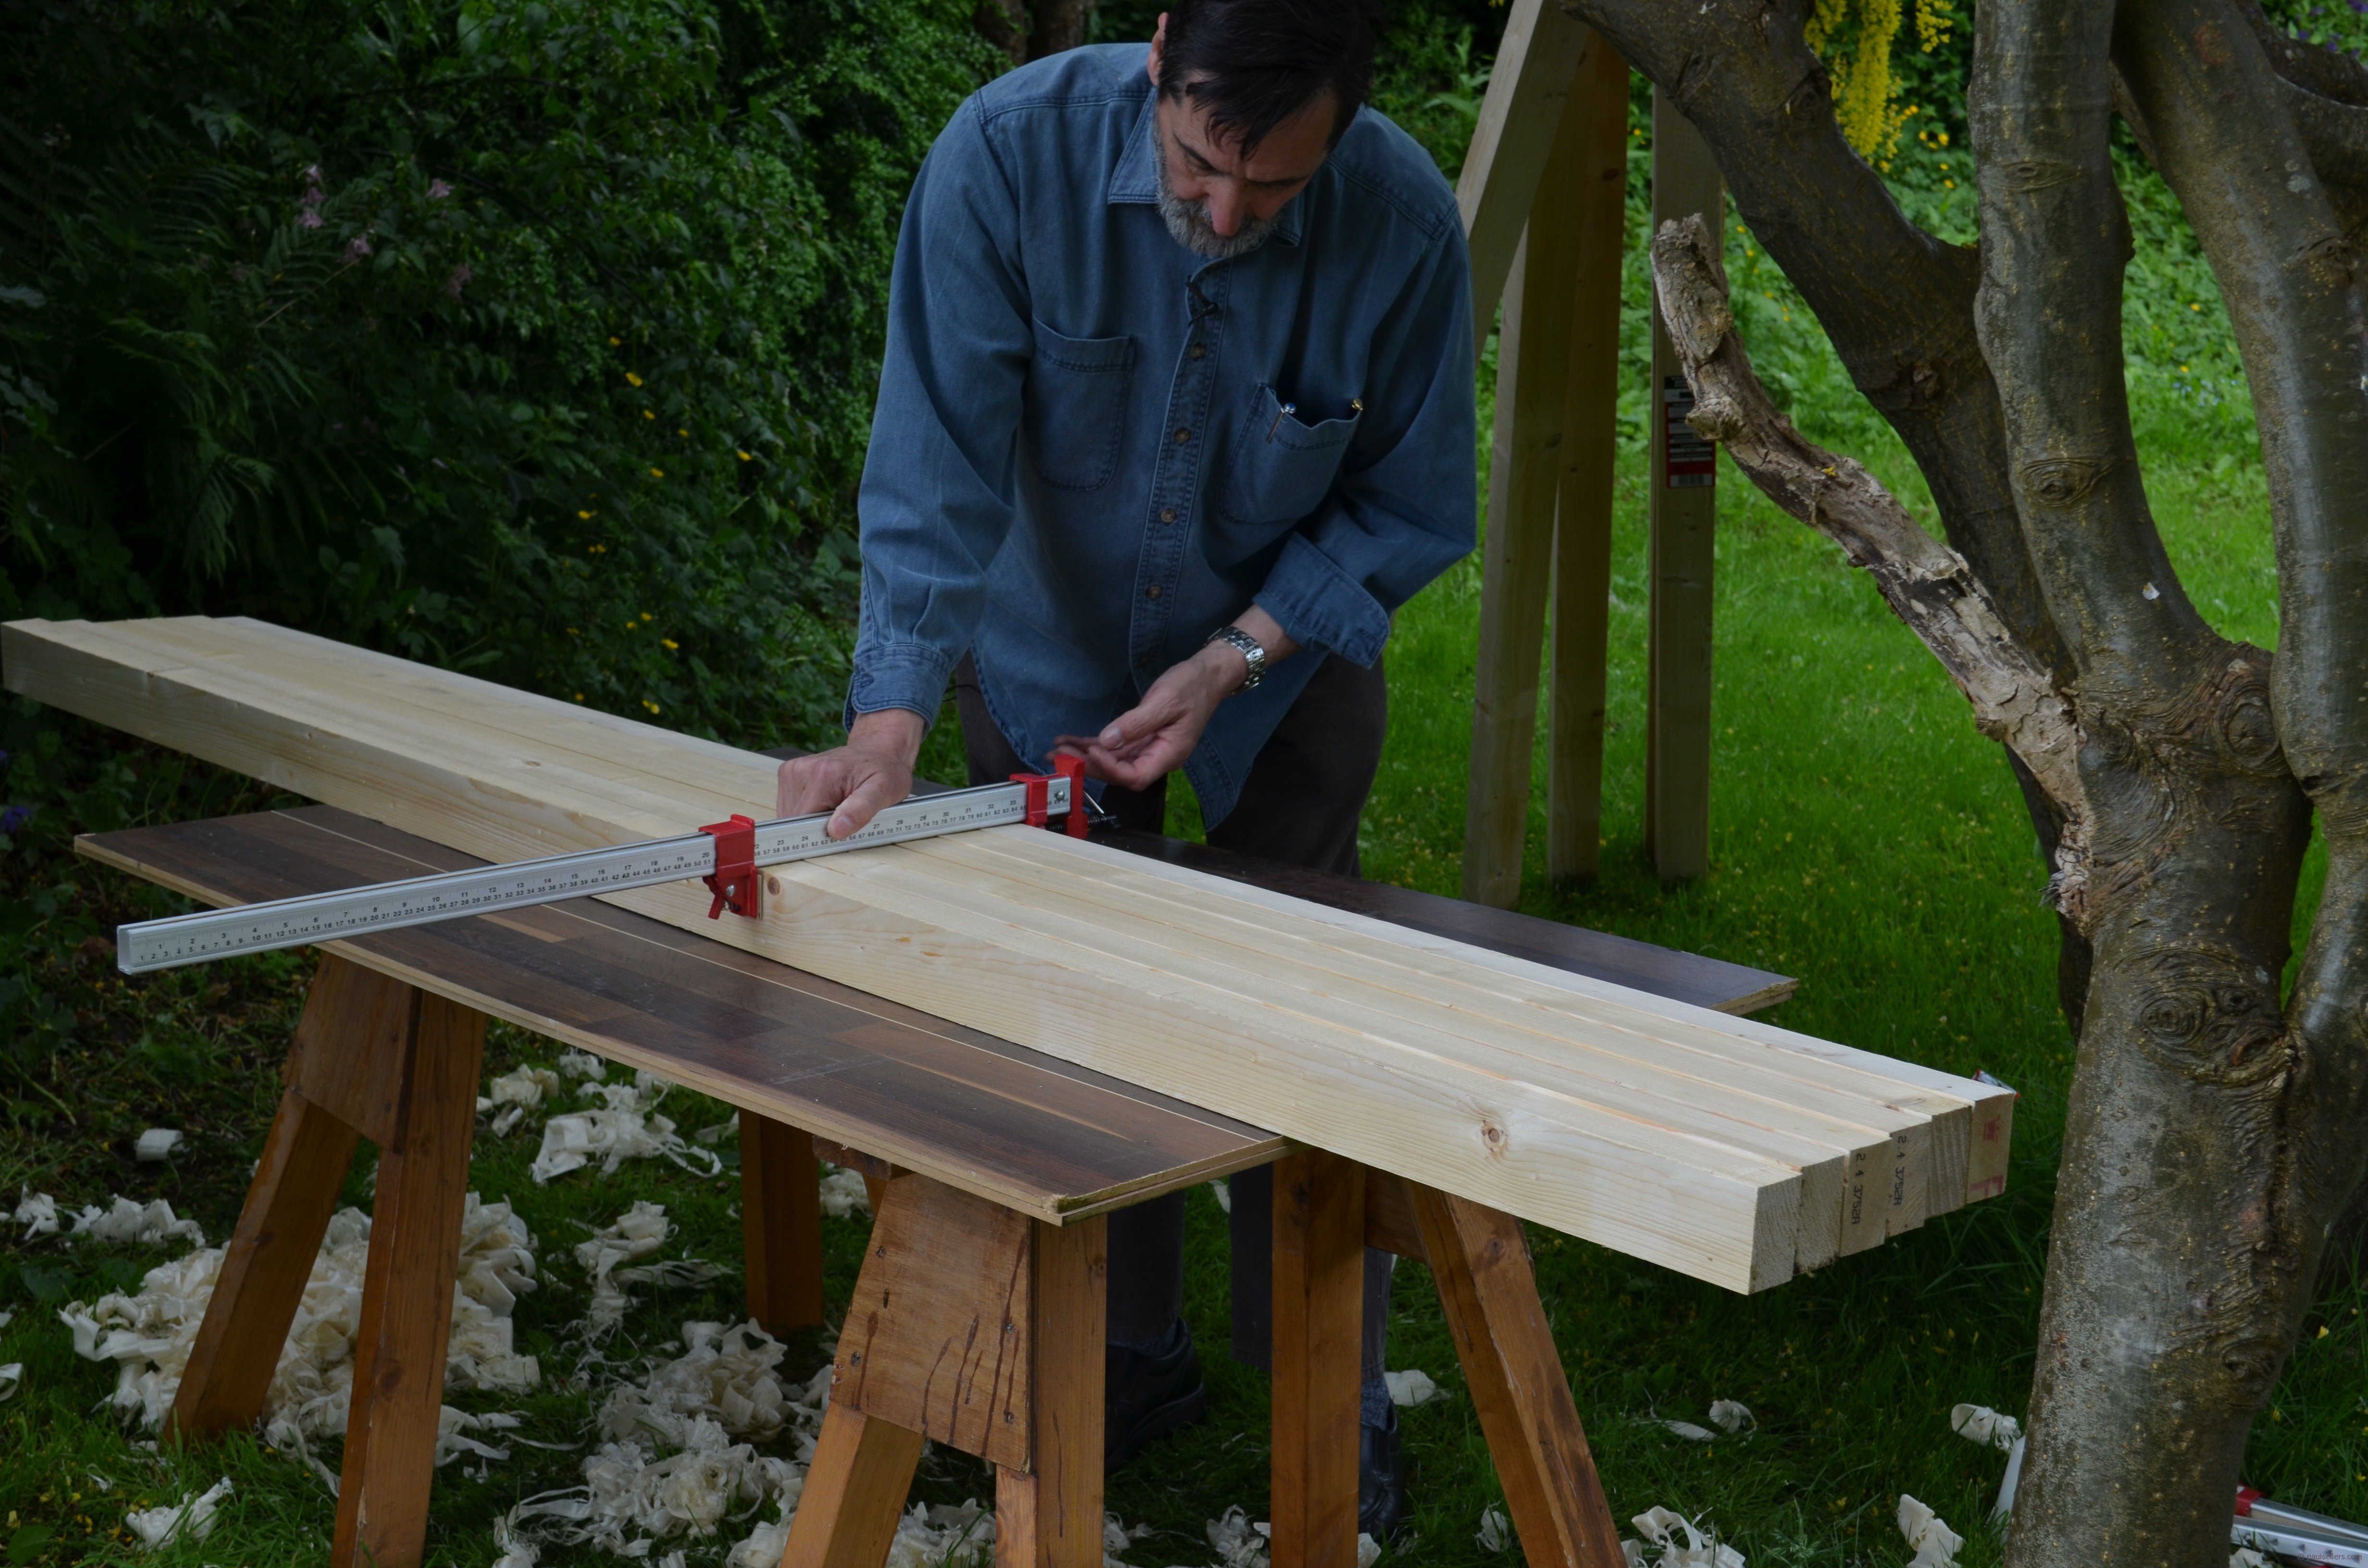
I use a single clamp in the centre to start as I want to make certain there is no unevenness before I add glue. It is extremely hard to plane glued surfaces and far better to test beforehand.
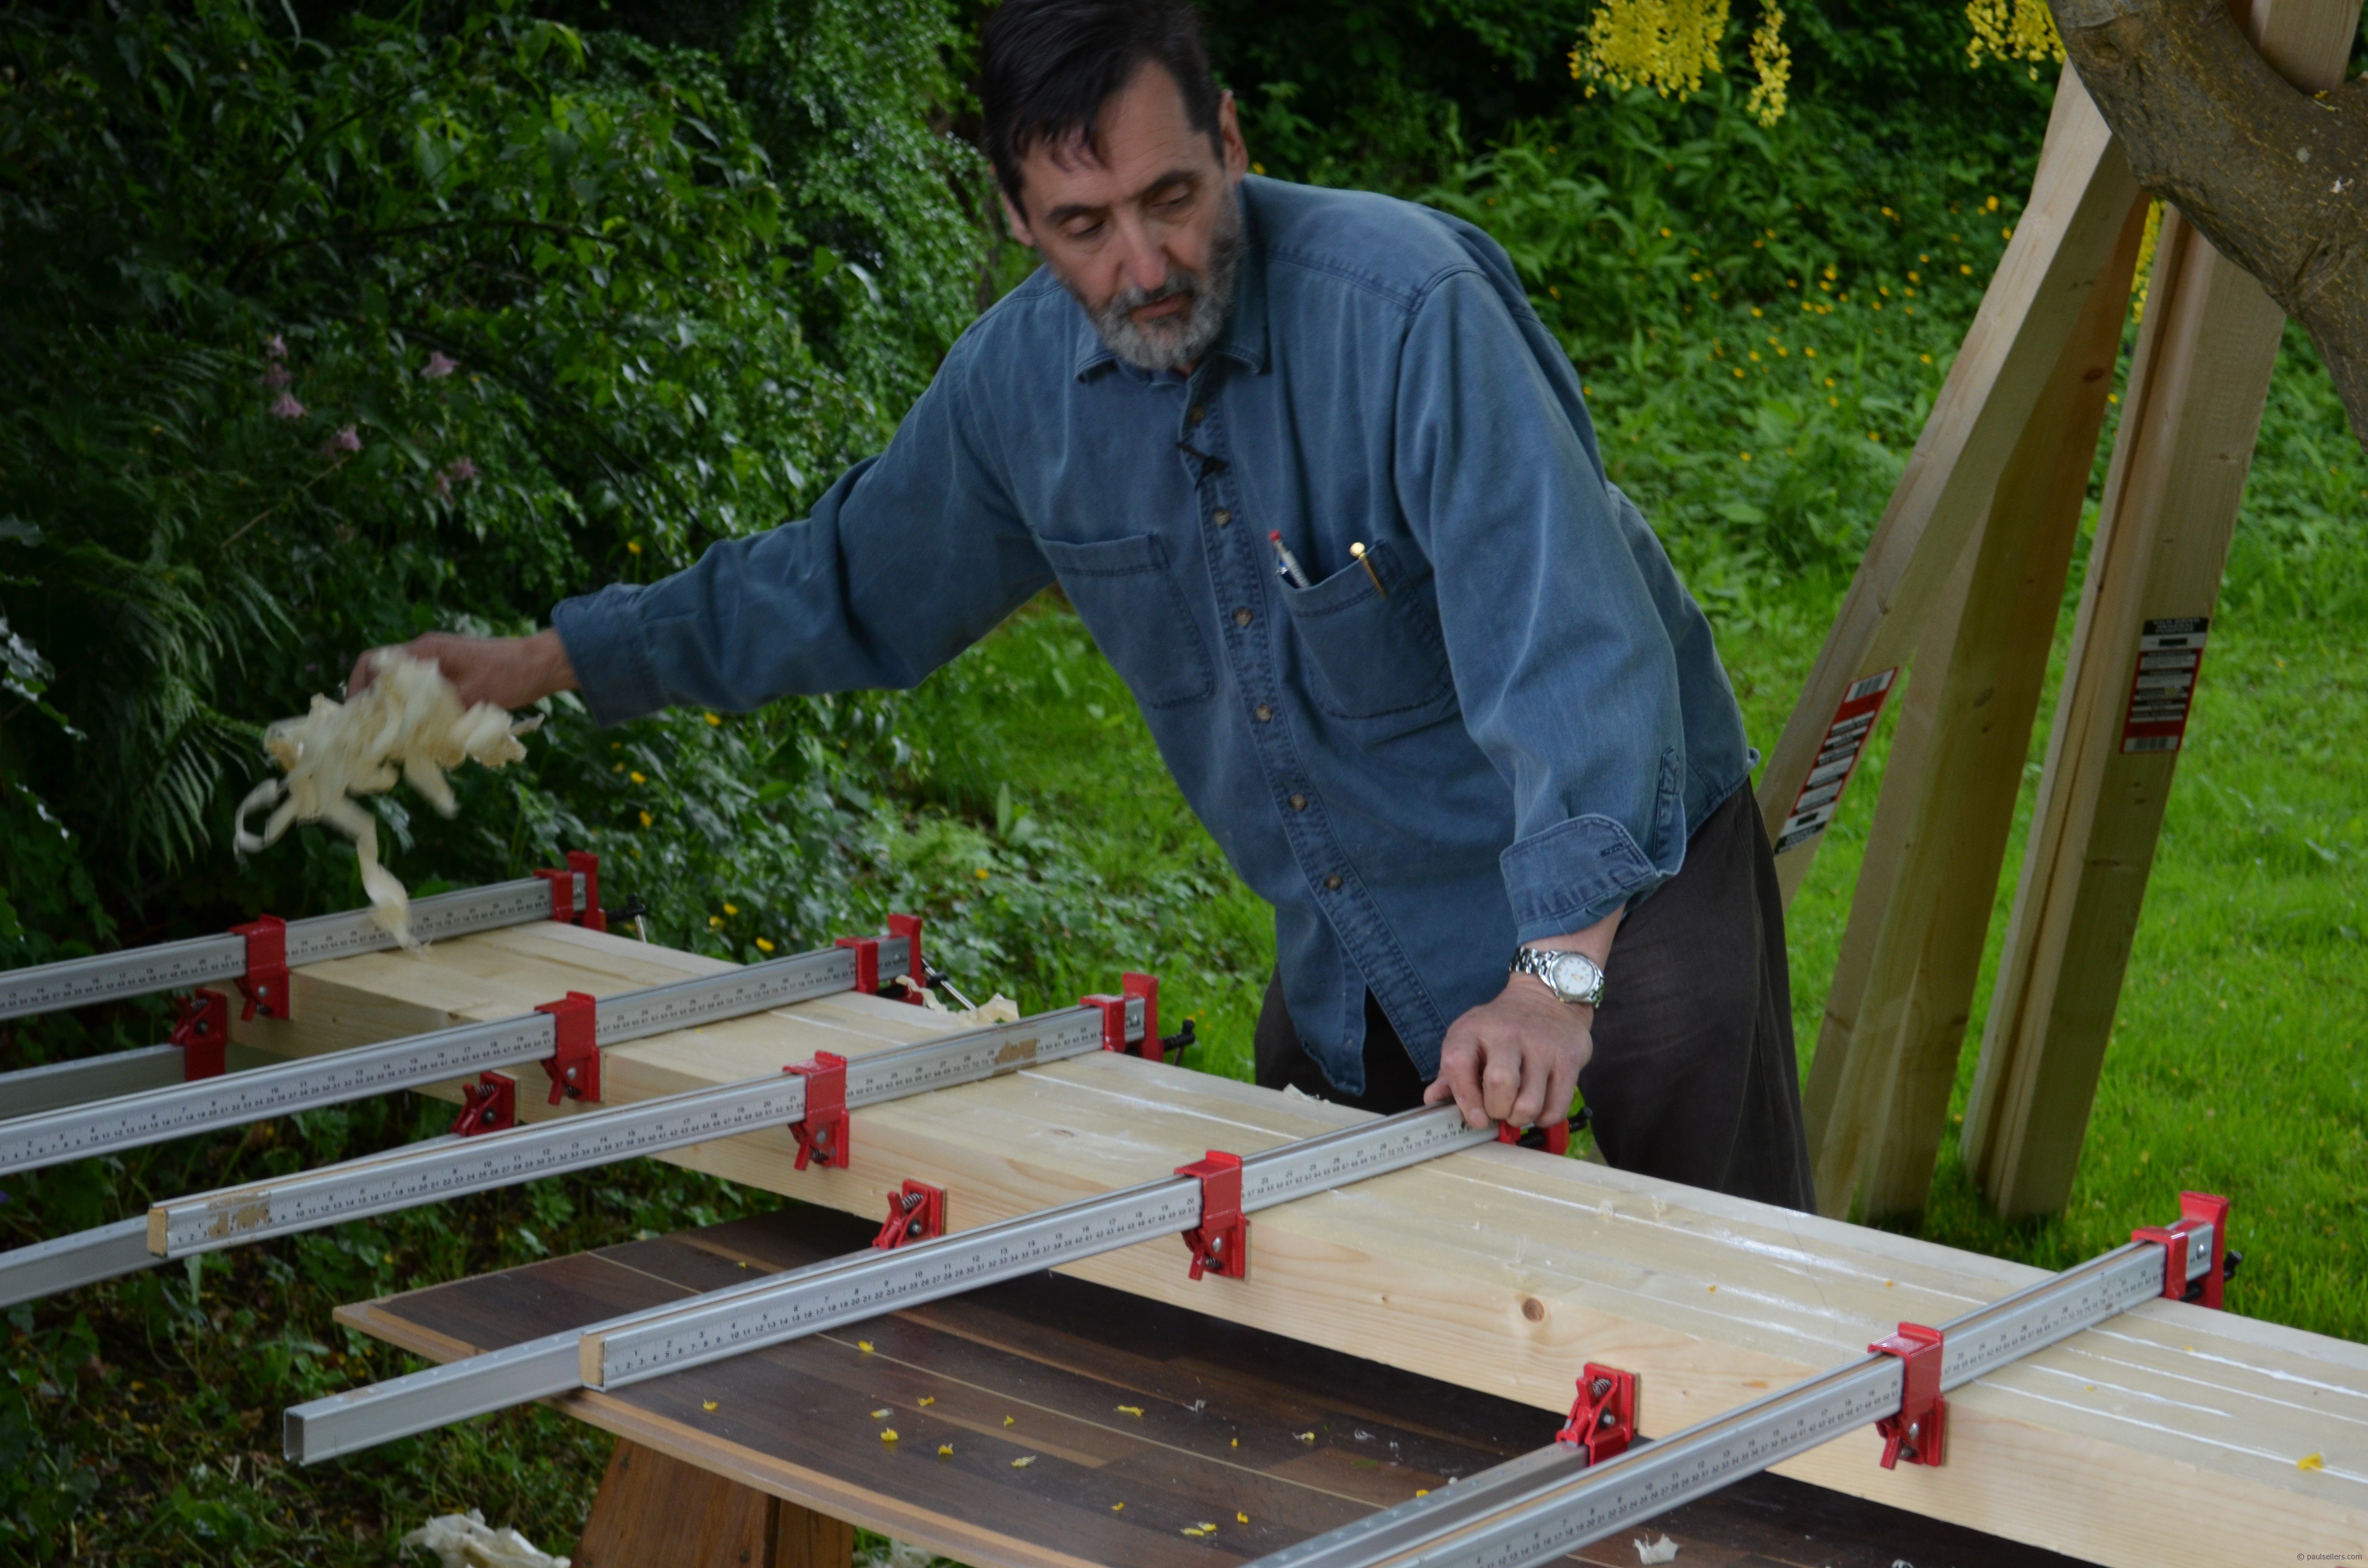
I have rigged up a table with saw horses and a couple of boards. I place my underside clamps first and preset the clamps so that my wood will just slot straight in during glue up. Pre setting the clamps saves awkwardness and time. It should be come a habit. Also, though we call this a dry fit or dry run, it is really a rehearsal and helps look ahead for snags.
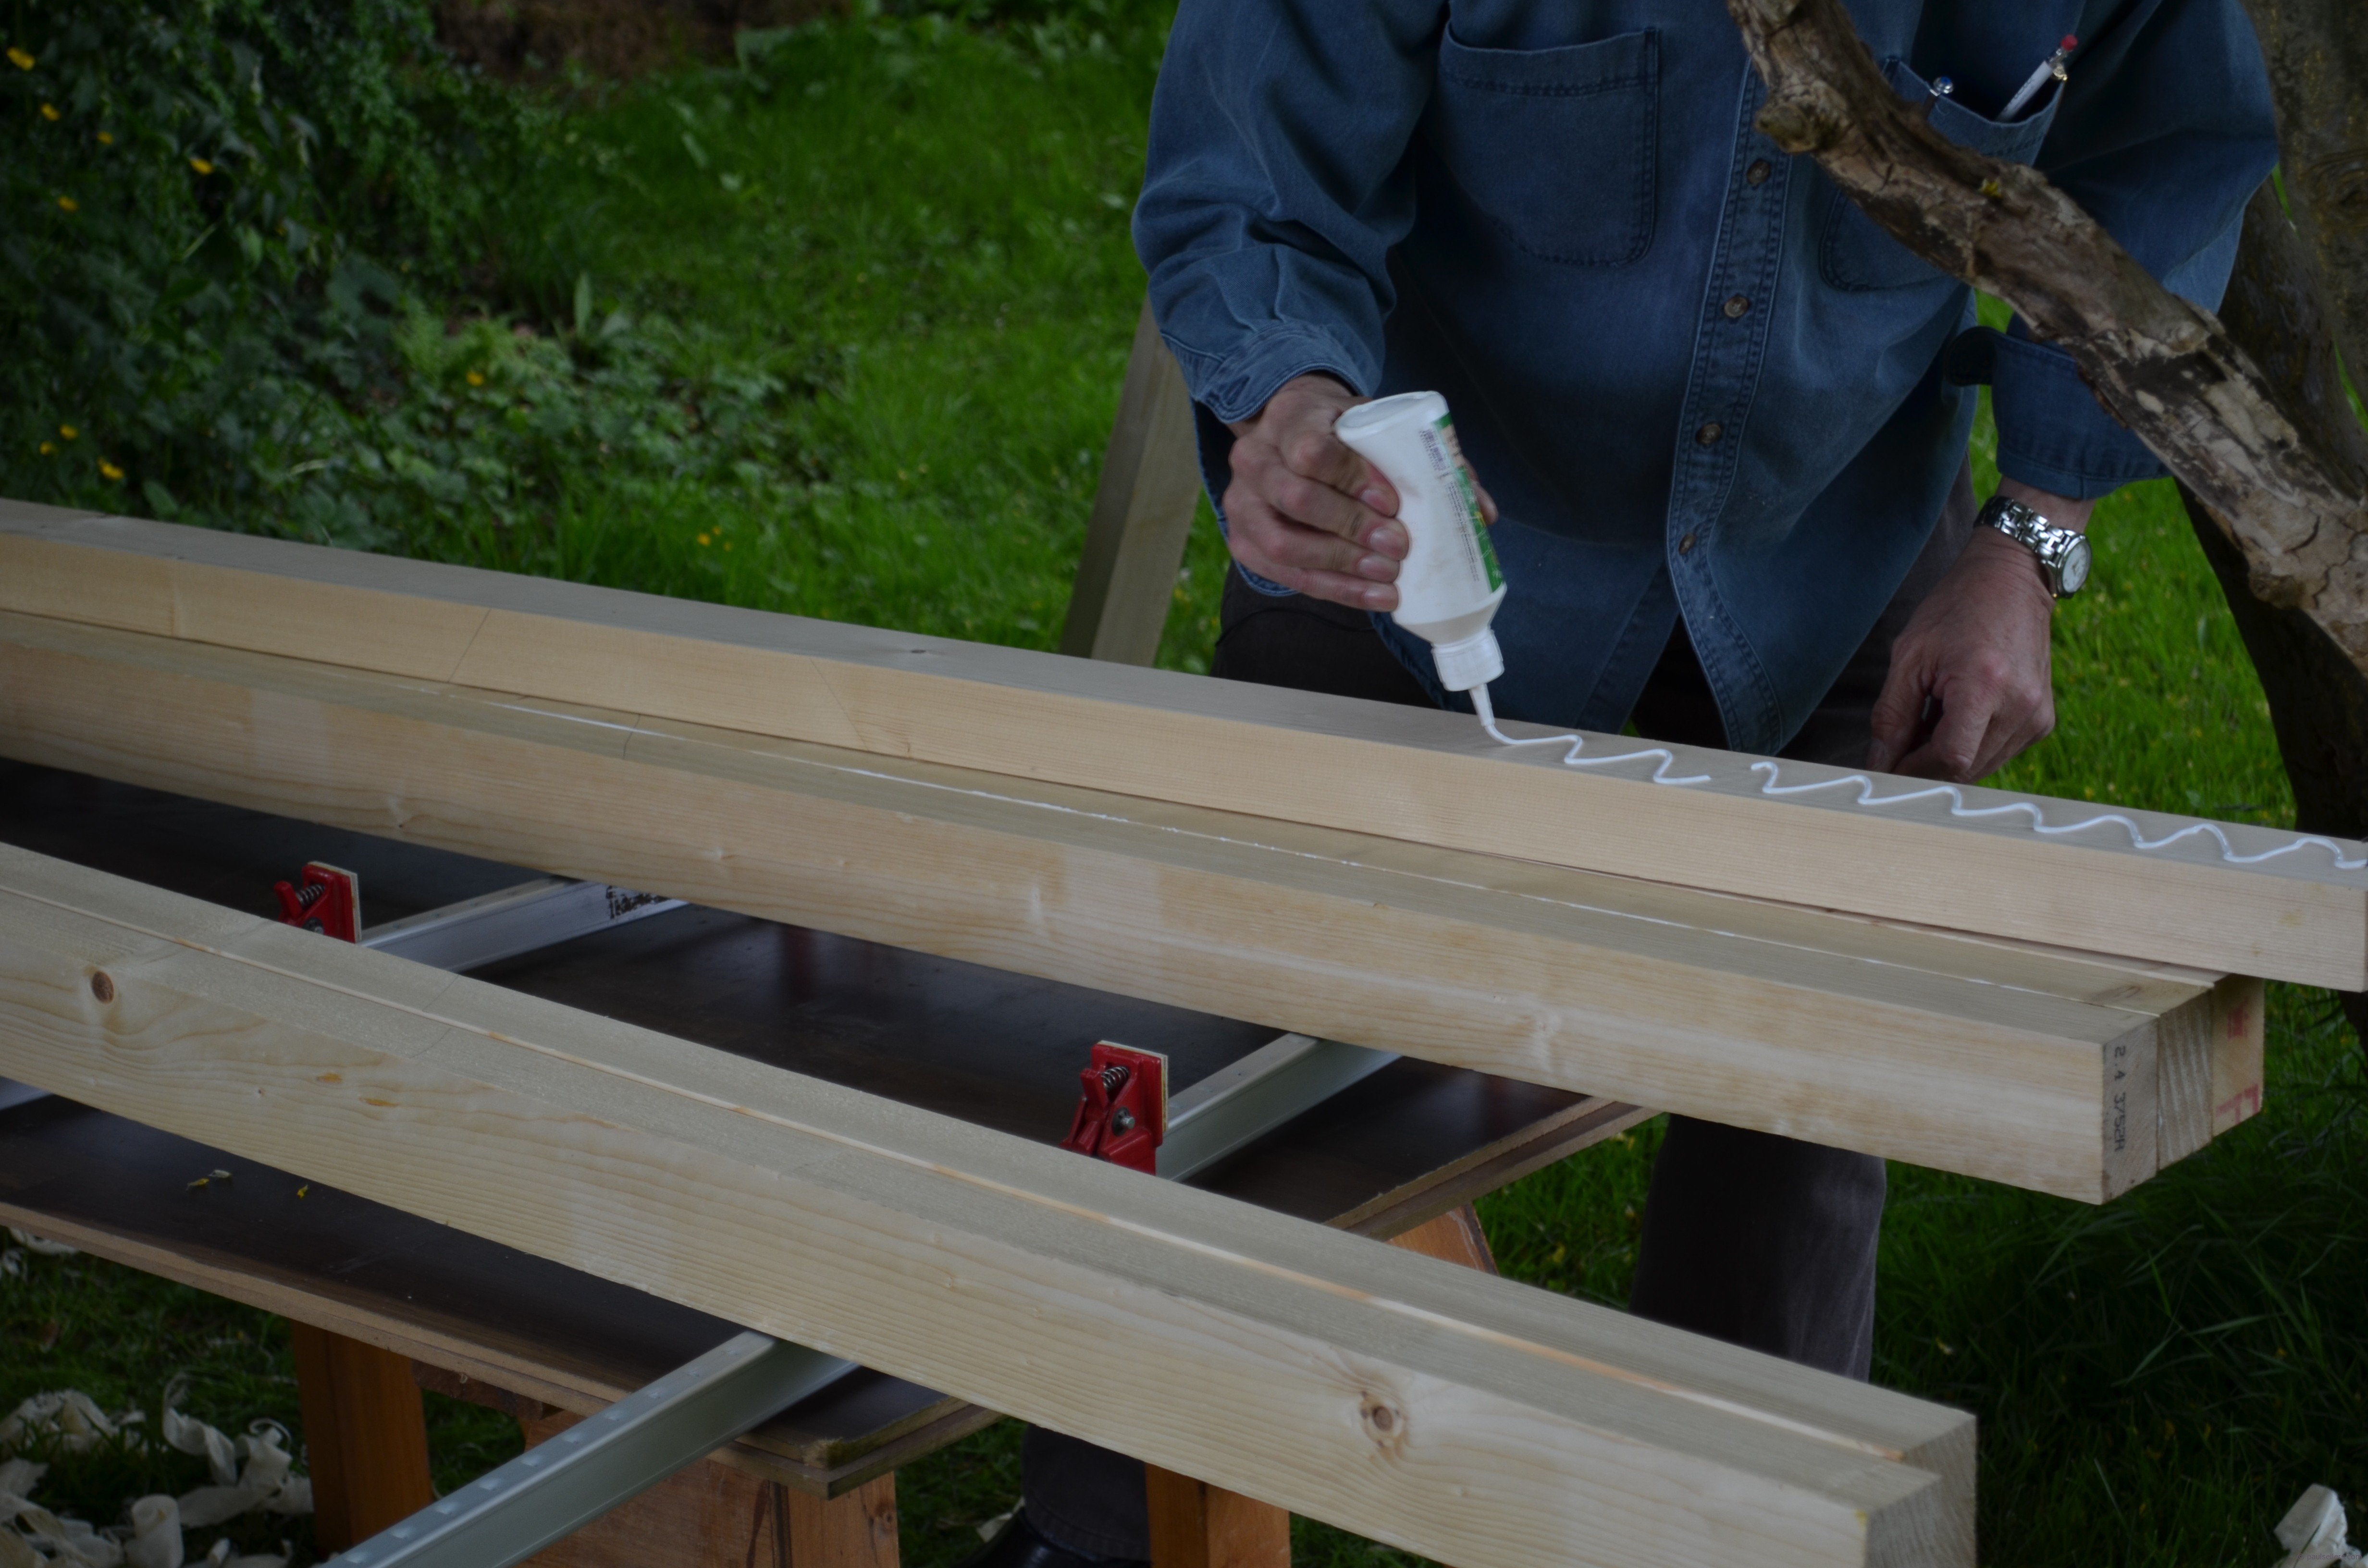
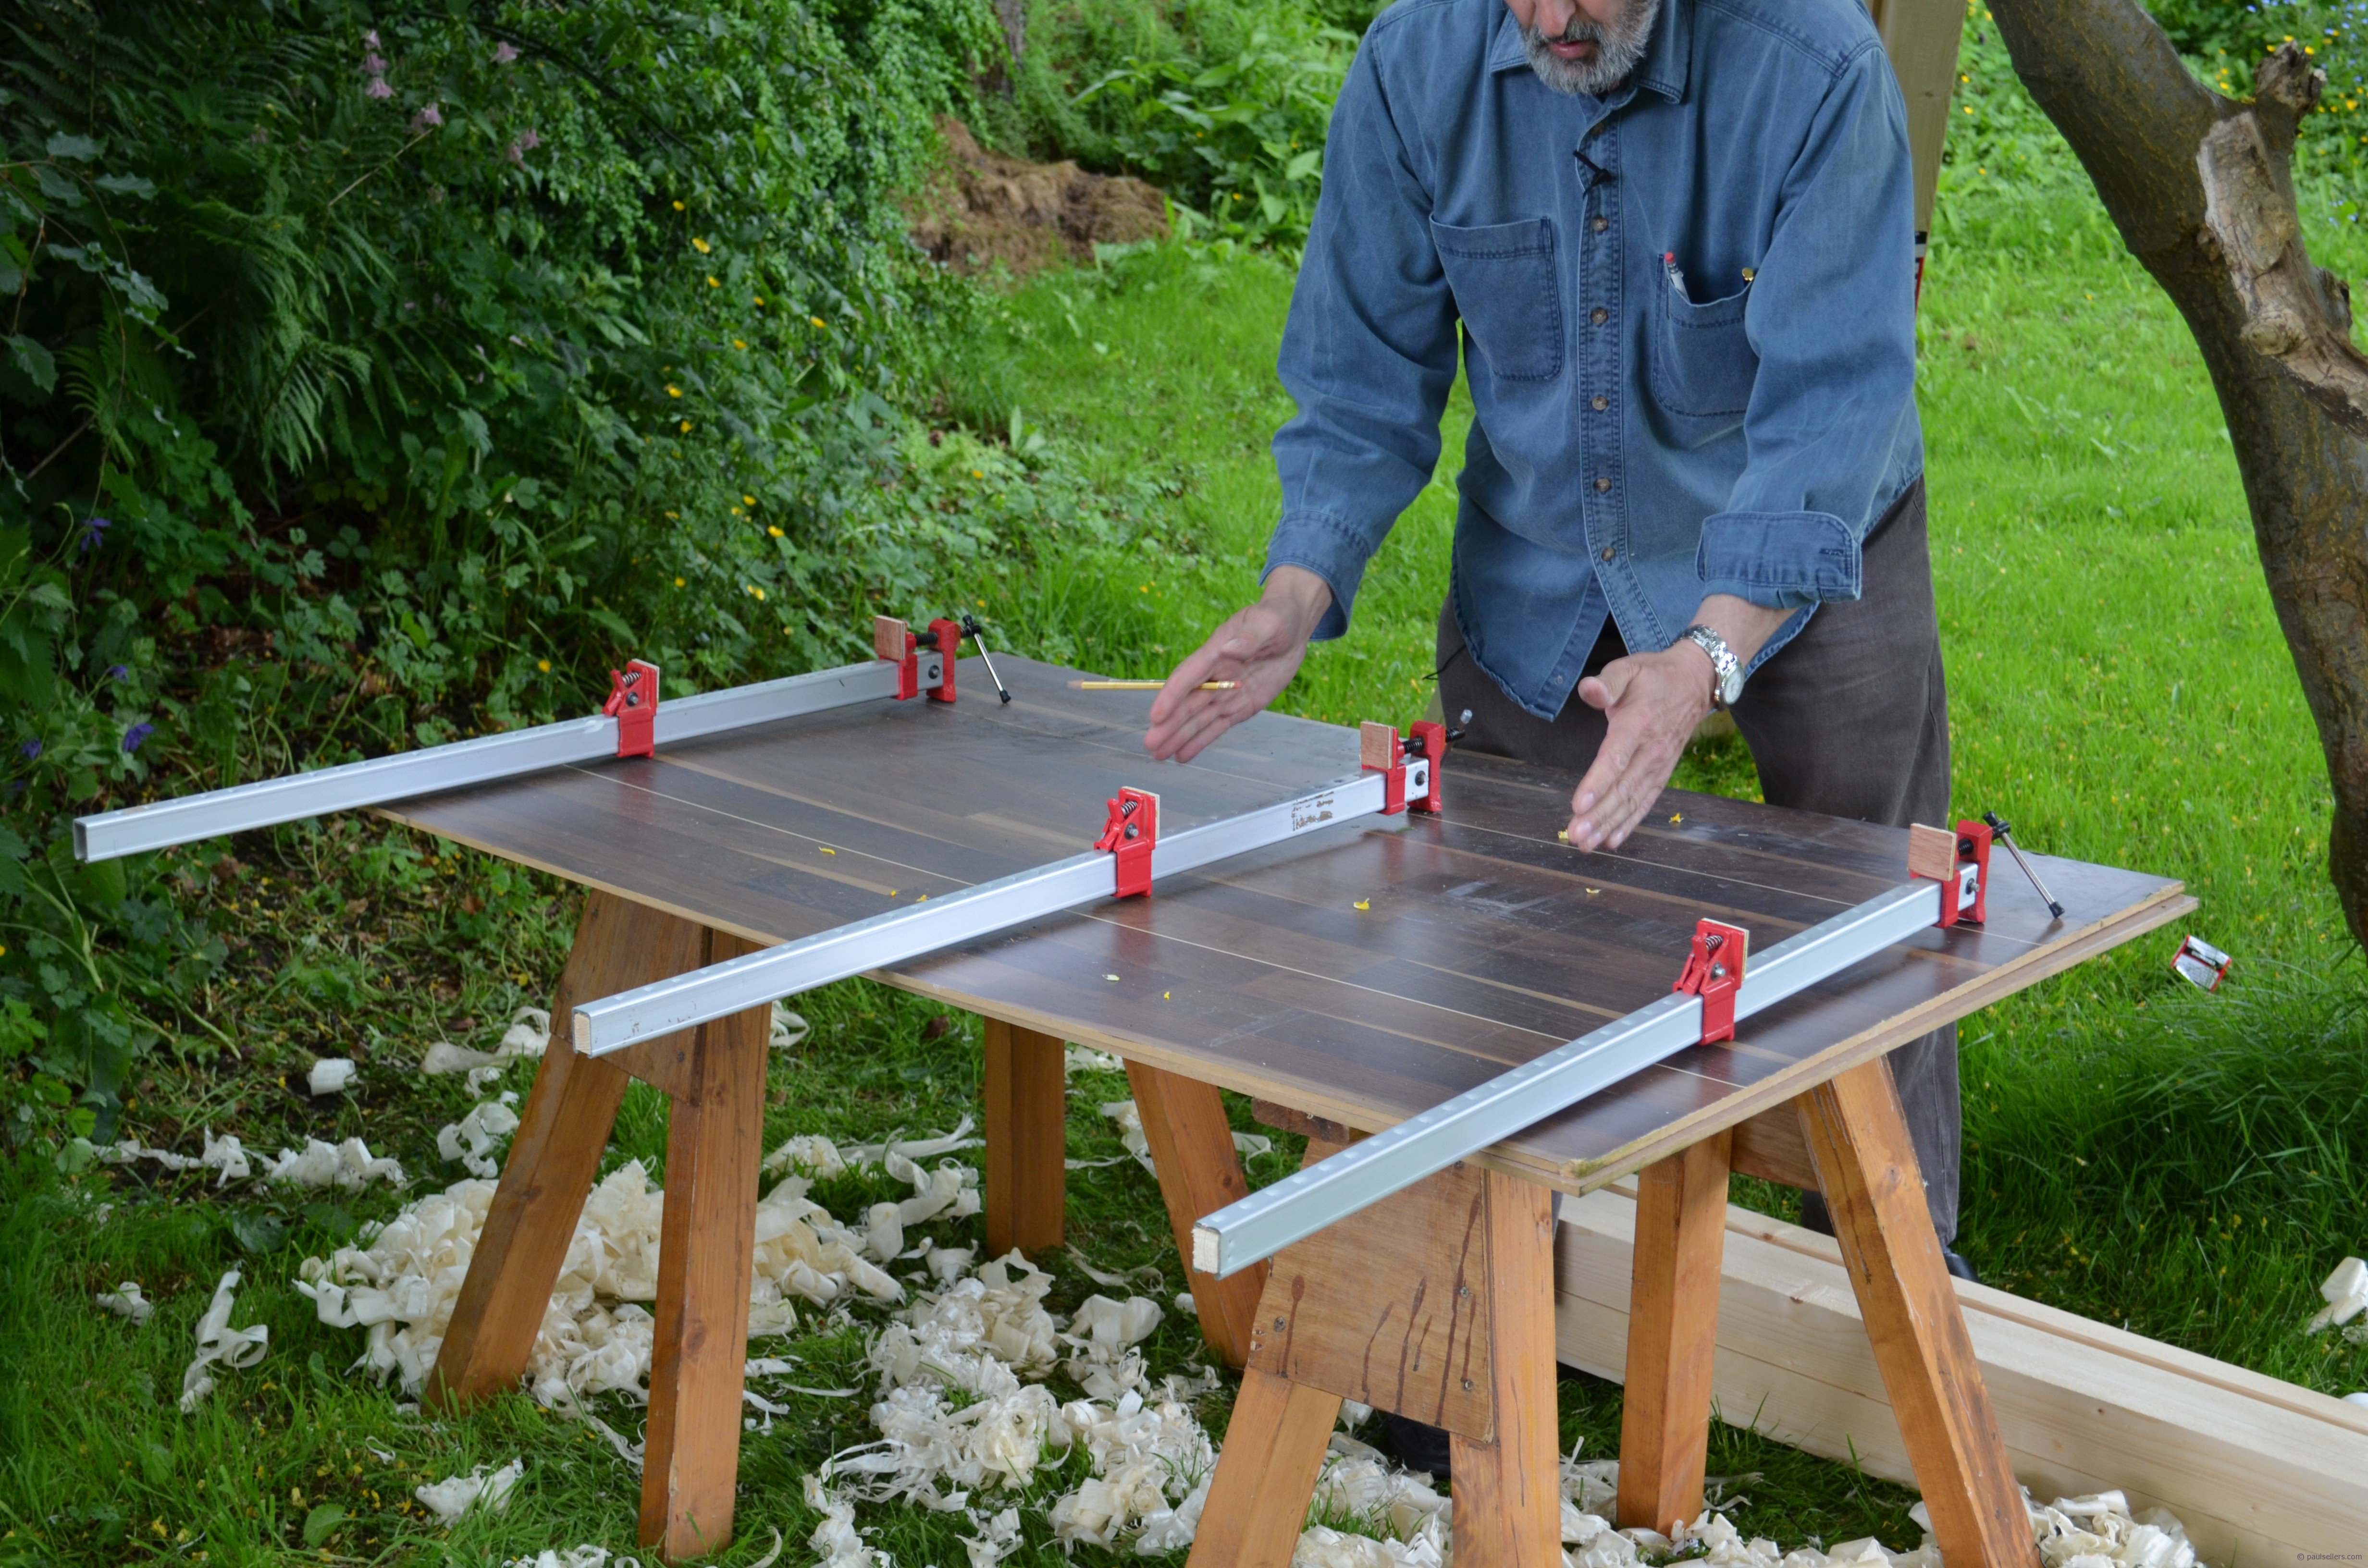
I zigzag my glue so that the glue is even. When I rub the joining faces the glue spreads evenly across both and I have minimal squeeze out and wastage.
Notice my clamps alternate between top and bottom or underside of the laminations. This ensures even pressure across the width of each laminated piece and thereby even squeeze out of excess glue. You will need a minimum of 11 clamps but perhaps if you don’t have enough you can borrow them. Even pressure along the whole length is important.
Wipe off any excess glue with the shavings. This will help the glue to dry and prevent hard glue on the surface before you plane. This can damage the cutting iron. Set the tops aside for 24 hours for the glue to completely set up and dry.
We had a great day!!!
Comments ()