How to Build a Workbench – Leg Frame Fitting and Finishing (part8)
NOTE:Just so you know, this is an older workbench series. Paul has a newer Workbench series. If you are interested in the updated version of Paul’s workbench please click the button down below. This page links to a cutting list, tools list, FAQS and much more.
Click here to go to the workbench page
Shaping the two tenon types.
Rounded over protruding tenons
The bottom tenon has a roundover you often see on Craftsman-style pieces that can be furniture as well as functional workbenches and tables. The methods I use work perfectly and they are doable by anyone. Remember what I have said about the #4 and 4 ½ Stanley smoothing planes being the best smoothing planes in the world and the only smoothers you will ever need bar none, well, as you follow me on my blog you may see me use others because I like them too, but you will never see my hands very far from a no-frills, no-nonsense, no-retrofit Stanley.
This next stage of rounding over the tenon will be much easier if you do not use a heavier weight plane and especially one what is not worn in. The best plane to use for this is the #4 with a thin, standard-fit iron and cap iron. Believe me.
There is no reason not be using a well-sharpened plane. It’s essential for our work so please don’t neglect this area.


Begin by chamfering the corners of the tenon cheeks to about 1/8” wide and then split the 45-degree angle to make a second facet below the chamfer and a third above it.Set your plane super shallow and remove all hard corners and finish off with sandpaper. Now do the same to the opposite side.


To cut the roundover on the narrow edge of the tenon, use a 1” chisel. Start with the chisel at a low down angle and about ½” from the end of the tenon. Pop it with the heel of your hand and move nearer to the end, elevate the chisel slightly and pop it again. Repeat until you have a faceted round. Now take a file and smooth out the radius with a few even strokes from long edge to short. This will form crisp even corners with perfect mitres.


You can use the same file to round over the facets left from the planeon the long edges too. Finish off with sandpaper as needed.
Cutting the haunch to the mortise


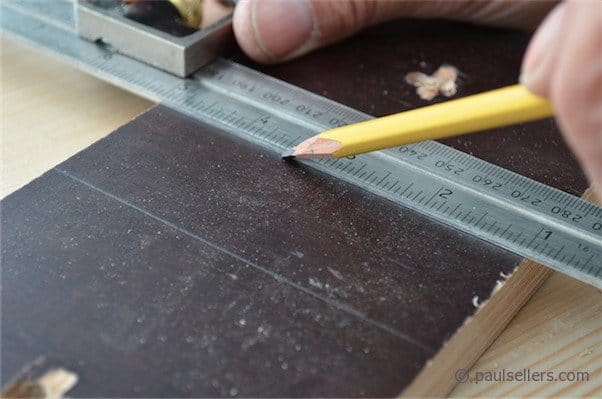
Two simple cuts fits the tenon to the mortise and both positions can be determined directly from the mortise hole itself. Place the end of the tenon into the hole and mark the width of the hole onto the tenon. Use your finger as a guide to pull a parallel cut line.

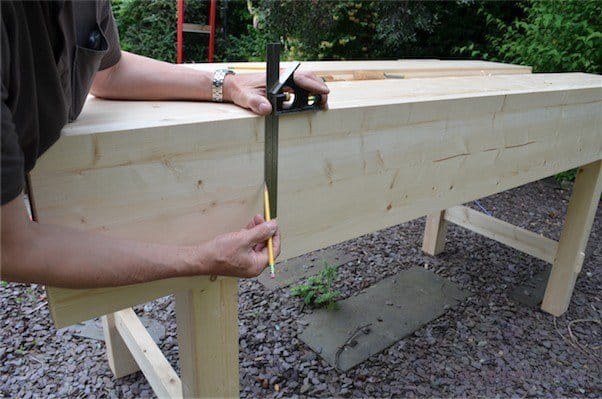
Now take the depth of the haunch from the end of the leg, within the haunched area as show, and run a second cut line.


Cut along the length of the tenon…

…and the crosscut line.

Your finished tenon looks like the and...

...the finished haunched mortise and tennon joint looks like this.
Comments ()