How to Build a Workbench – Leg Frame Tenons (part6)
NOTE:Just so you know, this is an older workbench series. Paul has a newer Workbench series. If you are interested in the updated version of Paul’s workbench please click the button down below. This page links to a cutting list, tools list, FAQS and much more.
Click here to go to the workbench page
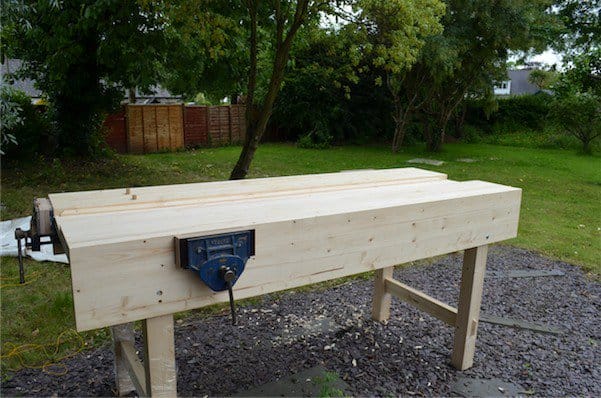
Creating tenons that fit mortise holes
In situations like this it’s typical to place the tenons and the mortises in the centre of leg and rail. Other projects work on one-third and one-quarter principles surrounding issues and features such as moulds, glass thicknesses, strength and much more. The legs being so big could have any sized tenon from ½” to 1”, which would have been fine. A ½” tenon is large enough and takes less energy without compromising strength. You might want to consider larger tenons, but this will all depend on the stock sizes you have decided on.
My tenons are ½” in 1 ¾” thick material. It makes little difference in terms of effort as the cheeks are either sawn or split and the two methods I chose in this case, there are others, are not affected by thickness in any way.

I first clean up the faces of my rails with a smoothing plane, check for twist and other distortion and correct as necessary to remove faults then, having proven the first and second adjacent faces, mark them with the face and face edge marks. It’s against these two faces that I register my square and gauge to for every subsequent layout mark I make.
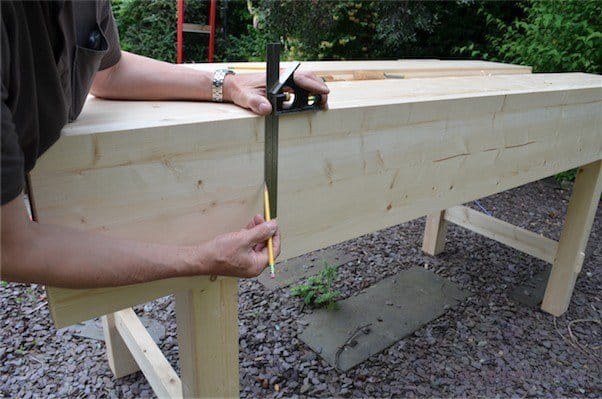
Because the ends of the top rails lie flush with the outside faces of the legs, and the bottom rail protrudes by 5/8” at each end, the bottom rail is 1 ¼” longer than the top rail.


I therefore centre my top rails equidistant to the ends of the bottom rails so as to establish my shoulder lines to all four crossrail pieces at the same time.
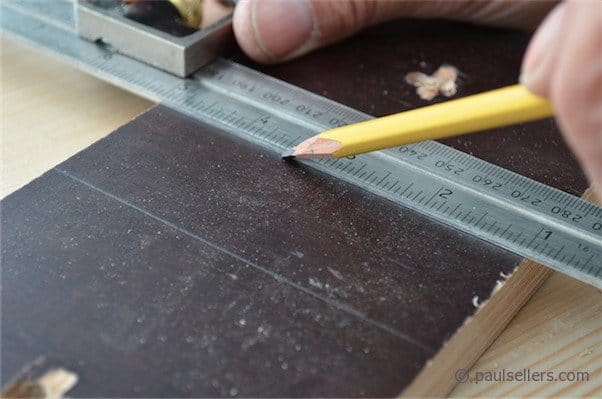
I have ganged up all four of my cross rails, which is common practice in joinery. This then guarantees all the shoulder lines are identically distanced.By laying the leg on the rails and flushing the leg to the end of the shorter top rail, I can directly mark the distance for the shoulders from the thickness of the leg. I am using a pencil for my initial mark. Subsequent shoulders will be cut using the knife.

I am using a Stanley pocket knife to establish the exact shoulder lines. for my cut with the saw.This gives excellent shoulder cuts dead square all around.


I square this knifewall around each end of the rails and then run my mortise gauge to establish the cheeks of the tenon in each edge and the end of the rails. Set the points of the pins to each side of the 1/2" chisel you will use to chop the mortise. I should emphasize the 'points' and not the base of the pins as this will make the mortise wider than the chisel. At this stage all of the tenons are the same and so they can all be marked out in the same way. The only difference will be the length of the tenons.

With the tenons marked out I further define the shoulderlines by horizontal cuts into the knifewall.

This causes a slight step down. I then use a 1” chisel to deepen the shoulder and take an inclined cut into the shoulder to remove some of the waste. This gives me an unwavering cut line for my handsaw to follow.

I cut down the knife wall with the handsaw to establish the shoulders taking care not go beyond the mortise gauge lines, which weakens the tenon strength. I use a clamp to anchor the workpiece to the benchtop and prevent movement.

With the shoulders now cut I cut down the cheeks of the tenon taking care to cut on the waste side of the lines. I cut slightly proud of the lines so that I can trim-fit the tenons to the actual mortise and so ensure a tailored fit to each mortise hole. To do this I suggest you might use the #71 router shown here.


In my case I gave the final address with my poor man's router because the extended length gave me the accuracy I wanted. This really works to finesse the tenons.
Comments ()