How to Build a Workbench – Vise Pads and Dogs (part15)
NOTE:Just so you know, this is an older workbench series. Paul has a newer Workbench series. If you are interested in the updated version of Paul’s workbench please click the button down below. This page links to a cutting list, tools list, FAQS and much more.
Click here to go to the workbench page
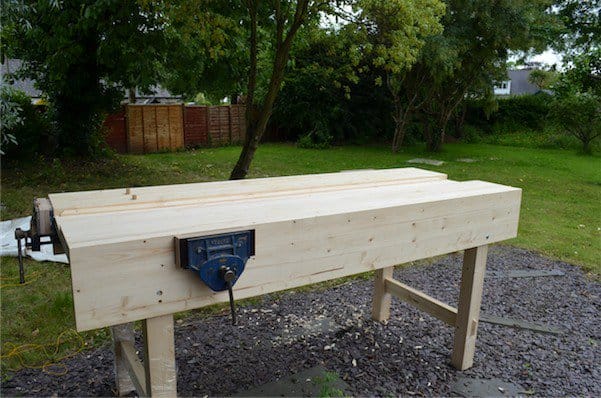
I have all three vises fitted to my bench, two at opposite corners and to my right that is to perform tail-vise operations combining the poor man’s dog in the vise with dowel dogs in the benchtop. I will say up front that bench dogs and dogging systems are for me none essentials. Some may counter this and that’s fine, but I can and have worked without using any bench dogs for decades and when I have had them I forgot they were there. That said, the reason I added them here is to make the bench as comprehensively universal as possible. Many will love having bench surface-holding capabilities and this method does work well.
Many vises do not have the adjustable dog in the centre of the vise. The particular Record vises I bought do not have dogs, but I knew that when I bought them. In five minutes I will have a wooden bench dog fitted to my vise. It can be made from hardwood or from metal. On one of my benches I used 1/4” thick brass. Metal is unbreakable as a bench dog but wood will definitely get you going and should last for years.
I must cut a dado across the wooden lining on the outside jaw of my vise, between the wooden jaw and the inside face of the moving jaw. Mine is 5/16” by 1 ½” wide. There is no danger of the wooden jaw breaking, whether plywood or solid wood.


First I lay out the area to be removed. Pencil is sufficient for this.

I cut the walls with a small saw. As long as they are square and parallel they will work. Cut down only to the depth line, no deeper. I used a router to finalize the depth, poor man’s or bought or you can finalize depth without a router and just a 1” chisel.


I used a 1" chisel to remove the waste between the lines. In plywood this goes quickly without bevelling the sides as you would with solid wood because the layers separate easily and evenly. When almost to depth, use the router or if not follow the ply layer.

Relocate the lining. I am using threaded screws into the tapped jaw holes. This will hold permanently, better than regular screws. Remember also that a threaded bolt can be used to tap wood and you can always do that instead of screws.


To make the vise dog I used a piece of oak 3/4" x 1 1/2" x 4" long. I cut down the length, just under 5/16", and then across the grain to form a lip so that the dog hook onto the vise when dropped into the mortise hole.

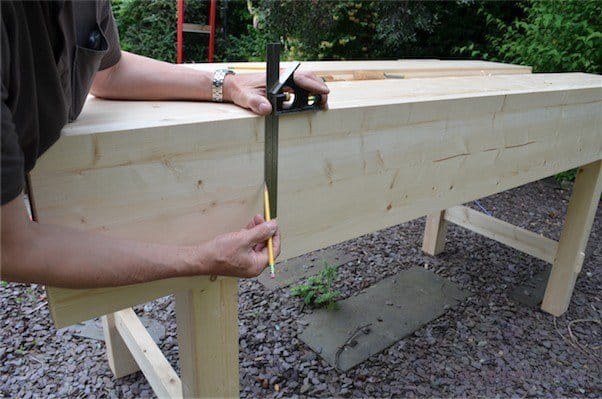
Now you can run parallel lines of holes equidistant from the vise (square across) and equally spaced on either side of a central line from the central vise dog in the vise. I also run dog holes inline centred with the vise dog. This allows pieces narrower than the distance between the main dogs to be dogged in. The reason we generally used two dogs rather than a single run where possible is that wider boards are held square to the length of the bench, which gives greater stability.
It can be difficult to bore holes square. I made a simple guide that clamps to the benchtop and bore holes guided by the two adjacent faces. I bore all the way through the top so that the holes remain free and clear. On the underside I screw small blocks to swivel. These remain covering the holes from beneath and stop the dogs from dropping through. If you have a lathe you can turn dogs like the ones shown. (Drawings shortly)


With the holes bored, I made oak dowels as dogs. Drop the dowel into the hole and mark the line at the bench top. Cut into the dog about quarter of the way and then saw or chop down. This flat face faces the vise dog and allows the workpiece to be anchored properly.
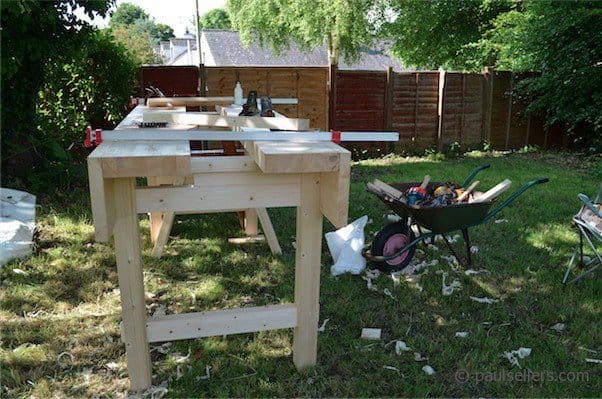
You can do this to the other vises and use the main bench top. When I make an additional feature for the well I will show you that too.
This is how it works now and this concludes phase one of making a good workbench..

Comments ()