How to Build a Workbench – Fitting the Vise (part14)
NOTE:Just so you know, this is an older workbench series. Paul has a newer Workbench series. If you are interested in the updated version of Paul’s workbench please click the button down below. This page links to a cutting list, tools list, FAQS and much more.
Click here to go to the workbench page
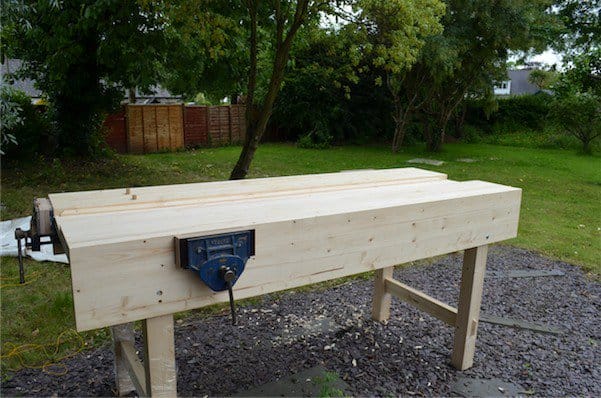
The final stage of the bench make is to install the helping hands that grip the work of a lifetime. It’s so good to get to this stage and though I do not need any more benches (wherever I am I have a dozen or more to choose from), I want to know that you and hundreds if not thousands of others will own a fine workbench.
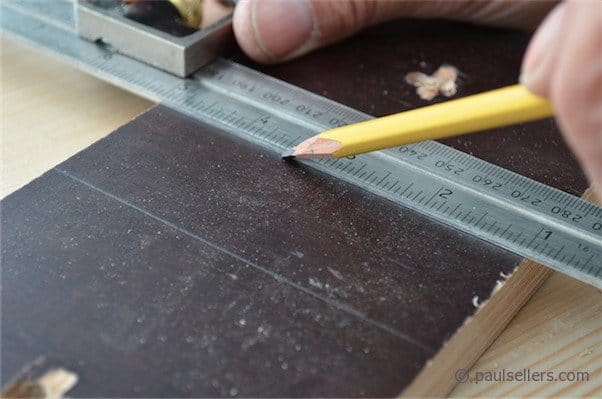
The vise is best fitted with an auger bit and brace (the first cordless drill) or of course you could use a drill-driver and paddle bit too. I begin by measuring the width of the vise jaw and adding 1/8”. Vises sometimes need repair or adjusting, and I like some room to maneuver heavy vises in and out. One sixteenth either side is enough.


Because I have wedges alongside the leg, I begin 1 ½” from the inside of the leg and then measure the width of 9 1/8”. Square the lines downwards and then take the measurement of the depth of the jaw from the inside of the ‘L’ formation of the casting and add another 1/8”, which will set the jaw 1/8” below the surface of the workbench when installed.


Measure component parts and transfer to the bench. Again, I find it best to give plenty of room around the vise. Sometimes something works loose and needs tightening or oiling or cleaning and there is little value to tight tolerances here.


With the shape mapped out onto the bench bore some holes inside of the outline, close together and even overlapping will work best. Now use the 1” chisel to separate the waste from the wanted working with the grain to prevent damage or too much rough tearout.


Offer the vise into the hole and lift it to the upper area to make sure it seats properly and doesn’t stick above the bench. In my case I must pack down by 7/8”. A piece of ¾” plywood and some masonite hardboard is perfect.

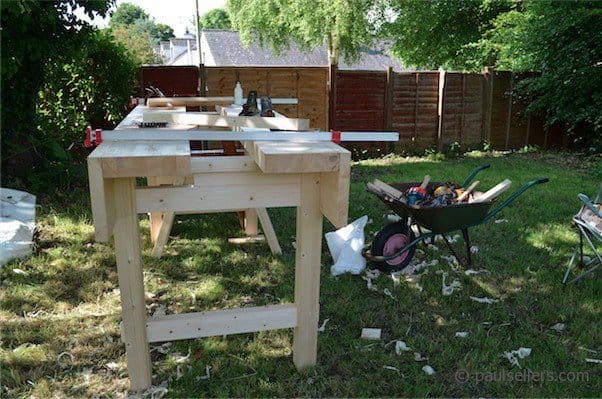
I can lift my bench up and stand it on end to better access the underneath. Not sure of the safety issues here so be responsible and watch for high winds. Mine felt good and solid.


Screw the packings in place and then slide in the vise and mark the positions of the holes ready for drilling or drill directly as I did.
Screw in the lag bolts and washers and cinch them tight if the vise jaw is seating against the bench properly.


Drop the bench back down so that you can install the wooden vise jaws and also add two more lag bolts through the face of the jaw. This makes the jaw rock solid and immovable. Place the outer jaw lining in the vise and cinch it in the vise so that the liner stands slightly above the benchtop. This will be planed flush shortly. Screw the liner in place. I have used buffalo plywood for my jaws. It works really well and holds up to all kinds of pressures without buckling. Any hardwood will work too.
To install the second liner, open the front jaw all the way so that you can drill through the face of the jaw and into the bench top. Normally the wooden vise jaws are screwed through these holes, but I have a different method shown shortly. Drill the 3/16” pilot holes for the lag bolts and install them through the jaw.


Place the second jaw in place and just above the benchtop and cinch tight between the jaws so as to impress the bolt heads into the liner. Drill recesses centred on the dimples I have made my liners 2” wider than the jaws so that they overhang 1” either side.


I screw 1” wide packings on either side of the jaws that lie flush with the metal jaw. Now I install the second liner after drilling and countersinking the liner to receive the screws each side of the metal vise jaw. I plane the jaw liner flush with the benchtop and break the arrises with the plane.
Tomorrow I show the poor man’s dogging system for none dogged vises.
Comments ()