How to Build a Workbench – Initial Assembly (part12)
NOTE:Just so you know, this is an older workbench series. Paul has a newer Workbench series. If you are interested in the updated version of Paul’s workbench please click the button down below. This page links to a cutting list, tools list, FAQS and much more.
Click here to go to the workbench page
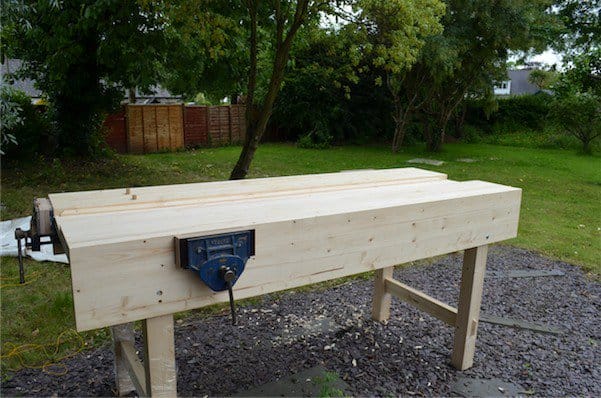
Assembly begins
Yesterday we locked the aprons to the bench with clamps and bolts and screws and lifted the main laminated benchtops in place to dry fit before gluing them to the aprons. This process takes some thinking through to ensure all of the components are together; clamps, hammers, wedges, screws, bolts, lag screws and so on. Think it through. It’s you and your bench in your garage or back yard. Rehearsal is always critically important before final glue-up.


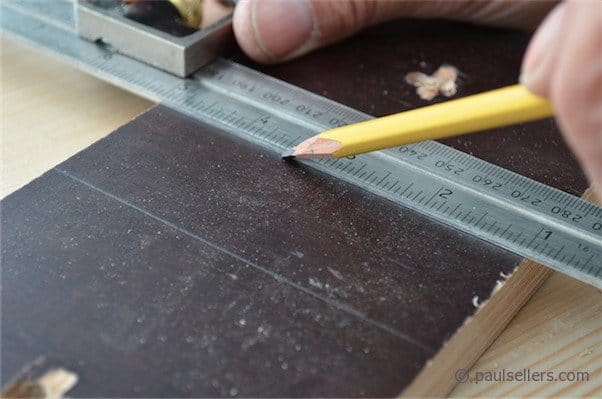
If your measurements are correct, all of the wedges will be the same, but there may be a variance between each joint. I think it best to cut one wedge to a specific recess and then try the one wedge in the other joints. If they are close, you can cut the other three, slightly oversized, ready to plane to fit as needed. I screw the specially shaped lock bar to the inside of the apron, not tightly but enough to turn with my fingers.

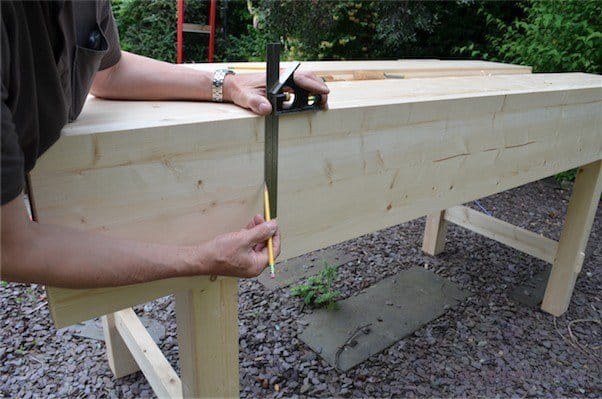
With the frames fitted to each housing I stand the bench frame and suspend the other end of the apron at a similar height. Pull the apron and frame together and clamp them together at the lower edge of the apron.


Dry-fit the laminated benchtop to make certain that the edge of the laminated top meets the apron with no gaps above or below. Use clamps to draw them together but not to clamp out any out of squareness. If there is an unclosing joint line it must be planed to fit. If all seems well, you can bolt the apron through the legs at the lower area using a 3/8” x 5 ½” carriage bolt, below the top crossrail of the leg frame assembly. If you plan on having a tail vise in the second leg frame assembly, you cannot bolt through the leg as the rails will be too low. In this case you will use 2 ½” x 5/16” lag screws together with a washer. If you plan on a permanent assembly you can glue also. You can also glue and screw with three 2 ½” #12 screws.

With the first apron in place you can now glue the corresponding laminated bench top to the apron and clamp them along the length at 12-15” centres and epeat to the opposite side.
Time to rest and leave overnight for the glue to dry completely.

Comments ()