How to Build a Workbench – Preparing the Aprons (part10)
NOTE:Just so you know, this is an older workbench series. Paul has a newer Workbench series. If you are interested in the updated version of Paul’s workbench please click the button down below. This page links to a cutting list, tools list, FAQS and much more.
Click here to go to the workbench page
Preparing the aprons

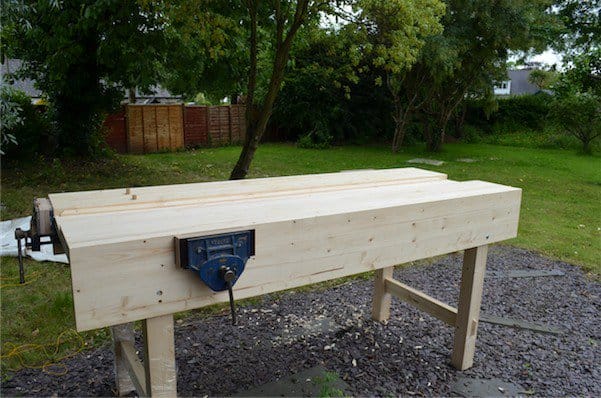
Your aprons are glued up into 12" wide panels and now they must be planed and sized to correspond with the benchtops.
By now your benchtop sections should be cut and planed dead square and to finished length. Whatever length you make your bench is up to you but the two should be identical in length. There could however be some variance in width, but I would not plane or cut one down to match the other using a hand saw or plane whether the difference is marginal or a lot. It’s unnecessary, and ripping through 3” stock by hand is hard work. It is unlikely that there will be much difference. It is however best if the benchtops are parallel and I would spend time narrowing any margins to zero.

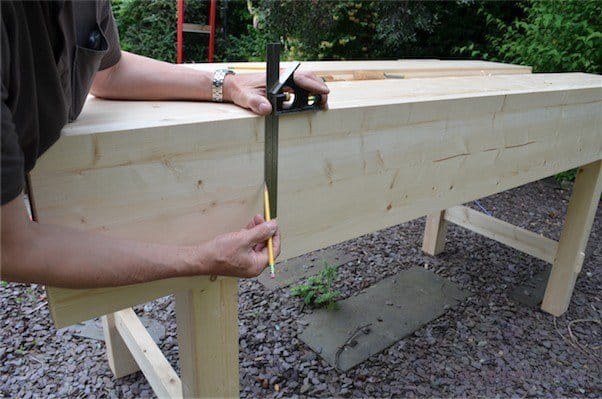
Surface plane the aprons to remove any discrepancies and prepare them for sanding later. Mark the face with the face mark. Once the inside and outside faces are levelled and clean the edges must be squared and planed straight if necessary.You must first establish a straight edge along one long edge by sighting and planing as necessary and then plane the opposite edge dead parallel to the first on both of the aprons. This guarantees that the square registers to create true knife walls for crosscutting the ends to length and also to establish a cut wall to the walls of the housing dado.

This in turn guarantees that the legs stand square to the bench top and thereby square to the floor on which the bench will stand.

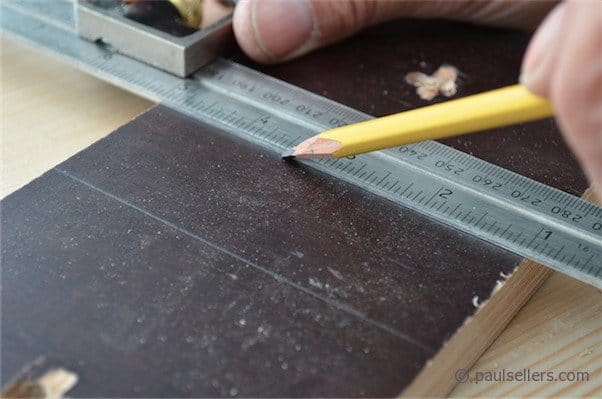
Follow the same steps as you did for your benchtop to cut the first end square, plane it and check your planing with the square in both directions. Now offer it to the benchtop, flush the approved end on which it will finally be glued and, using the knife, mark the dead length.


By taking the dead length with the knife from the benchtop using the square and knife, the two will correspond perfectly during final assembly. Square the line to create the knife wall all around and crosscut to length.

Plane the end as before and check for squareness in both directions.

Remove the arris (the corners) with two to three full strokes. This will give an even bevel.
Comments ()