Hope Chest drawer details

I cut the drawer bottom to size and planed the bevel to the underside until it fit neatly into the 3/8" grooves to the sides and front of the drawer.
Notice the rubberized (or silicone) non-slip shelf liner. This is a must buy for any shop. Grip stuff in the vise for an absolutely non slip grip, or cushion your work on the bench top with a couple of clamps and this beats bench dogs for 90% of bench top work hands down.

I planed the underside bevels by hand. This is an easy task with a sharp Stanley #5 1/2 and is also very precise.

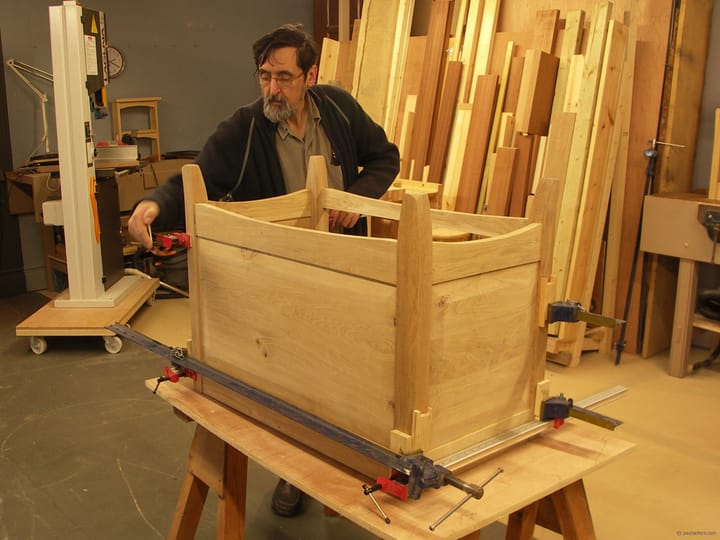
I also planed out any discrepancies to the surfaces of the panel ready for finishing. I have not glued any of the main project or drawer together as yet. I must scrape and sand where necessary, but on all of my projects I try to leave the parts unglued until the whole is completely jointed, so that if need be a can still change out a part if I feel it doesn't belong.

I make certain that the ends of the drawer bottom are square to the front edge before installation.

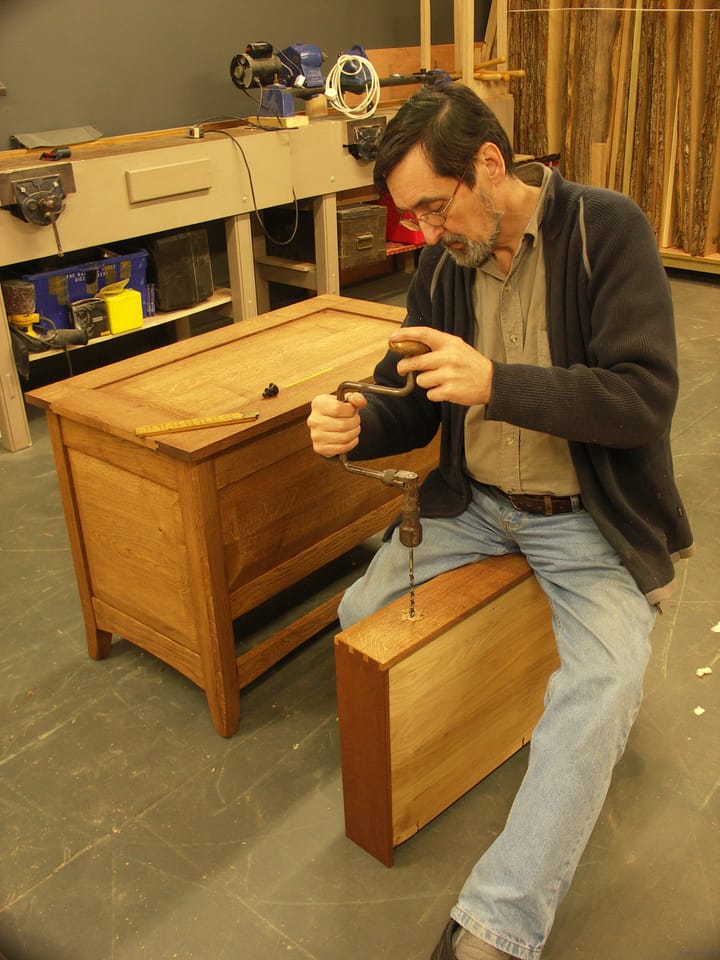
With the drawer bottom fitted I create a countersunk and slotted screw channel at the back of the drawer to secure the drawer bottom to the drawer back.

This slot allows for adjustment should shrinkage take place later; loosening the screws allows me to move the drawer bottom forward into the groove and to tighten the screws again. I always ensure my furniture wood is dried to 7-10% and my shop is humidity controlled. This minimizes the risk but I like it there as a safety feature

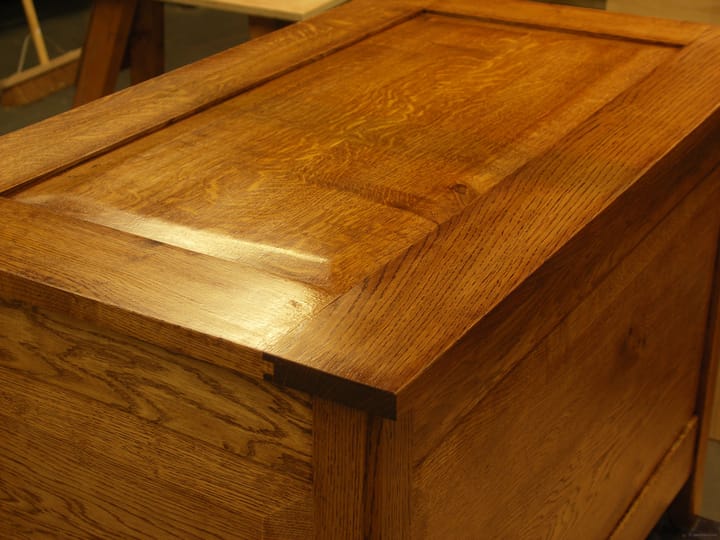
This is how the drawer back looks after completion. All that's left on the drawer is sanding, glue-up and then the final fitting before the application of finish.

The completed drawer.
Comments ()